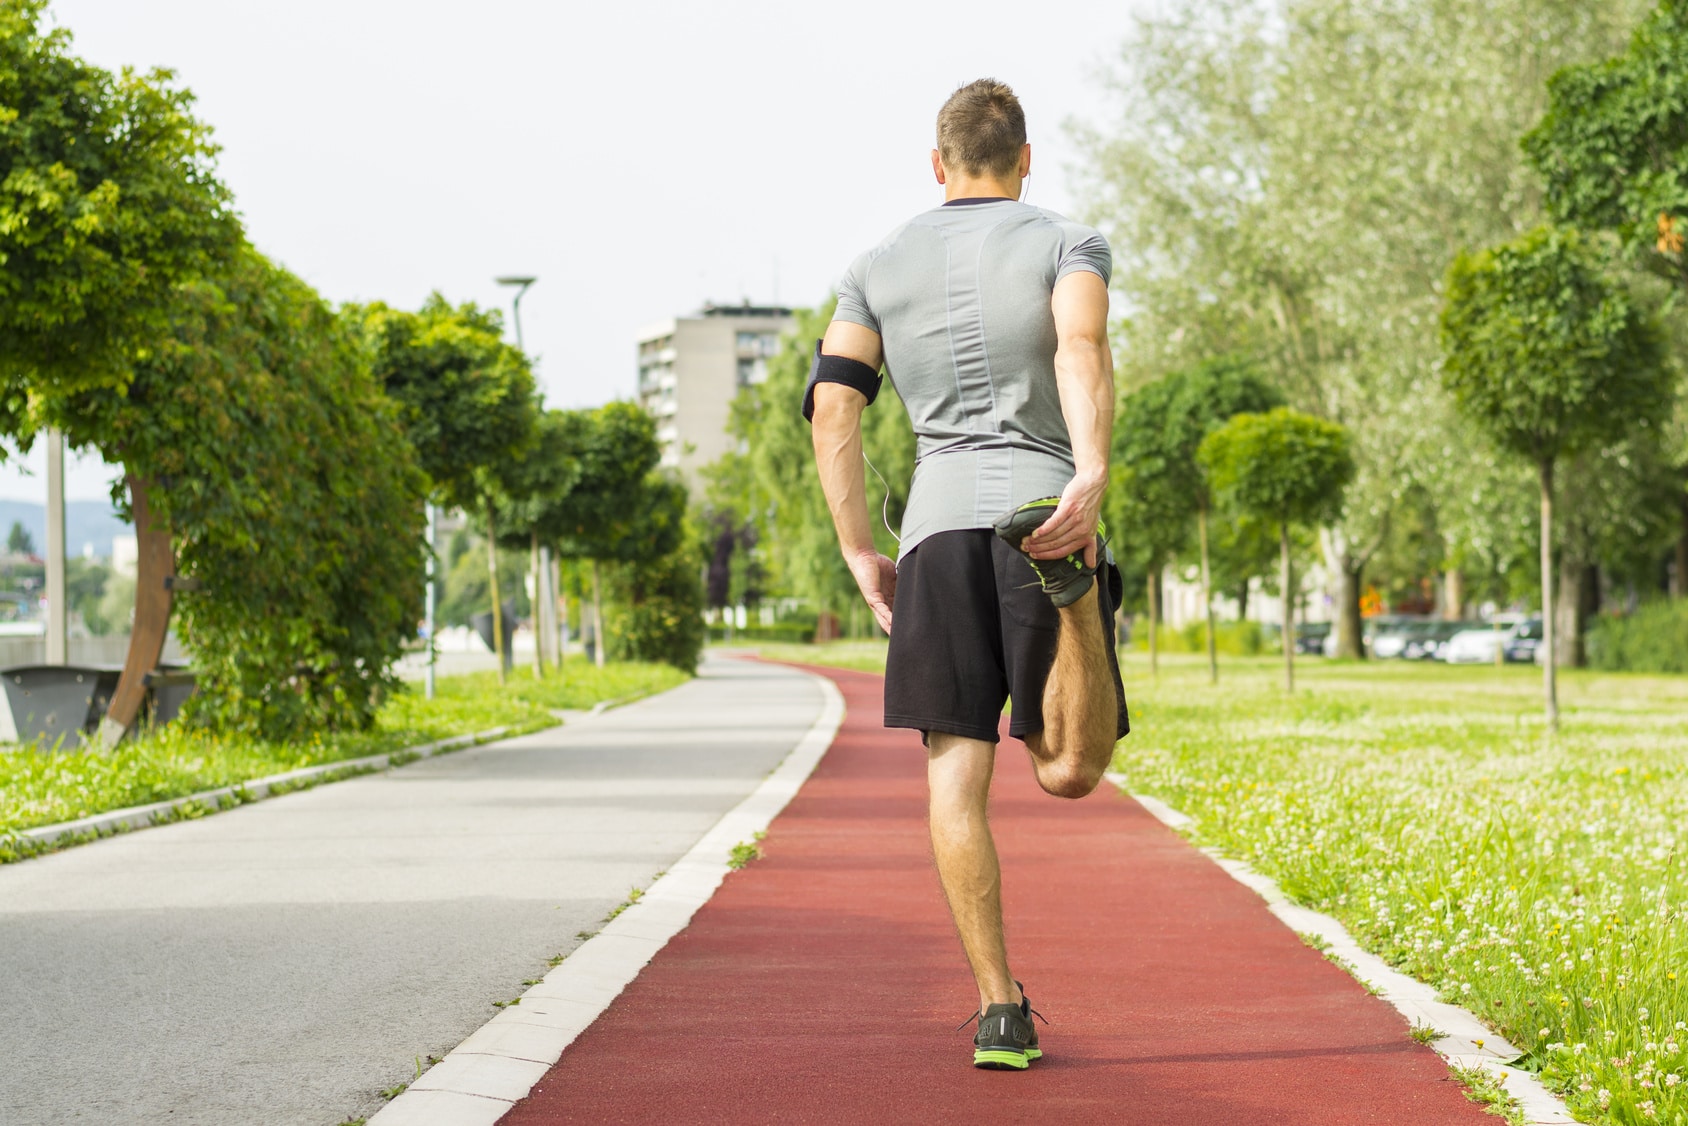
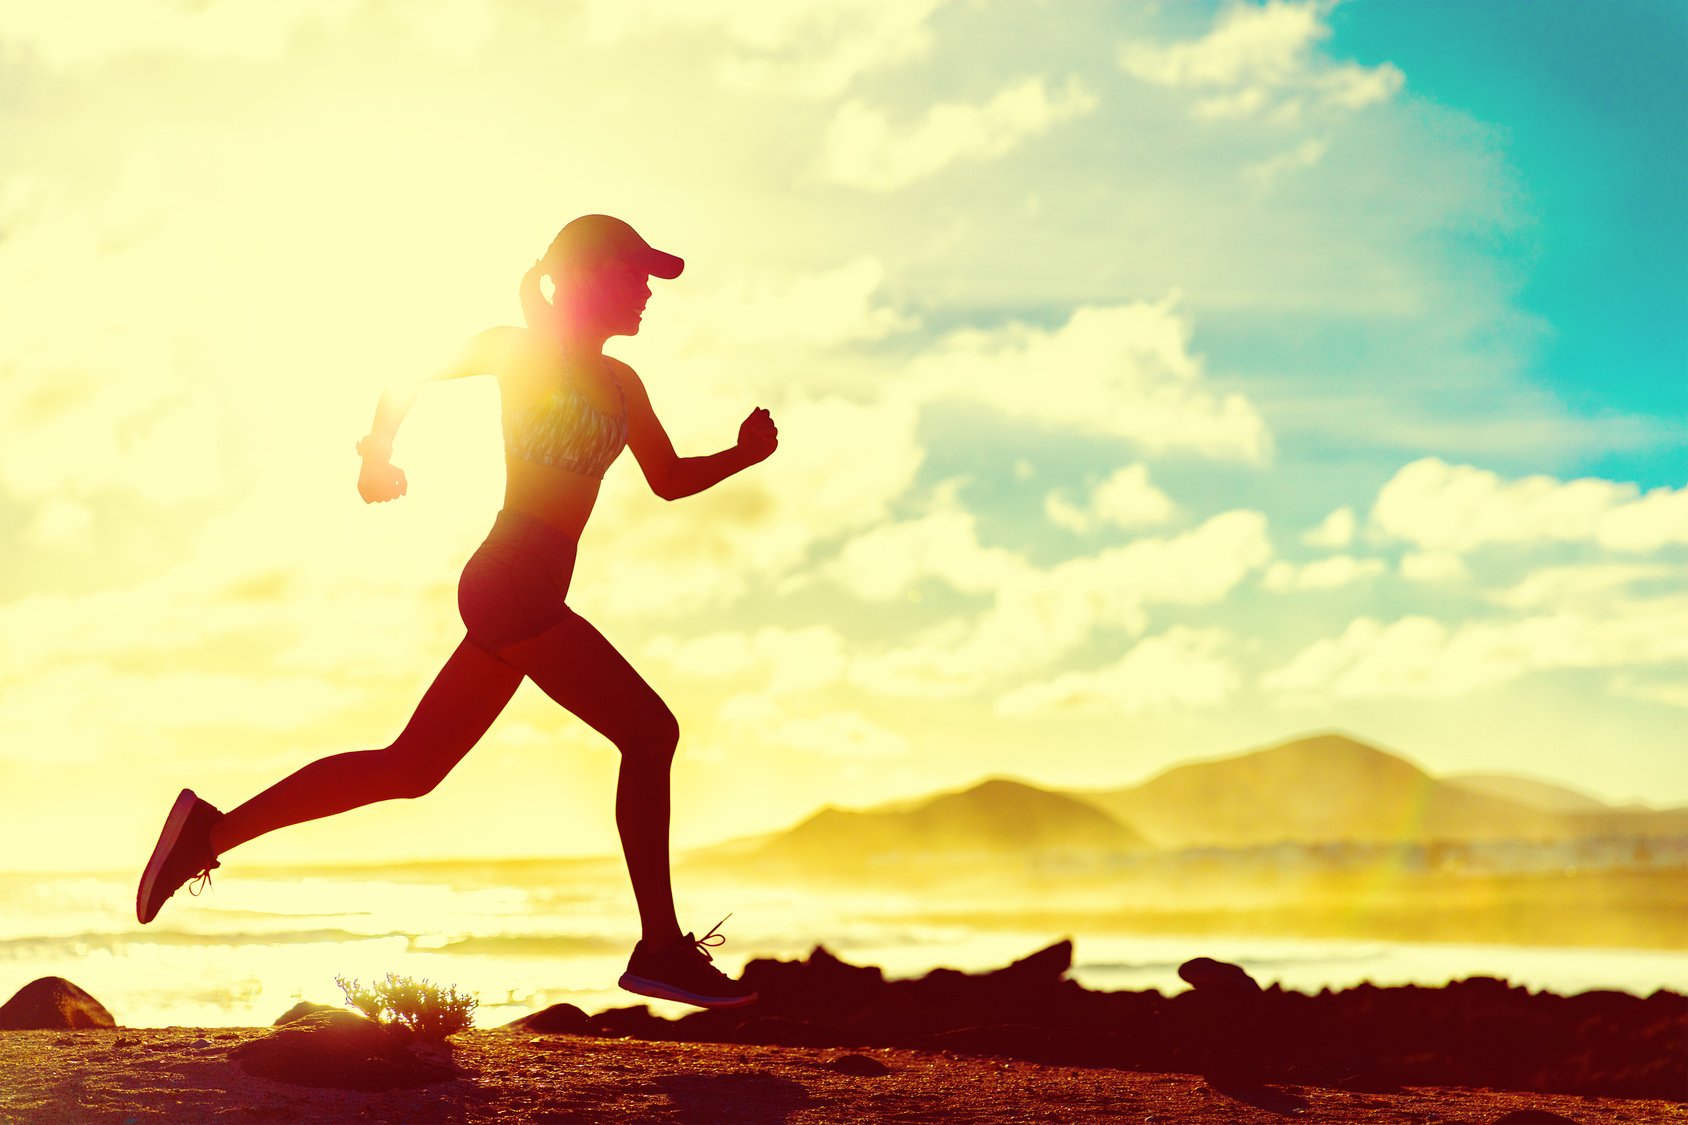
Have you ever thought about supercharging your running routine with a touch of yoga magic? Well, today is your lucky day!
In this comprehensive guide, I’ll be your yoga guru, unveiling a treasure trove of poses to boost your flexibility, mobility, and strength.
But before we roll out the yoga mat, let’s first uncover the incredible perks yoga brings to your running game.
Yoga Increases Flexibility
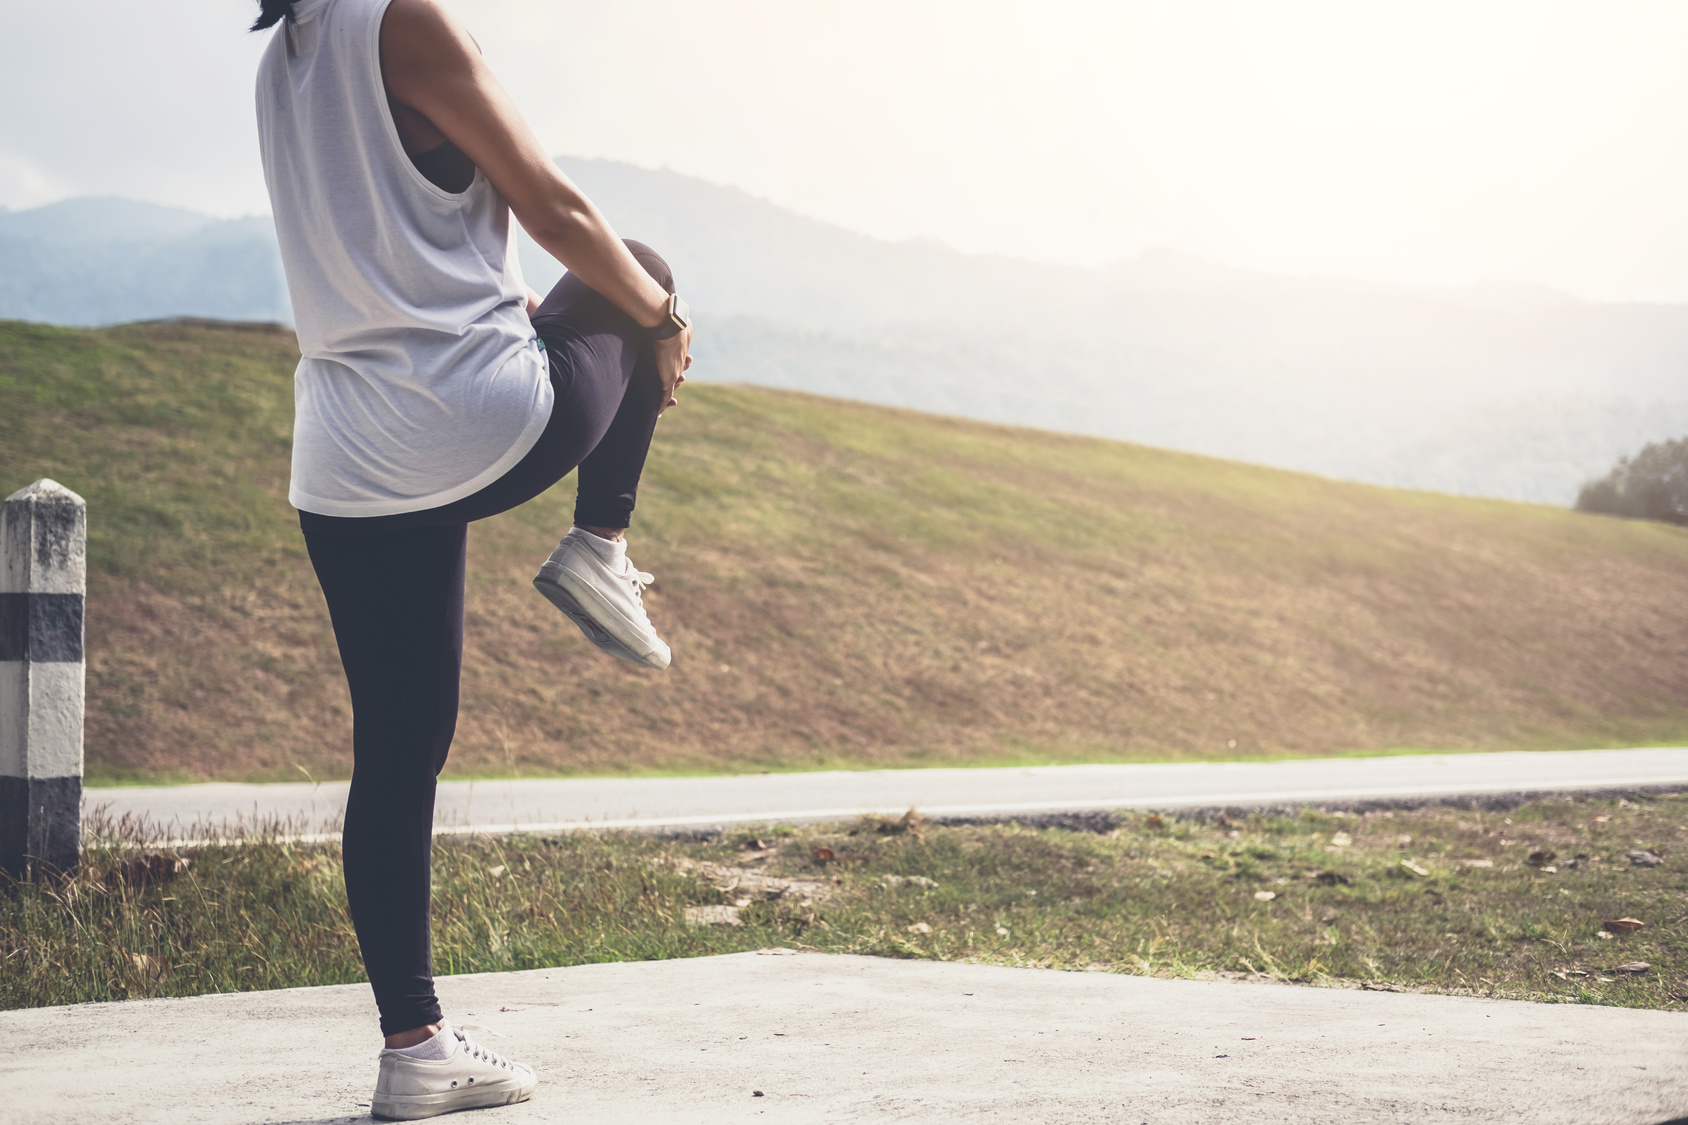
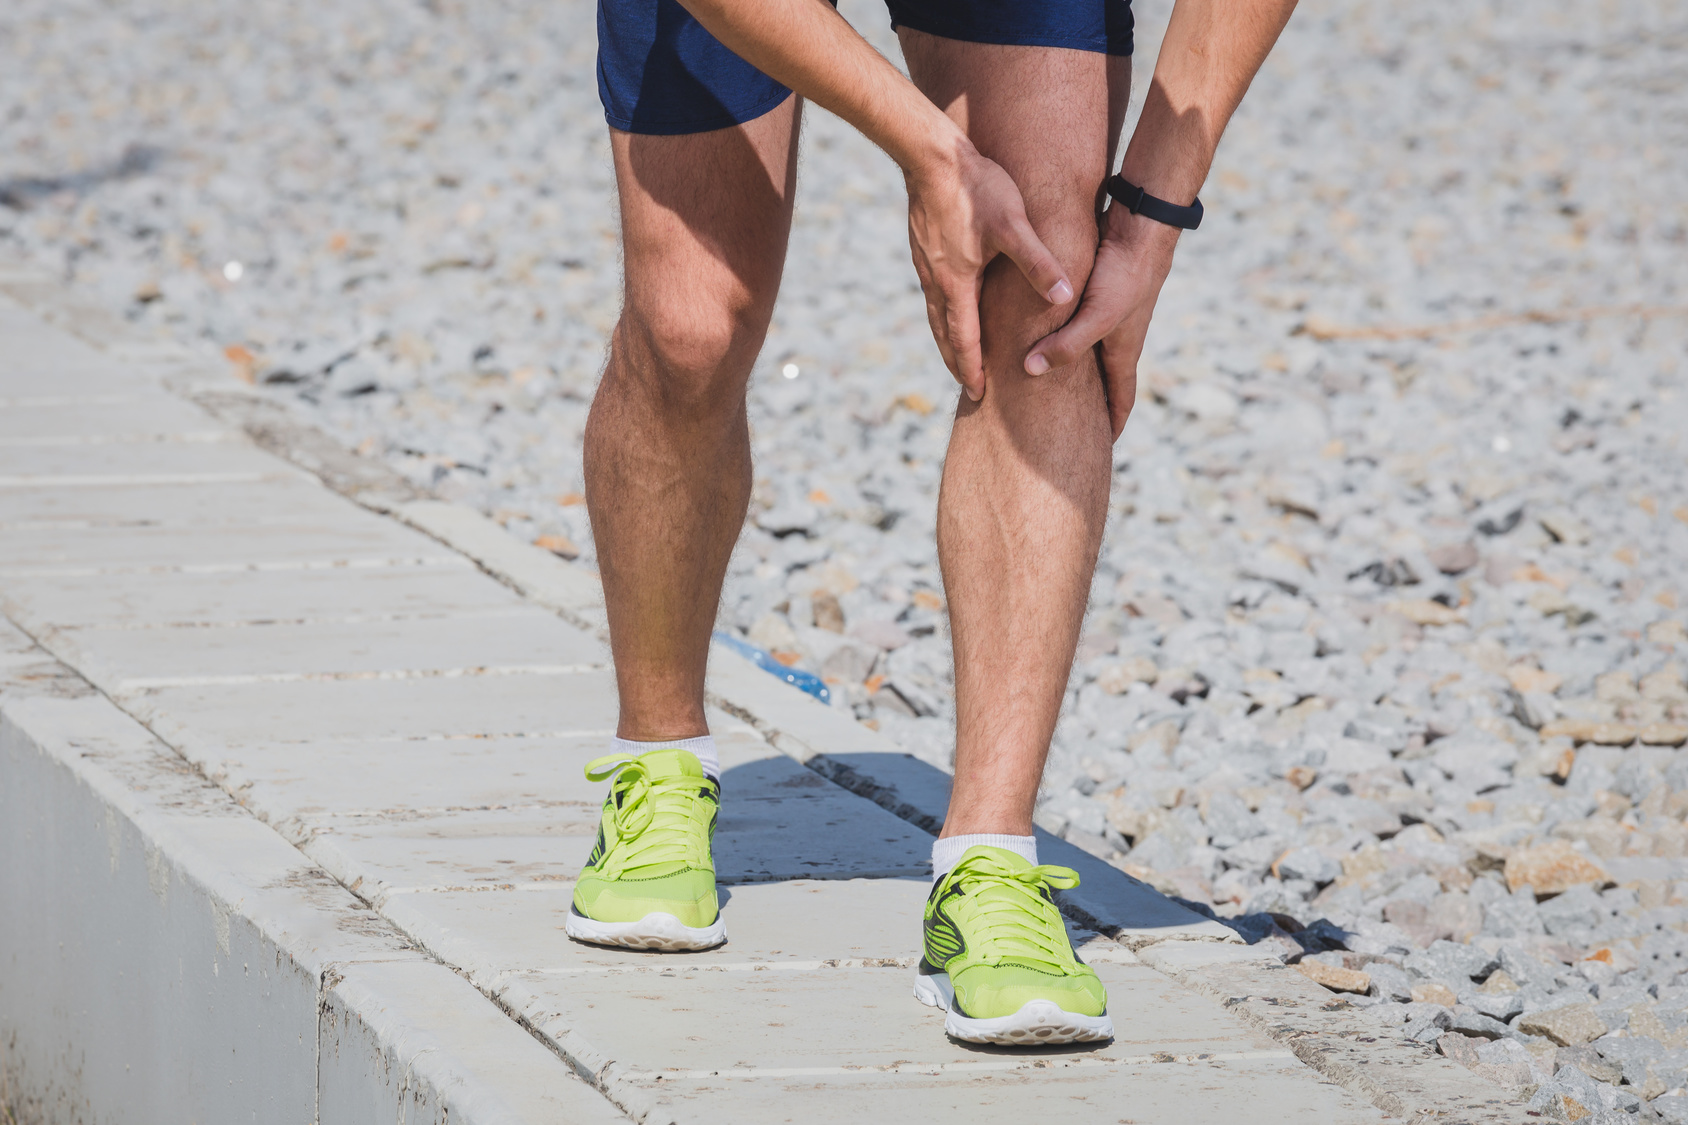
As a runner, you’re no stranger to muscle tightness. Those nagging aches and pains often stem from muscles that are too tight, leading to injuries and subpar performance. But fear not, yoga has your back (and hamstrings and calves)!
Yoga is your secret weapon against muscle tightness. Through regular yoga practice, you’ll improve your flexibility, which is crucial for maintaining a healthy range of motion in your joints and muscles. Say goodbye to those stiff glutes, hamstrings, and lower back muscles – yoga will help you regain your suppleness.
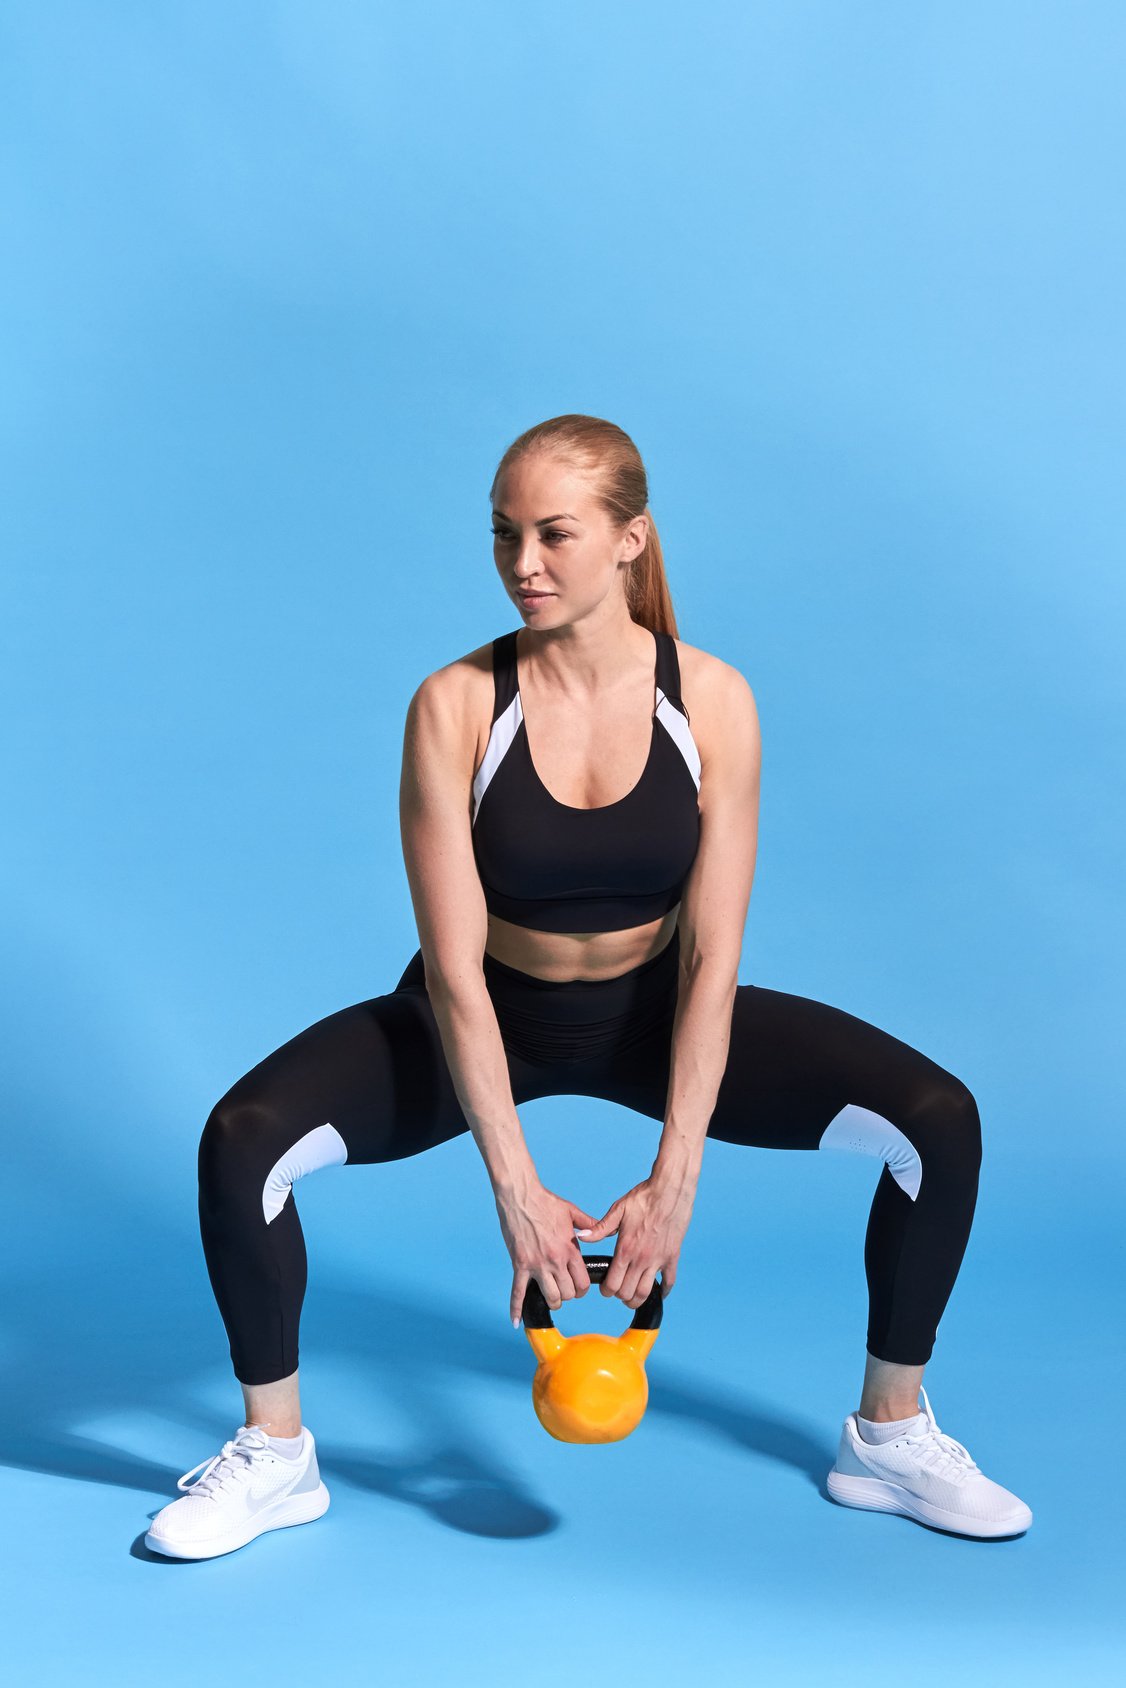
Yoga Boosts Total Body Strength
Running is fantastic for your lower body – it’s like a strength training session for your legs with every stride. However, it tends to focus primarily on specific muscle groups, leaving others underutilized. This imbalance can set the stage for injuries down the road, like the dreaded runner’s knee.
Enter yoga, your ticket to a balanced, full-body workout. In yoga, you’ll engage all your muscles in various poses and movements, building strength evenly across your body. Think of it as a holistic approach to fitness. With yoga, you’ll discover newfound strength in your core, upper body, and those oft-neglected stabilizing muscles.
Yoga Enhances Mind-Body Connection:
Running can sometimes turn into a monotonous activity – one foot in front of the other, focusing on your pace, and miles ticking away. Yoga adds a refreshing twist to your routine by introducing mindfulness and a deep mind-body connection.
Yoga encourages you to be present in the moment, tuning into your body’s sensations and connecting with your breath. This newfound awareness can enhance your running form, making you more efficient and less prone to injury.
Strengthen Your Mind with Yoga
Running isn’t just about physical endurance; it’s a mental game as well. Your inner game, which includes self-confidence, self-esteem, and mental resilience, plays a vital role in achieving your running goals and conquering life’s challenges.
Yoga is your go-to tool for building a robust inner game. Through yoga, you’ll learn valuable techniques to calm your mind, manage stress, and boost your self-confidence. Poses like the Warrior series can instill a sense of power and determination, translating directly to your running endeavors. When your mind is strong, your body follows suit.
Breathe Deep With Yoga
As a runner, you understand the critical importance of lung capacity. Efficient breathing fuels your runs, providing the oxygen your muscles need to perform at their best. Yoga takes your lung capacity to the next level.
Yoga teaches you the art of full-spectrum breathing, engaging not just your shallow upper lungs but also your middle and lower lungs. This holistic approach to breathing increases your lung capacity and oxygen intake, benefiting your running performance.
On the yoga mat, you’ll discover the significance of breath control. Deep, controlled breathing not only optimizes your physical performance but also nurtures your mental state. It helps you stay calm under pressure, manage pre-race jitters, and focus during challenging runs.
Yoga For Runners as a Restorative Practice
Yoga, especially its restorative asanas (postures), possesses incredible soothing and healing powers. These gentle poses are like a comforting embrace for your tired body. They promote deep relaxation and conscious restoration after a challenging run.
This restorative aspect of yoga accelerates your recovery process, making you a healthier and more resilient runner in both the short and long term. It’s your secret weapon to bounce back faster and stronger.
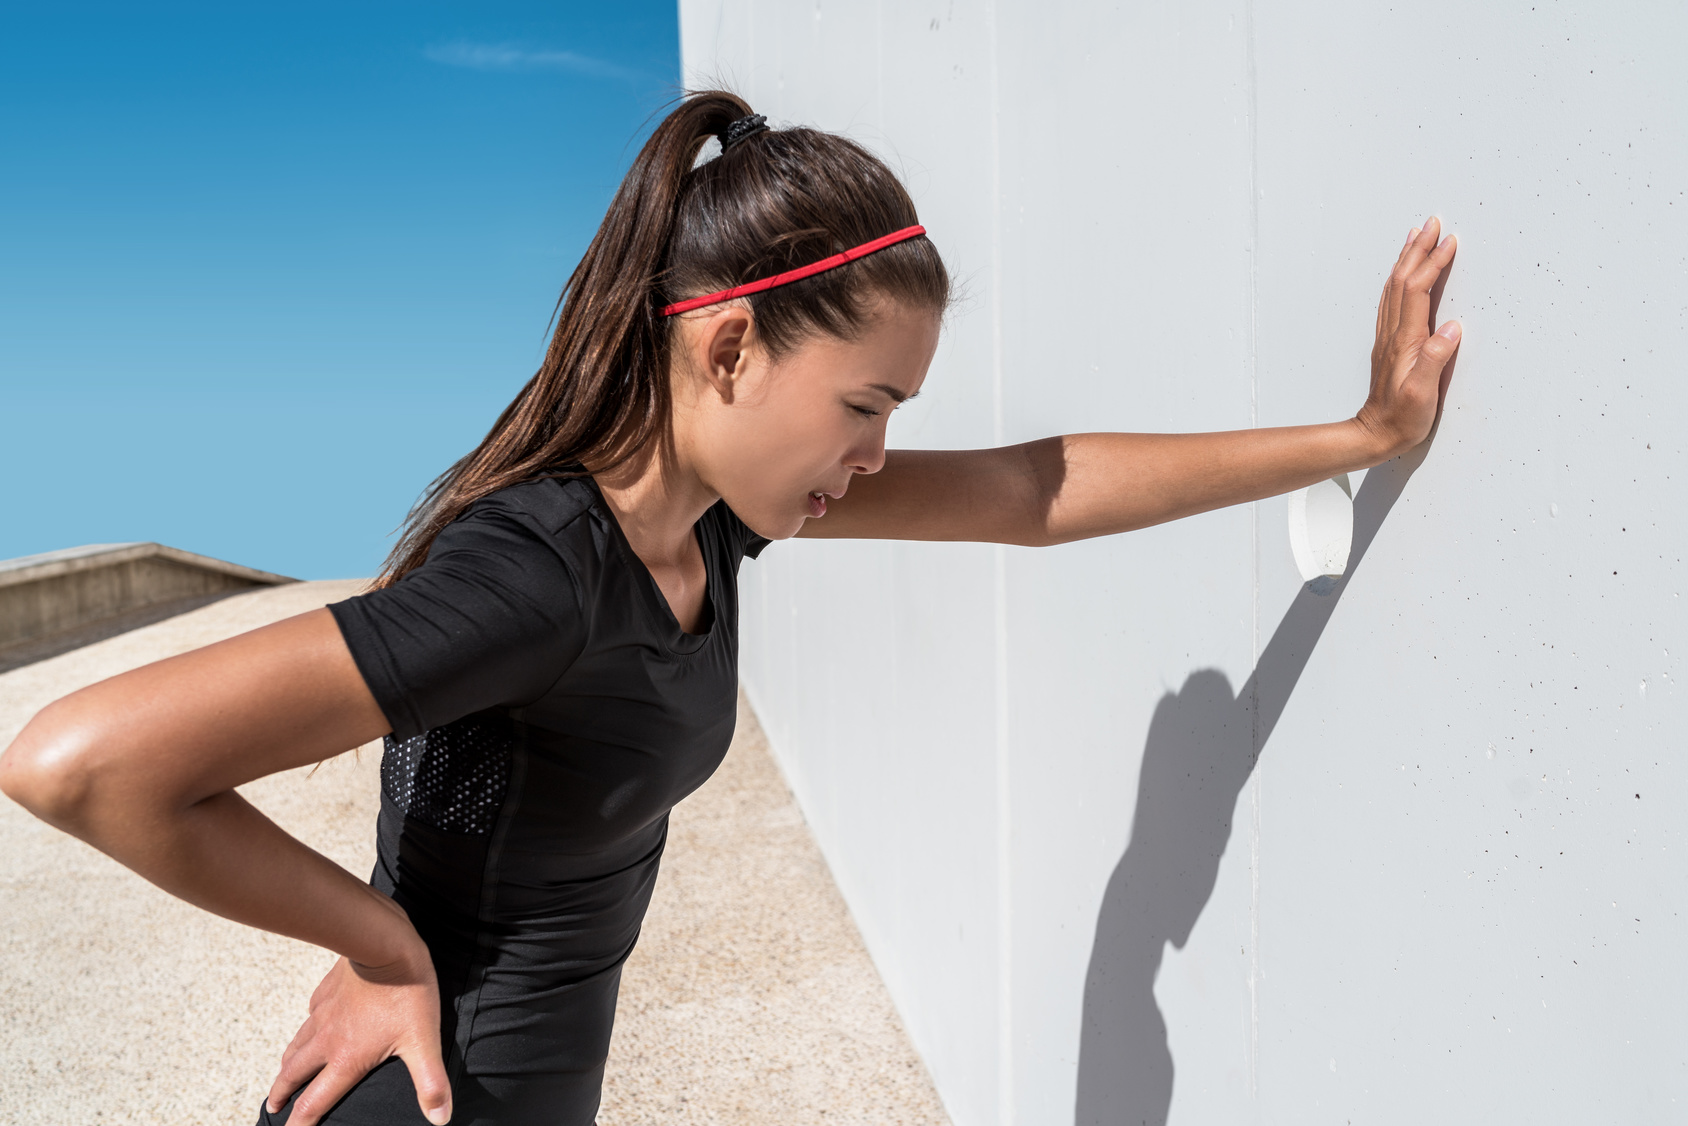
Yoga is The Best Form Of Active Recovery
Active recovery, the practice of engaging in light exercise on your rest days, is essential for runners. Yoga reigns supreme in the realm of active recovery. Why, you ask?
Imagine this: It’s your rest day, and you’re itching to stay active without pushing too hard. Yoga steps in as the perfect solution. It provides a gentle yet effective way to keep your body engaged, promoting flexibility, mobility, and muscle recovery.
So, when recovery days roll around, don’t miss the opportunity to incorporate yoga into your routine. It’s your chance to rejuvenate and maintain your running prowess.
The Yoga Gear You Need
So, you’re ready to dive into yoga as a runner, but before you strike a pose, let’s talk yoga gear.
Having the right equipment can elevate your practice and ensure you’re getting the most out of it. Don’t worry; you don’t need a shopping spree – just a few essentials to get started. Let’s break down what you need:
A Yoga Mat
Just as runners rely on their shoes, yogis lean on their mats. A yoga mat is your sacred space, offering comfort and stability for your practice. It’s where you’ll find your balance, both physically and mentally.
Investing in a quality mat is worthwhile. Look for renowned brands like Hugger Mugger or JadeYoga.
While fancy mats can range from $90 to $120, you can snag a starter mat for as little as $25 on Amazon. Keep in mind that cheaper mats may lack durability and cushioning, so consider your usage frequency when choosing.
Straps
When practicing yoga, comfort is key. Opt for breathable, moisture-wicking yoga attire that allows you to move freely. Whether it’s leggings, shorts, or tank tops, make sure your outfit supports your practice.
Yoga Blocks:
In the world of yoga, the trusty yoga block is your best buddy. It’s a versatile tool that can help you enhance your practice, improve flexibility, and maintain proper alignment. Whether you’re a beginner or an experienced yogi, yoga blocks have your back (or should we say your spine?). Let’s dive into why these blocks are a game-changer:
Bolster:
If you want to take your practice to the next level, consider a yoga bolster. It’s a cushioned prop that enhances relaxation during restorative poses and meditation.
Additional resource – The Myrtl routine
Yoga Clothing
Just as you choose the right running gear, picking the perfect yoga clothing can make a world of difference.
Here’s what to consider:
- High-Performance Fabrics: Seek out yoga attire made from high-performance, moisture-wicking fabrics. These materials keep your body dry and comfortable during your practice.
- Yoga Pants: A classic choice for both men and women, yoga pants come in various colors like navy, brown, or black. They offer flexibility and ease of movement, allowing you to flow through your practice comfortably.
- Form-Fitting Tops: Opt for form-fitting tops that stay in place, even during those deep forward bends. You don’t want your shirt flying over your head mid-pose!
- Mix and Match: Get creative with your yoga attire by mixing and matching different tops and pants. Express yourself through your clothing choices while keeping functionality in mind.
Take Classes
Embarking on a yoga journey is a marvelous way to harmonize mind, body, and soul.
But where do you begin? Allow me to guide you through the process:
Explore Live Classes
The energy of a live yoga class is truly unique. Consider joining a local yoga studio or fitness center. You’ll experience the guidance of a skilled instructor and the camaraderie of fellow yogis. It’s a journey best shared.
Online Yoga Classes
If a live class isn’t accessible, online classes are a fantastic alternative. You’ll discover a multitude of free yoga classes on platforms like YouTube.
Here are some YouTube channels that I recommend:
- Travis Eliot
- Yoga with Kassandra
- Yoga With Adriene
Online Subscription Services
For a more extensive yoga experience, you might explore subscription services like Yoga Download. These services typically cost between $10 to $15 per month and offer a treasure trove of yoga courses suitable for all ages and backgrounds. They may even have specialized programs tailored for runners.
Whichever path you choose, remember that yoga is a personal journey. It’s not about how perfectly you perform each pose; it’s about connecting with your inner self, finding balance, and embracing mindfulness.
Yoga For Runners – The Best 27 Poses
Without further ado, here’s a long list of yoga poses for runners that improve flexibility, strength, and functional fitness.
Enjoy!
Note – A Yoga Warm-up Routine
Before you try any of the yoga poses shared below, please make sure you’re well warmed up.
Perform the following warm-up yoga sequence (even following a run) to get your muscles and joints for action.
Yoga For Runners – The Flexibility Routine
The following yoga poses are exactly what you need to improve your flexibility as a runner.
1. Forward Fold (Uttanasana)
The Forward Fold asana is ideal for runners since it opens up and stretches out the hamstrings, glutes, and lower back—some of the most troubled areas in runners.
Proper Form
Begin in standing pose, then as you exhale, hinge at the hips and bend forward, lengthening the front of your torso.
Next, fold forward slowly and grab onto your shins, or for a more intense stretch, reach down for your toes or ankles.
Breathe deeply and let the crown of your head move toward the floor, releasing and relaxing your neck and head as much as possible.
I highly suggest that you hold this pose for as long as you can.
Anyway, as long as you are breathing deeply and feeling the stretch, you are doing just fine.
A yoga strap is really welcome.
Step over the strap and try to pull the strap first.
After your spine neutral, reach deeper with the strap.
2. Downward-Facing Dog (Ado Muka Svanasana)
This asana mainly stretches the hamstrings.
Runners are notoriously infamous for tight hamstrings— this tightness can hinder performance and lead to injury.
In fact, injuries like runner’s knee, IT band syndrome, and other injuries, even leg cramps, have been linked to tight hamstrings.
This yoga pose also stretches the calves, and shoulders and strengthens the arms and legs.
Proper Form
To perform downward facing dog right, come into your hands and knees with hands straight below your shoulders and knees directly below hips.
Next, tuck your toes under, spread your fingers wide, then on the inhale, raise your knees off the floor and push your hips up toward the ceiling.
To dig deep into those hamstrings and calves, draw your heels down as far as it is comfortable.
Keep a slight bend in your knees if it’s too much to handle.
Hold the position for five deep breaths.
3. Low Side Lunge (Skandasana)
One of the most dynamic and simple poses for promoting flexibility and mobility in hips and hamstrings.
This pose can also help you prevent side cramps, along with other running pains and aches.
Proper Form
From mountain pose, separate your feet into a wide stance, then fold forward and place both hands on the ground.
Next, place your right hand on your right knee, and while exhaling, bend your right knee, while lengthening the left leg.
Make sure that your left foot is aligned with your right ankle.
Keep your chest lifted and open, and hold the stretch for five deep breaths. Then repeat on the other side.
4. Triangle Pose (Utthita Trikonasana)
Tight hips are another major issue among runners.
Nevertheless, the Triangle pose is a great asana for stretching the hip flexors as well as the groin and the hamstrings.
Plus, it also adds strength to the ankle, thighs, and knee, helping you ward off a plethora of running injuries.
Proper Form
To perform the Triangle pose, begin by standing straight and extending your right leg to the side a little more than hip-width distance apart.
Make sure to turn the right toes in slightly and rotate the right thigh open to turn your left foot at about 90-degree angle.
Next, turn your right foot perpendicular to your left as you extend your right arm straight above your right foot, then gradually fold over at your right hip and lower your hand down to grab your thigh, knee or shinbone.
If you want more, slowly walk your hand down to grasp your calf or ankle, or big toe, but never compromise good form.
Hold the position for five breaths, then slowly press back to starting position and switch sides
5. Eagle Pose (Garudasana)
This is a must yoga pose for runners since it opens up and stretches the scapula, shoulders, elbows, ankles, hips, and knees, and also strengthens the calves and ankles, as well as improving balance and coordination.
Plus, it speeds up blood flow, leading to faster recovery rates after a workout.
Proper Form
Stand with your feet hip-width apart, raise your hands above your head, and swing them down in front of your body, wrapping your left arm under your right arm.
Next, bend your right knee and cross your left leg around the right leg, hooking your left foot on either side of your right leg.
Lower your butt down as much as you can and lift up through the arms to stay well balanced.
Keep the pose for the five deep breaths, then unwind and switch sides.
6. Camel (Uṣṭrāsana)
As a runner, chances that you spend a lot of time hunched over, shoulders in, and chest down.
That’s why a heart-opening pose, like the Camel, is ideal.
This yoga asana improves flexibility and strength in the upper body, and it also can help you build better posture—on and off the running track.
Plus, opening your chest will not only counter some of the bad posture patterns from running, but it will also open up your chest and give you more space to breathe, and as you know, the better you breathe, the more oxygen you pump into your blood and working muscles, thus the better you run.
Proper Form
To safely perform the Camel asana, begin with your knees on the floor, hip-width distance apart, and hands on the hips.
Next, stack your hips right over your knees, draw the shoulder blades down the back, and reach back with your hand to take your low back.
Focus on your knees, if its in a V shape, you are doing something wrong.
Then, from there, take the center of your chest up and slide your palms down as far as you can.
Try to reach back to take hold of your feet or ankle.
Reach as far down as it’s pain-free.
Shoulder blades should be facing to the sides of your body, not forming M shape.
Avoid M shape on your shoulder blades for deeper pose and bigger space.
Stay in the pose for five deep breaths, then slowly come back to starting position.
7. Pigeon (Eka Pada Rajakapotasana)
As a runner, stress, and tension can build up in the hips and create tightness—a tightness that can compromise performance and lead to a plethora of running injuries.
The Pigeon asana increases the range of motion and flexibility in your hips, boosting running performance and reducing the risks of injury—especially knee pain.
Proper Form
To perform the Pigeon right, start from table pose (on all fours), then slide your right knee forward toward your right hand, then straighten and stretch your left leg back as far your hips will allow.
Rest your right shin on the floor, slightly behind your hands.
Next, square your hips and lower your body down as far as you can while feeling the stretch in your hips, glutes and groin area.
You can sit up and rest on your palms, elbow, or lie all the way down for a deeper stretch.
Hold the pose for five deep breaths, then to come out from the Pigeon, tuck your left toes under and bend your left knee and slowly glide your right leg back until you are back to starting position.
Switch sides.
Yoga For Runners – The Recovery Routine
Here are my yoga poses for post-run muscle soreness and recovery for runners.
8. Legs Up The Wall (Viparita Asana)
If you pick only one pose from my my yoga for runners list, do the Viparita asana.
This inverted pose speeds up recovery by draining fluids from the legs, stretching the hamstrings—troubled area for runners—and releasing tightness and stress in the lower back, feet, and legs.
Plus, it’s so simple and easy to perform.
Proper Form
To perform the Viparita asana, start by sitting with one hip close to a wall.
Next, swing both legs up the wall and get your butt as close to the wall as it’s comfortable.
If you feel any pain in the lower body—especially in the hamstrings—then slide a few inches away from the wall.
Hold the position for as long as you can, then to come out safely from the pose, bring your knees into your chest for a couple of breaths, roll to one side, rest for a moment, then slowly get up.
Make sure spine neutral, not curving so your legs are not going to put stress on your spine.
9. Seated Star Pose (Baddha Konasana)
A great pose for releasing tension in the hips, lower back, shoulders, and neck.
Proper Form
Begin by sitting down on the floor with the soles of the feet together, heels roughly 20 inches in front, and knees bent in a kite shape, forming a diamond shape with the legs.
Next, straighten your spine then slowly round the spine forward, bringing the forehead towards the heels.
Hold the pose for one to two minutes before slowly releasing.
Here are seven yoga poses for your post-run routine that will help you speed up recovery rate, thus bounce back faster and keep you running injury free for the long haul.
10. Reverse Child’s Pose
An ideal asana for stretching and releasing the quads and hip flexors.
It also elongates the back and relaxes the entire body.
Proper Form
To perform this pose right, start by sitting on your heels with your big toes touching, knees about hip-width apart and hands resting on your thighs.
Then, lay your torso between your thighs and lower your belly and chest to rest between your knees, bringing the back of your head to the mat.
Next, extend your arms straight in front of your palms down on the floor, and stomach sitting comfortably on top of your thighs, forehead to the mat.
Stay here for at least a couple of minutes.
Try 30 seconds, if you feel comfortable, you can add it up from 60 seconds to two minutes.
11. Reclining Cobblers Pose (Supta Baddha Konasana)
A great restorative yoga asana for releasing the abductors, chest, hips, groin, and the lower back.
Proper Form
Start by sitting in a Staff Pose, with the legs extended straight in front of you on the floor.
Then, bend your knees and draw your heels in toward your pelvis.
Next, press the soles of your feet together and slowly drop the knees open to the sides, then slowly lean backward and bring your elbows to the mat.
Lower your back as far as you can.
Hold the pose for ten deep breaths, then to come out safely, roll over to your right side, and sit up, using the hands to support you.
Feel free to use props to deepen your pose.
Blocks can be placed under the knee.
If you are into Iyengar, you can wrap strap and sit on it, so you can really control the stretch.
12. Happy Baby Pose (Ananda Balasana)
Another ideal pose for opening and releasing the hips and groin.
This pose stretches the hip joints, which can get tight and stiff from running.
Plus, this pose is very calming for the body and mind.
Proper Form
Start by lying down on your back, and on the exhale, draw your knees into your chest and grab the outside edges of your flexed feet with your hands.
If this stretch feels too much, then grab behind your thighs.
Next, open the knees and bring your hips down to the floor as far as you can, and hold the outside of the feet as you draw the knees toward your armpits while keeping your lower back firmly on the floor.
Breathe deeply and make sure to rock gently from side to side to release any tension.
Hold the pose for ten deep breaths, then move on to the next pose.
13. Supine Spinal Twist (Supta Matsyendrasana)
This asana twists and releases the spine, and also stretches the shoulder, glutes and the hips—troubled areas for runners.
This pose lengthens the back muscles, which is good for relieving back pain— especially following a long run or after sitting for prolonged periods of time.
Proper Form
Start off by lying on your back, then bend both knees and place the soles of your feet on the floor.
Next, bring your right knee close to your chest and extend the left leg straight on the floor.
For the twist, drop your right knee over to the left side of your body, twisting the spine and low back.
For more stretch in the upper body, open your right arm to the right side in line with your shoulders, while resting your left hand on your right knee for a deeper release and twist in the spine and lower body.
Hold the pose for ten deep breaths, then slowly bring your right knee back, straighten your right leg, and do the other side.
14. Corpse Pose (Savasana)
The perfect pose for rest, relaxation, letting go, and contemplating after a workout.
Proper Form
To make the most out of this awesome pose, lie flat on your back with your knees bent, feet on the floor.
Use a small pillow (or fold your mat) below your neck if you have to.
Next, close your eyes, keep your legs comfortably apart, release your feet and knees complexly and breathe deeply.
There is nothing to do.
Just be present and turn your attention inward and scan your body from head to toe, looking for tension and contracted muscles.
Go as deep as you can, and enter a complete state of total relaxation.
Let your mind go then bring all of our attention to your breath.
Be in the now.
Stay in Shavasana for at least 10 minutes.
You can have soothing and relaxing music in the background.
It’s okay to fell asleep during this pose.
Most of the yogis did that too!
Yoga for runners couldn’t be this easy.
Yoga For Runners – The Strength Routine
Here are seven yoga poses that every runner should do to increase strength in the whole body
If you find any of these poses too easy and boring, then just hold the asana for one full minute or longer while making sure you have proper alignment and the right form to test your strength and stamina.
Don’t cheat.
That’s the motto.
15. Four-Limbed Staff Pose (Chaturanga Dandasana)
This is a must since running is an exclusive lower-body activity, so the upper body gets tossed to the side.
So don’t be surprised if you have the upper strength of a 9-year-old.
The good news is that this pose is perfect for you.
This yogic pushup position builds strength in the upper body when done properly.
Yoga for runners at its best.
Proper form
Lie facedown, then propel yourself up to plank position.
Make sure your body is aligned from head to toe.
Next, come a little bit forward on your toes and bend the arms straight back, keeping the upper arms hugging into your sides as you lower your body to hover a few inches above the floor.
Pause for a moment, then push back up slowly to a plank position, or roll over the toes, and come back to upward facing dog.
Make sure to keep your shoulder below the level of your elbows and keep your whole body straight.
Do at least ten slow push-ups before you move on to the next asana.
Ideally, shoot for five sets of 10 reps.
Try not to collapse your hip or chest.
For easier one, try to move your wrist wider to the side.
16. Low Lunge (Anjaneyasana)
The low lunge is a great pose that strengthens the thighs and the calves.
This asana also stretches the front of your hips.
Proper Form:
To perform Burning Low Lunge, step your right forward three to four feet to assume a lunge position.
Next, press back through the right heel to straighten the left leg.
Lower your left knee until it almost touches the floor and bring down your hands to the sides of the front foot, under the shoulders.
Hold the position for five deep breaths, then switch sides.
17. Warrior III (Virabhadrasana III)
Warrior III increases strength and length in the spine, core, and torso while also strengthening the muscles in your legs.
Plus, it also builds balance and concentration.
Proper form
Start by standing in mountain pose with feet hip-distance apart, arms at your sides.
Then, step forward with your right foot three to four feet in front.
Turn your right foot out 90 degrees, so your toes point to the top of the mat, and pivot your left foot inward at a 45-degree angle.
Next, shift your weight forward onto the front heel as you gently kick up your back up in the air while bringing your torso forward until it is parallel to the floor.
Make sure to engage your core and that your neck is in a relaxed position.
Gaze at the floor a few feet in front of your body and hold the pose for five deep breaths, then bring your left leg slowly to the floor, and switch sides.
18. Crescent (Anjaneyasana)
This dynamic standing yoga pose strengthens all the muscles in your lower body. It also stretches the lower body while improving balance and stability.
Proper form
From mountain pose, step your right foot three to four feet in front of you, then lower your hips into lunge position and shift your weight onto the ball of your back foot, bringing your hands to your hips or above you and reach for the ceiling, with palms facing each other if balance is not an issue.
Make sure to keep your upper body as high as you can while staying up on the ball of the back foot.
And check that your hips are squared the entire time.
Hold the position for five breaths then switch sides.
19. Goddess (Utkata Konasana)
Running requires a lot of glutes and quads action, and this pose can come in handy.
The Goddess asana is a wide squat variation that will tone your lower body and core like no other asana.
Proper form
From mountain pose, take a step open to the right, so your feet are about three to four feet apart, and lift your arms out to the sides at shoulder height.
Next, turn your toes out slightly, then on the exhalation, bend your knees directly over your toes and squat down, so your quads are parallel with the floor.
Hold the position for up to ten deep breaths, then slowly lower your hands to your hips, and press firmly into your feet to go back to starting position.
20. Three-Legged Dog (Eka Pada Adho Mukha Svanasana)
This is a powerful variation of the classic downward dog asana, and it will help you build immense strength and mobility in your lower body, especially in the glutes—also known as the buttocks—and lower back.
Proper Form:
In downward dog, step your feet together, so your big toes are touching.
Then with arms and legs straight, inhale and raise your right leg while keeping your hips level and the right foot strongly flexed, raising the right leg up in the air, and coming into a downward Dog split.
Hold the pose for five deep breaths, then switch sides.
Make sure to engage your core throughout the pose and to keep your shoulder parallel to the floor.
For more challenge, try balancing on one the right foot, left arm, then switch side—left foot with the right arm.
21. Bent Standing Split (Tadasana)
If you have any flexibility issues in the hamstrings, quads, and hips, then this asana will be extremely difficult (and really useful!).
Chances you are tight in these areas if you run regularly (and don’t a proper stretching routine to counteract the effects of pounding the pavement).
This move also increases balance, which enhancing coordination and strengthening the thighs, knees, and ankles—this can help you stop ankle sprains and reduce the risks of knee pain and injury.
Proper form
From mountain pose or Tadasana, hinge at the hips to come into a mild forward fold, with your fingertips touching the ground.
Next, shift your weight onto the right foot, then on the inhale, lift your left leg parallel to the floor.
As you lift your leg higher, bring your torso closer to your right leg.
For more challenge, walk your hands to either side of your right foot and grab your foot or ankle as much as you can.
Hold the pose for five deep breaths, then bring your left leg down on the exhale, recover for a moment, then on the inhale repeat on the other side.
Core Yoga Poses For Runners
A strong core—the muscles of the abdominals, lower back, obliques, and glutes, is essential for preventing injury and fatigue in runners.
The core muscles are key for developing good running form and posture, stopping you from bending at the waist—especially when fatigue starts to set in.
This can help you ward off back pain along with a host of biomechanical problems.
The sequence includes seven powerful yoga poses to fire up and strengthen all of your core muscles—with no exception.
22. Plank (Phalakasana)
The plank asana tones most of your core muscles.
It also builds upper body and low back strength and lengthens the spine.
Proper Form
Assume a push-up position with hands and knees shoulder width apart, fingers spread wide apart with the middle finger pointing forward, and toes tucked under, pressing into the palms with the straight arms.
Form a straight line from your head to your ankles by tucking your tailbone under and engaging your core muscles to keep your pelvis torso steady and firm.
No sagging allowed.
To keep your legs active through the hold makes sure to press with your heels toward the back of the mat.
While maintaining your neck soft and gazing down at the floor, hold the plank position for one to two minutes before moving into the next asana.
Lift the base of the skull away from the back of your neck and gaze down the floor.
To come out of this pose, slowly bend your knees to the floor to assume child pose, then move on to the next asana.
23. Dolphin Plank (Makarasana)
Or elbow plank, this is a variation of the classic plank, resting on the elbow this time.
This asana targets more of the muscles of the abs, with less strain on the arms and shoulders.
This is a great asana for runners since it targets the entire core as well as helping improve posture and adding strength to stabilizer muscles.
Proper Form
Start by lying face down on the mat, resting your upper body on your forearms with your elbows right under the shoulders, and palms firmly grounded.
Next, to come into the dolphin plank, raise your hips towards the ceiling, coming onto the tips of your toes while staying on your forearms.
Make sure to maintain a straight line from your head to your heels by keeping your back flat and abs engaged throughout the hold.
If your spine curving, retreat and try again.
Make sure to protect your spine straight.
Hold the pose for one to two minute, then lower down and move to the next asana.
24. Balancing Star (Vasisthasana)
This is the third plank variation I’m sharing with you today.
This asana mainly targets your side core muscles—what’s known as the obliques—as well as strengthening the thighs, glutes, shoulders, and arms.
It also challenges your balance like no other asana—except for, maybe, Warrior III.
Proper Form
Start in the classic plank position, then roll open to your right side and raise your left hand off the floor, and stack your left leg your right leg.
Then, shift to face the side of your mat with your weight equally distributed between your right arm and right foot.
Make sure to keep your shoulders, spine, and hips in one straight line from the head to the ankle.
You can stay here balancing on your right hand with feet stacked.
But to come into the full version of Balancing star, raise your left foot up as high as you can and reach your arm to the ceiling as high and straight as you can without losing balance.
Be sure to keep a straight line from your head to your ankles.
For more challenge in the balance department, try looking up at your top hand.
Hold the pose for 45 seconds to one full minute while keeping the core engaged and pose steady throughout the hold.
To come down, lower slowly to classic plank then switch sides.
25. Boat (Navasana)
This is one of the simplest yoga moves with one and only purpose: sculpting and toning the abdominals.
This asana engages the deeps muscles of the abs and will improve your running posture and stability.
Proper Form
Begin by sitting on your mat with legs in front of you.
Next, bend your knees, lift your legs off the mat, and lean back a bit to balance on your sit bones, then bring your knees in toward your chest with your thighs at a right angle to the floor and shins parallel to the floor.
To do the Boat right, make sure to sit as tall as you can, then slowly start to straighten your legs, bring your arms out straight in line with your shoulders, forming a “V” shape with your body.
Don’t lean on your buttocks, that’s cheating as you’re not engaging your core properly.
Hold the pose for one to two minutes, then take your time to slowly lower down to the floor.
26. Sunbird Pose
Begin in tabletop pose, then reach forward with your right arm like you are about to shake someone’s hand and raise your left leg up, holding it parallel to the floor.
Make sure to engage your core muscles while you are doing your best to pull the extended limbs away from each other.
Next, bring your knee towards your chest while curling the right elbow to the left knee on the exhale, as if you are performing a crunch.
Then inhale and extend your arm forward and leg back.
Continue the motion for 12 to 15 reps, then switch sides.
27. Locust Pose (Salabha)
This asana is ideal for strengthening the lower back, the muscles that surround the back of the spine and abdominals as well as improving posture.
It’s also a great spine opener.
And it can help you undo the hunching effects of running, vital for building better posture, both on and off the running field.
Proper Form
Begin lying on your stomach on the mat with arms along the sides of your torso.
Then, place your hands, palms faced down, next to your chest, with your elbows bent like chicken wings.
Next, raise your chest off the mat by only using your back muscles, curving your spine upwards, and lifting your legs off the mat using your inner thighs up toward the ceiling as you reach the crown of your head up as high as you can.