Affiliate Disclosure: Runner’s Blueprint is reader-supported. If you buy through links on this page, I may earn a small commission at no extra cost to you.
Looking to buy a running watch but not sure how to choose the right one?
You’re not alone.
One of the most common questions I get as a running coach and blogger is:
“What running watch should I use?”
And honestly, there isn’t a perfect one-size-fits-all answer.
The best watch depends on your training goals, your budget, and how much data you actually want to track.
Right now the fitness market is flooded with options—different brands, designs, features, and price ranges. Some watches focus on basic tracking, while others offer advanced training metrics, coaching features, and multi-sport capabilities.
All of that choice can make buying a running watch feel more confusing than it should be.
So let’s simplify things.
In this guide, I’ll walk you through the key features that actually matter, explain what different types of running watches do, and help you figure out which kind of device fits your training style.
By the end, you should have a clear idea of what to look for—and what you can safely ignore.
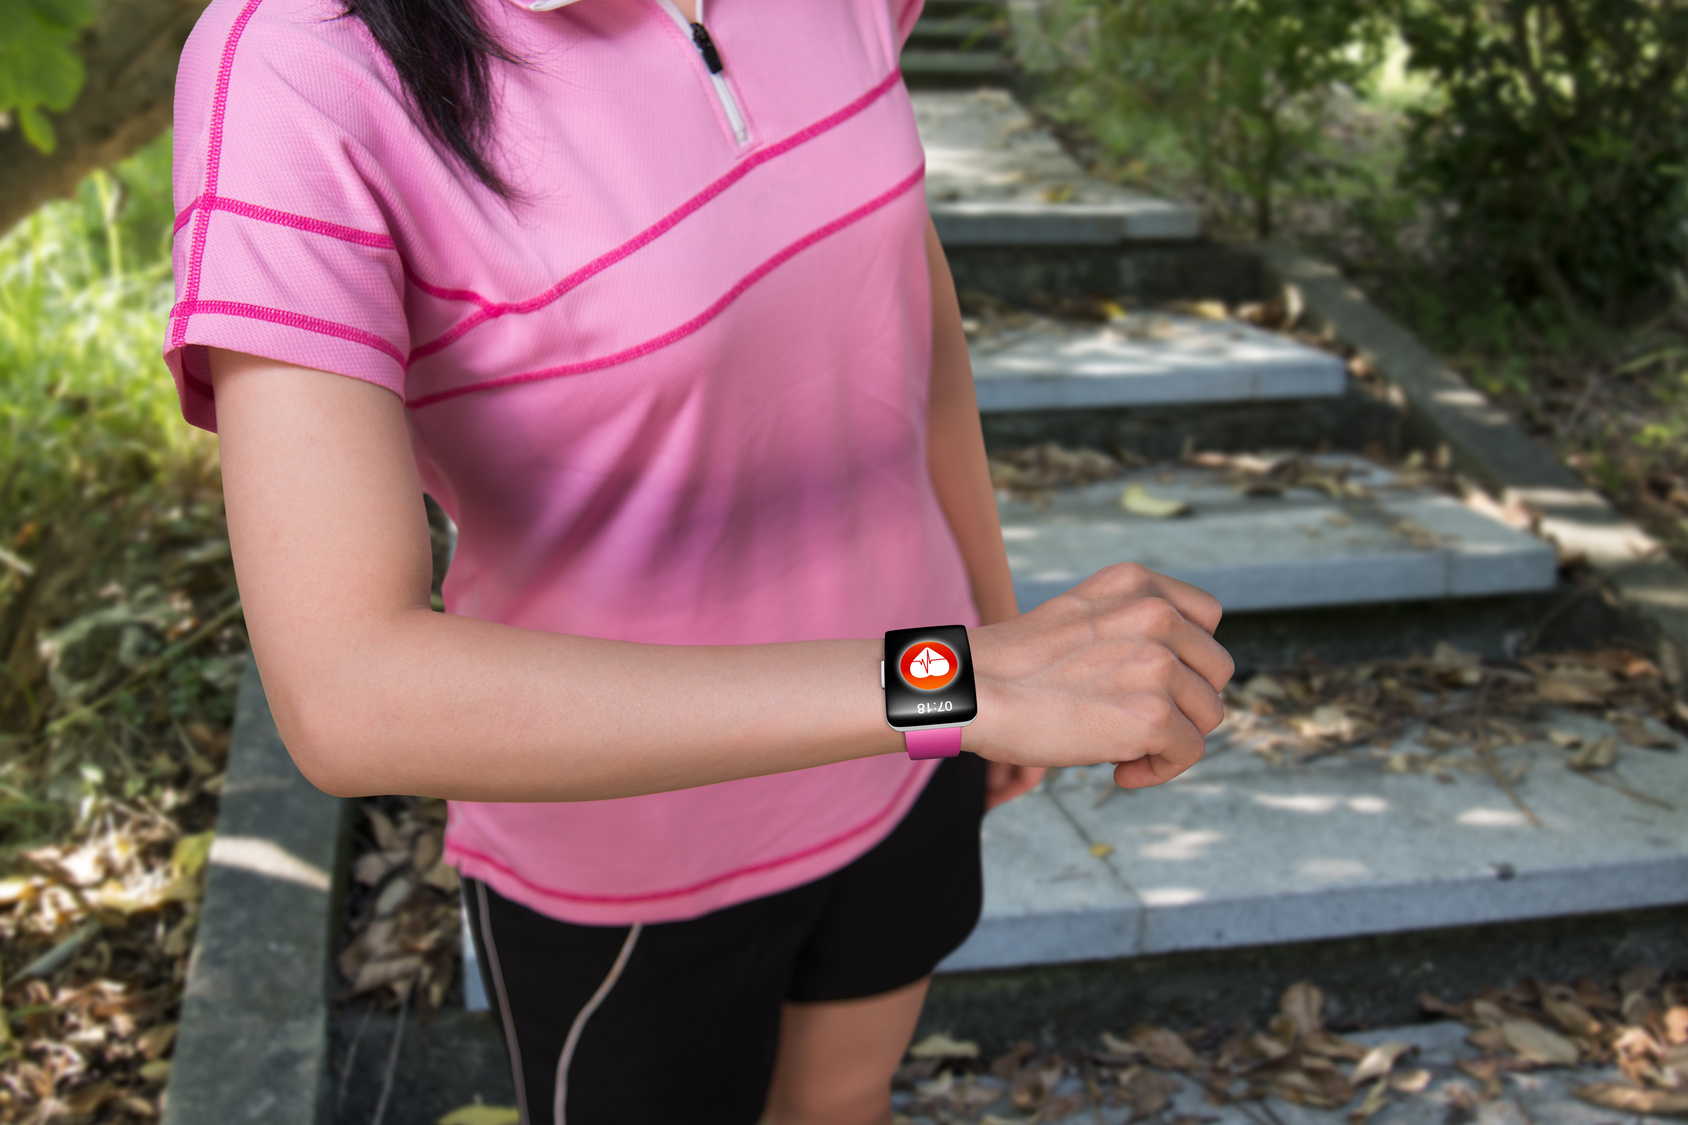
What Is a Running Watch?
A running watch is essentially a fitness tracker designed specifically for runners.
It uses sensors like GPS and heart-rate monitoring to track your runs and give you data such as:
- pace
- distance
- time
- heart rate
- calories burned
More advanced watches can also measure things like cadence, recovery time, training load, and VO₂ max.
The goal isn’t just collecting numbers—it’s helping you understand your training and improve your performance.
The watch you choose should match your goals.
A beginner runner might only need something that tracks pace and distance. A marathoner or triathlete may want deeper training insights and multi-sport features.
And remember:
The most expensive watch isn’t automatically the best one for you.
The best watch is the one that actually supports your training.
Do You Actually Need a Running Watch?
Short answer: No.
A running watch isn’t mandatory.
There are plenty of free smartphone apps that can track your distance, pace, and time.
But if you want more consistent training data—and easier access to your stats during a run—a dedicated watch can be incredibly useful.
A good running watch can help you:
- track progress over time
- monitor pacing during workouts
- follow structured training plans
- understand recovery and workload
Whether you’re just starting out or training for your tenth marathon, the right watch can make your training simpler, more consistent, and more effective.

How To Choose A Running Watch For Beginners
Now let’s get into the specifics.
Choosing the right running watch really comes down to two things:
-
What data you want to track
-
How much you’re willing to spend
Let’s break both of those down.
1. Decide What Data You Actually Need
The first thing to consider is the type of information you want from your watch.
Most running watches track the basics:
- time
- pace or speed
- distance
For many runners, that’s more than enough.
But if you’re training more seriously, you may want additional metrics like heart rate, cadence, or recovery data.
Your running goals should guide your decision.
Here’s a simple way to think about it:
Basic training goals
If you just want to track time, distance, and pace, a basic or mid-level running watch will work perfectly.
Heart rate training
If you follow structured workouts or want to monitor effort levels, look for a watch with a built-in heart rate monitor.
Advanced performance data
If you want deeper insights like cadence, VO₂ max estimates, or training load, you’ll need a mid-level or advanced running watch.
Multi-sport training
If you run, bike, swim, or train for triathlons, choose a multisport watch designed to track multiple activities.
The key point is this:
Don’t pay for data you’ll never use.
2. Understand Running Watch Price Ranges
Once you know what features you want, the next step is setting your budget.
Running watches typically fall into three main price categories.
Under $100 — Basic Running Watches
These are entry-level devices designed for simple tracking.
If you only want to record distance, pace, and time, a basic watch may be all you need.
Just keep in mind that some models in this range:
- rely on your phone for GPS
- offer fewer training features
- have simpler displays
That said, many still include useful extras like:
- activity tracking
- auto-pause
- smartphone connectivity
$100–$300 — Mid-Level Running Watches
This is where most runners end up.
Watches in this range offer significantly more training features without jumping into premium pricing.
Common features include:
- built-in GPS
- heart rate monitoring
- interval training support
- run/walk alerts
- accelerometers for indoor tracking
- longer battery life
For beginner and intermediate runners, this category usually offers the best balance of price and functionality.
$300+ — Advanced Running Watches
Higher-end watches are designed for runners who want deeper performance insights.
These devices often include advanced metrics such as:
- VO₂ max estimates
- vertical oscillation
- recovery and training load tracking
- real-time coaching features
- multi-sport tracking
- triathlon modes
- extended GPS battery life
These watches are ideal for serious runners, endurance athletes, and triathletes who want detailed training data.
But for many recreational runners, they may offer more features than you actually need.
A Simple Rule to Follow
Start with the data you want, not the most expensive watch.
Once you know what metrics actually help your training, choosing the right running watch becomes much easier.
Running Watch Decision Guide
Choosing a running watch doesn’t need to be complicated.
Most runners just want something that tracks their runs reliably without getting lost in a million features.
Here’s a simple cheat sheet.
Which Running Watch Should You Buy?
| If you want… | Choose |
|---|---|
| cheapest reliable watch | Garmin Forerunner 55 |
| best value overall | COROS Pace 3 |
| advanced training metrics | Garmin Forerunner 265 |
| smartwatch + fitness tracking | Apple Watch Series 9 |
| ultimate endurance watch | Garmin Fenix 7 |
The Best Running Watches on the Market
Here are a few of the best running watches worth checking out right now. These models cover different budgets and training needs—from beginner runners to serious endurance athletes.
Garmin Forerunner 55
The Garmin Forerunner 55 is one of the best entry-level running watches available today. It’s simple, reliable, and packed with just enough features to help beginners train smarter.
It tracks core metrics like distance, pace, time, and heart rate, while also offering helpful features like cadence tracking, recovery time suggestions, and basic training guidance.
What’s more, the battery life lasts up to 20 hours in GPS mode, which is excellent for a watch in this price range.
Best for: beginner runners who want reliable GPS tracking without complicated features.
Weight: ~37 g
Battery: ~20 hrs GPS
Display: MIP screen
Price: ~$200
Pros
✔ simple and beginner-friendly
✔ strong battery life
✔ accurate GPS tracking
Cons
✖ basic display
✖ limited smartwatch features
👉 Check current price on Amazon
👉 Check official store
Apple Watch Series 9
If you want a watch that does more than track runs, the Apple Watch Series 9 is one of the most versatile options available.
It tracks running metrics like pace, distance, and heart rate while also offering a wide range of smartwatch features.
The always-on display makes it easy to check your stats mid-run, and features like blood oxygen monitoring, ECG tracking, and smartphone connectivity make it useful beyond running.
Battery life is roughly 18 hours, which is shorter than dedicated running watches but acceptable for most daily workouts.
Best for: runners who want a smartwatch that also tracks workouts.
Key Specs
Weight: ~39 g
Battery: ~18 hrs
Display: always-on Retina
Price: ~$399
Why runners like it
The Apple Watch combines fitness tracking with a full smartwatch experience.
Pros
✔ beautiful display
✔ strong health tracking features
✔ excellent app ecosystem
Cons
✖ shorter battery life
✖ fewer advanced running metrics
👉 Check current price
👉 Check official store
COROS Pace 3
The COROS Pace 3 has become one of the most popular running watches among serious runners—and for good reason.
It offers incredibly strong battery life, accurate GPS tracking, and advanced running metrics at a very competitive price.
The watch can last up to 38 hours in full GPS mode, which makes it ideal for marathon training and long endurance runs.
It’s also extremely lightweight, which means you barely notice it on your wrist.
Best for: runners who want strong performance metrics without paying premium prices.
Key Specs
Weight: ~30 g
Battery: ~38 hrs GPS
Display: always-on memory LCD
Price: ~$230
Why runners like it
The Pace 3 delivers excellent battery life and advanced training metrics at a price that undercuts most competitors.
Pros
✔ incredible battery life
✔ lightweight
✔ strong training metrics
Cons
✖ smaller ecosystem than Garmin
Garmin Forerunner 265
If you want a more advanced running watch with deeper training insights, the Garmin Forerunner 265 is one of the best all-around options on the market.
It includes advanced training features such as:
- VO₂ max estimates
- training load tracking
- recovery time suggestions
- race predictions
The bright AMOLED display also makes it easier to read stats while running.
Battery life reaches about 20 hours in GPS mode and around two weeks in smartwatch mode.
Best for: serious runners who want detailed training insights.
Best for: serious runners
Key Specs
Weight: ~47 g
Battery: ~20 hrs GPS
Display: AMOLED touchscreen
Price: ~$450
Why runners like it
The Forerunner 265 gives runners deeper training insights like recovery time, training load, and race predictions.
Pros
✔ advanced running metrics
✔ bright AMOLED screen
✔ strong Garmin ecosystem
Cons
✖ more expensive than beginner models
👉 View current deals on Amazon
👉 Check official store
Garmin Fenix 7
For runners who want a premium watch that can handle almost any sport, the Garmin Fenix 7 is a powerhouse.
It’s built for endurance athletes and outdoor adventurers, offering features like:
- multi-band GPS
- advanced mapping
- multi-sport tracking
- ultra-long battery life
In GPS mode, the battery can last up to 57 hours depending on settings, making it ideal for ultramarathons or long adventures.
Best for: advanced athletes and multi-sport training.
Key Specs
Weight: ~79 g
Battery: up to ~57 hrs GPS
Display: MIP screen
Price: ~$700+
Why runners like it
The Fenix 7 is designed for endurance athletes who want long battery life and deep training insights.
Pros
✔ extremely long battery life
✔ rugged build
✔ advanced navigation features
Cons
✖ expensive
✖ heavier than most running watches
👉 Compare models on Amazon
👉 Check official store
Running Watch Battery Life Comparison
Battery life becomes really important once your runs start getting longer.
Especially if you’re training for races like marathons, ultras, or triathlons.
Here’s how some of the most popular running watches compare.
| Watch | GPS Battery Life |
|---|---|
| Garmin Forerunner 55 | ~20 hours |
| COROS Pace 3 | ~38 hours |
| Apple Watch Series 9 | ~18 hours |
| Garmin Forerunner 265 | ~20 hours |
| Garmin Fenix 7 | ~57 hours |
Quick takeaway
If battery life matters most, COROS Pace 3 and Garmin Fenix are the clear winners.
Where to Find a Cheap Running Watch
If you want to buy a running watch at a better price, it pays to shop around.
Major sales events like Black Friday, Cyber Monday, and New Year sales are often the best times to find discounts.
You can also save money by buying last year’s model, which usually performs almost as well as the newest release.
Another option is purchasing a lightly used watch from reputable resale sites, which can significantly reduce the price.
Running Watch FAQ
Here are a few questions runners ask all the time when they’re thinking about buying their first running watch.
Do beginners actually need a running watch?
Not necessarily.
Many beginners use smartphone apps like Strava or Nike Run Club.
But a dedicated running watch makes tracking pace and distance much easier during workouts, and it’s usually more accurate than a phone.
Are Garmin watches better than Apple Watch for running?
For serious training, yes.
Garmin watches focus heavily on performance metrics like training load, recovery time, and VO₂ max.
Apple Watches are excellent smartwatches, but their battery life and advanced running features aren’t as strong.
How accurate are GPS running watches?
Most modern running watches are very accurate.
However, GPS accuracy can vary depending on factors like buildings, trees, or weather conditions.
High-end watches with multi-band GPS tend to perform best in difficult environments.
How long do running watches usually last?
Most running watches last 3–5 years before the battery begins to noticeably degrade.
Durability also depends on how often the watch is used and whether it’s exposed to harsh conditions.
Is a running watch worth the money?
For many runners, yes.
A good running watch can help you pace workouts, track progress over time, and stay consistent with your training.
But it’s still just a tool.
The real improvements come from the work you put into your running.
The Conclusion
When looking for a new GPS running watch, it’s key to consider exactly what features you need as well as your future needs. The rest is just detail, really.
Please feel free to leave your comments and questions in the section below.
In the meantime, thank you for dropping by.
Keep running strong.
David D.