If you’ve ever felt a sharp or dull pain in your lower legs while running, you may have experienced shin splints.
This pesky injury seems to sneak up out of nowhere and turn every step into a battle.
I’ve worked with so many runners who’ve faced this frustrating condition, and I’ve dealt with it myself—more times than I’d like to admit.
It can put a serious damper on your running routine, but there are ways to manage and prevent it.
In this guide, we’ll go over everything you need to know about shin splints—what causes them, how to treat them, and, most importantly, how to keep them from coming back.
Let’s get to it.
What Exactly Are Shin Splints?
If you’re a runner, chances are you’ve experienced shin splints at some point.
Also known as medial tibial stress syndrome (MTSS), shin splints happen when too much stress is placed on the shinbone (tibia) and the surrounding muscles and tissues. This overuse causes inflammation and discomfort along the inner edge of your lower leg.
Think of your shinbone like the foundation of a building.
When there’s too much pressure, small cracks and stress points can start to form, and that’s what happens to your shins with too much running, especially on hard surfaces.
In my rookie running days, I shrugged off those first shin twinges as just regular old soreness. But that soreness turned into a constant ache.
It finally got to the point where every step was painful, and I had to take a break—one of the toughest things for any runner.
Inside Look: What’s Going On With Shin Splints?
At their core, shin splints are caused by a kind of mechanical breakdown in the lower leg. That’s why understanding the anatomical makeup of the lower legs may improve your understanding of these causative variables.
So, let’s dive into a quick Anatomy 101
As you can see in the picture, the lower legs comprise many muscles, bones, and tendons. The primary structures of the lower leg affected by the pain caused by shin splints are:
The Tibia and Fibula
These are the two primary bones that make up the lower leg. The tibia is found on the inside of the medial part, whereas the fibula is located on the lower leg’s outside, the lateral part. They play a huge role in keeping your knees, hips, and pelvis stable while you run.
The Lower Leg Muscles
These include:
- Soleus (Lower calf),
- Gastrocnemius (Upper calf);
- Plantaris (Upper calf);
- Tibialis posterior (Upper calf), and
- Tibialis anterior (Shin).
Together, the muscles move your lower leg and stabilize your foot and ankle. They’re all associated—in one way or another—with shin splints pain. Overuse of these muscles can cause a pull on the fibula and tibia bones, causing shin-splints-related pain.
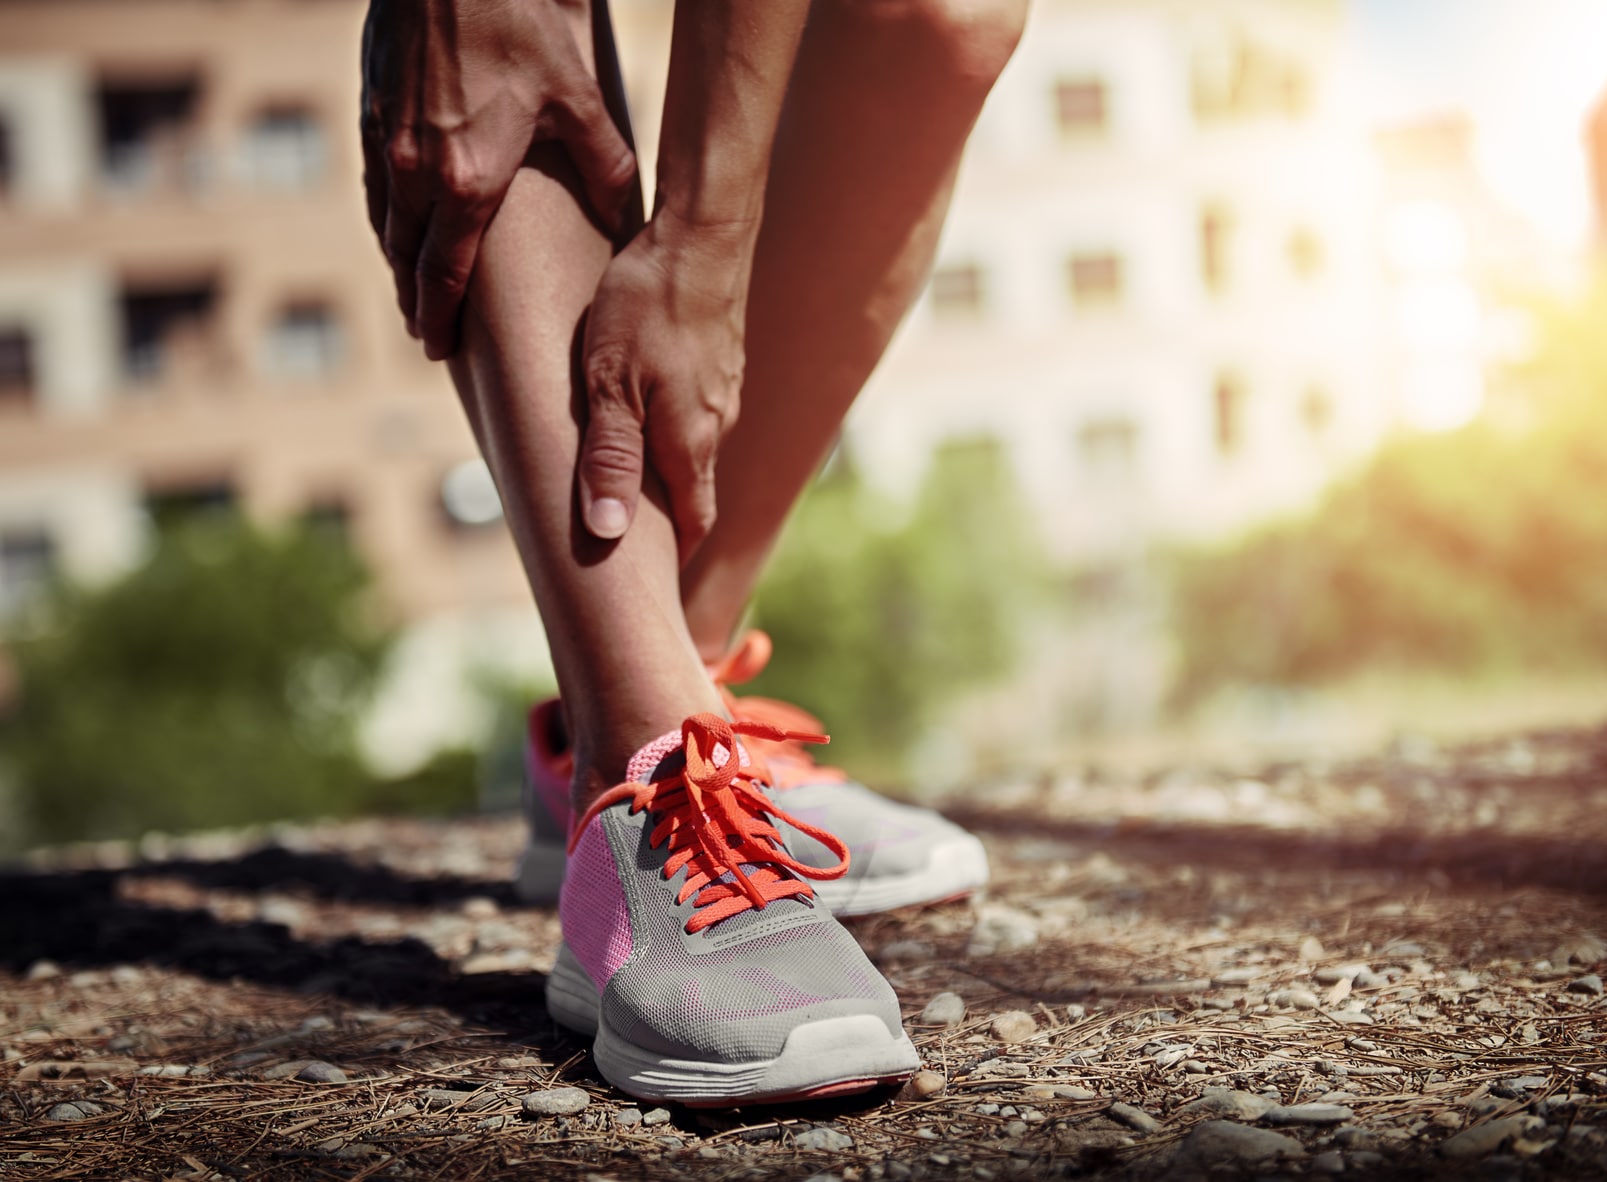
What Shin Splints Feel Like
Shin splints can sneak up on you, starting with a dull ache that only bothers you during or after a run. However, if you ignore the symptoms, the pain can get worse and last longer, sometimes even during your daily activities.
You might notice symptoms like:
- Pain along the inside edge of your shinbone (usually in both legs)
- Tenderness along the shinbone, especially when touched
- Swelling in the lower leg
- Pain during exercise that may persist afterward
It’s often worse in the morning, thanks to your muscles tightening up while you sleep
If you press along the shinbone, you may also feel lumps or bumps. In more severe cases, the connective tissue around the shinbone can separate from the bone, causing intense pain and requiring a longer recovery period.
I remember waking up one morning, and the moment I stepped out of bed, my shins felt so tight and sore that I had to limp to the bathroom. That’s when I knew it wasn’t just regular muscle soreness anymore.
The pain was dull but constant, especially in the mornings, and I could feel small bumps along the shinbone. It got to a point where even walking felt like a chore. I realized I had to step back from running and start treating the issue properly.
Shin Pain is not Always A Shin Splint
As mentioned in the definition section, shin pain is not always a case of shin splints.
Other ailments and injuries plague the lower legs other than MTSS.
For example, pain and tenderness on the outside part of the lower leg might be blamed on compartment syndrome, which occurs when excessive pressure builds up within a “closed compartment,” leading to swelling and pain.
I once mistook a stress fracture for shin splints. I kept training through the pain, thinking, “It’s just shin splints, I can handle it.” But when the pain didn’t go away, I finally saw a doctor who diagnosed me with a stress fracture.
It was a wake-up call.
Not all shin pain is the same, and if it’s not going away with rest, it’s worth getting it checked out. Ignoring it could land you in a boot for months, exactly what happened to me!
Figuring Out If It’s Really Shin Splints
The surest way to pin down shin splints is by seeing a physical therapist or a sports medicine doc. They should perform a thorough physical examination as well as look at your training volume, physiology and risk factors.
You’ll want to cover the basics before making any decisions.
If you’ve been experiencing pain for long periods, you might need additional testing to rule out other conditions.
The most common method is a simple scan to help rule out a larger tear in the local tendons or a tibia stress fracture. A compartment pressure test can also be conducted to rule out chronic exertional compartment syndrome
Testing At Home
To check for the condition, squeeze the lower two-thirds of your lower leg, including the shin bone and the surrounding muscular structure.
You’re positive if you feel pain, bumps, or lumps all along the bone.
In extreme cases, shin splints can become so bad that’s impossible to even stand or walk on the injured limb without experiencing excruciating pain.
Why Do Shin Splints Happen?
Understanding the causes of shin splints is crucial for treating and preventing them.
My first bout with shin splints happened when I was a complete beginner. I was so excited about running that I went from zero to five miles in two weeks.
I had no idea what I was doing, and my legs were paying the price. I quickly learned that my body needed more time to adapt. It’s easy to fall into the trap of doing too much too soon, but taking it slow will save you from a world of pain.
Here’s a breakdown of the most common reasons runners experience shin splints:
Doing Too Much, Too Soon
This is by far the number one reason runners get shin splints. When you suddenly increase your running volume—distance, speed, or frequency—your body doesn’t have enough time to adapt. This is especially true for new runners or those returning from a long break.
Your muscles, bones, and tendons need time to adjust to the impact of running, and when you push them too hard, too quickly, they can become overworked. It’s like trying to lift heavy weights without training—your body simply isn’t prepared for the load, and injuries result.
Improper Footwear
Wearing the wrong shoes is another big contributor to shin splints. Running shoes are designed to absorb shock and support your feet, but they can’t do their job properly if worn out or not suited to your foot type. Shoes that lack proper cushioning or don’t offer enough stability can lead to poor biomechanics and put extra strain on your lower legs.
If your shoes are too old (most running shoes need to be replaced every 300-500 miles) or don’t support your running style, your shins will bear the brunt of the impact.
Running on Hard Surfaces
Running on hard surfaces like concrete or asphalt increases the impact on your legs with each step. While running on these surfaces isn’t inherently bad, the constant pounding can wear down your bones and muscles over time. You’re more likely to develop shin splints if you’re always running on hard surfaces, especially increasing mileage.
Flat Feet or Overpronation
If you have flat feet or overpronate (meaning your foot rolls inward too much when you run), it stresses your lower legs, particularly the muscles and tendons around your shins. This abnormal motion can lead to shin splints because it causes your tibia to absorb more impact than it should.
Weak Muscles
Weakness in the muscles surrounding your shins, calves, and ankles can leave them unable to handle the repetitive stress of running. Without enough strength, your muscles get fatigued more quickly, leading to strain on the tibia.
Treating Shin Splints: Here’s What Works
When my shin splints hit hard, resting was my only option.
I went from running six days a week to barely being able to walk without discomfort. I started icing my legs, stretching, and doing strength training, especially calf raises, to support the muscles around my shin.
It was frustrating, but after a couple of weeks, I finally saw improvement.
Let me explain more what you need to do to treat this super annoying condition.
Take a Break
I know it sounds repetitive, but taking a break is crucial for healing shin splints.. Continuing to run through the pain will only make the condition worse. I know it’s tough to stop, but you need to give your body time to heal. This might mean taking a break from running for a week, two, or even longer.
If you still want to stay active during your recovery, consider low-impact activities like swimming, cycling, or using the elliptical. These exercises won’t put as much stress on your shins while still allowing you to maintain your fitness.
Ice
Applying ice to the affected area can help reduce inflammation and ease the pain. Ice your shins for 15 to 20 minutes at a time, several times a day, especially after any physical activity.
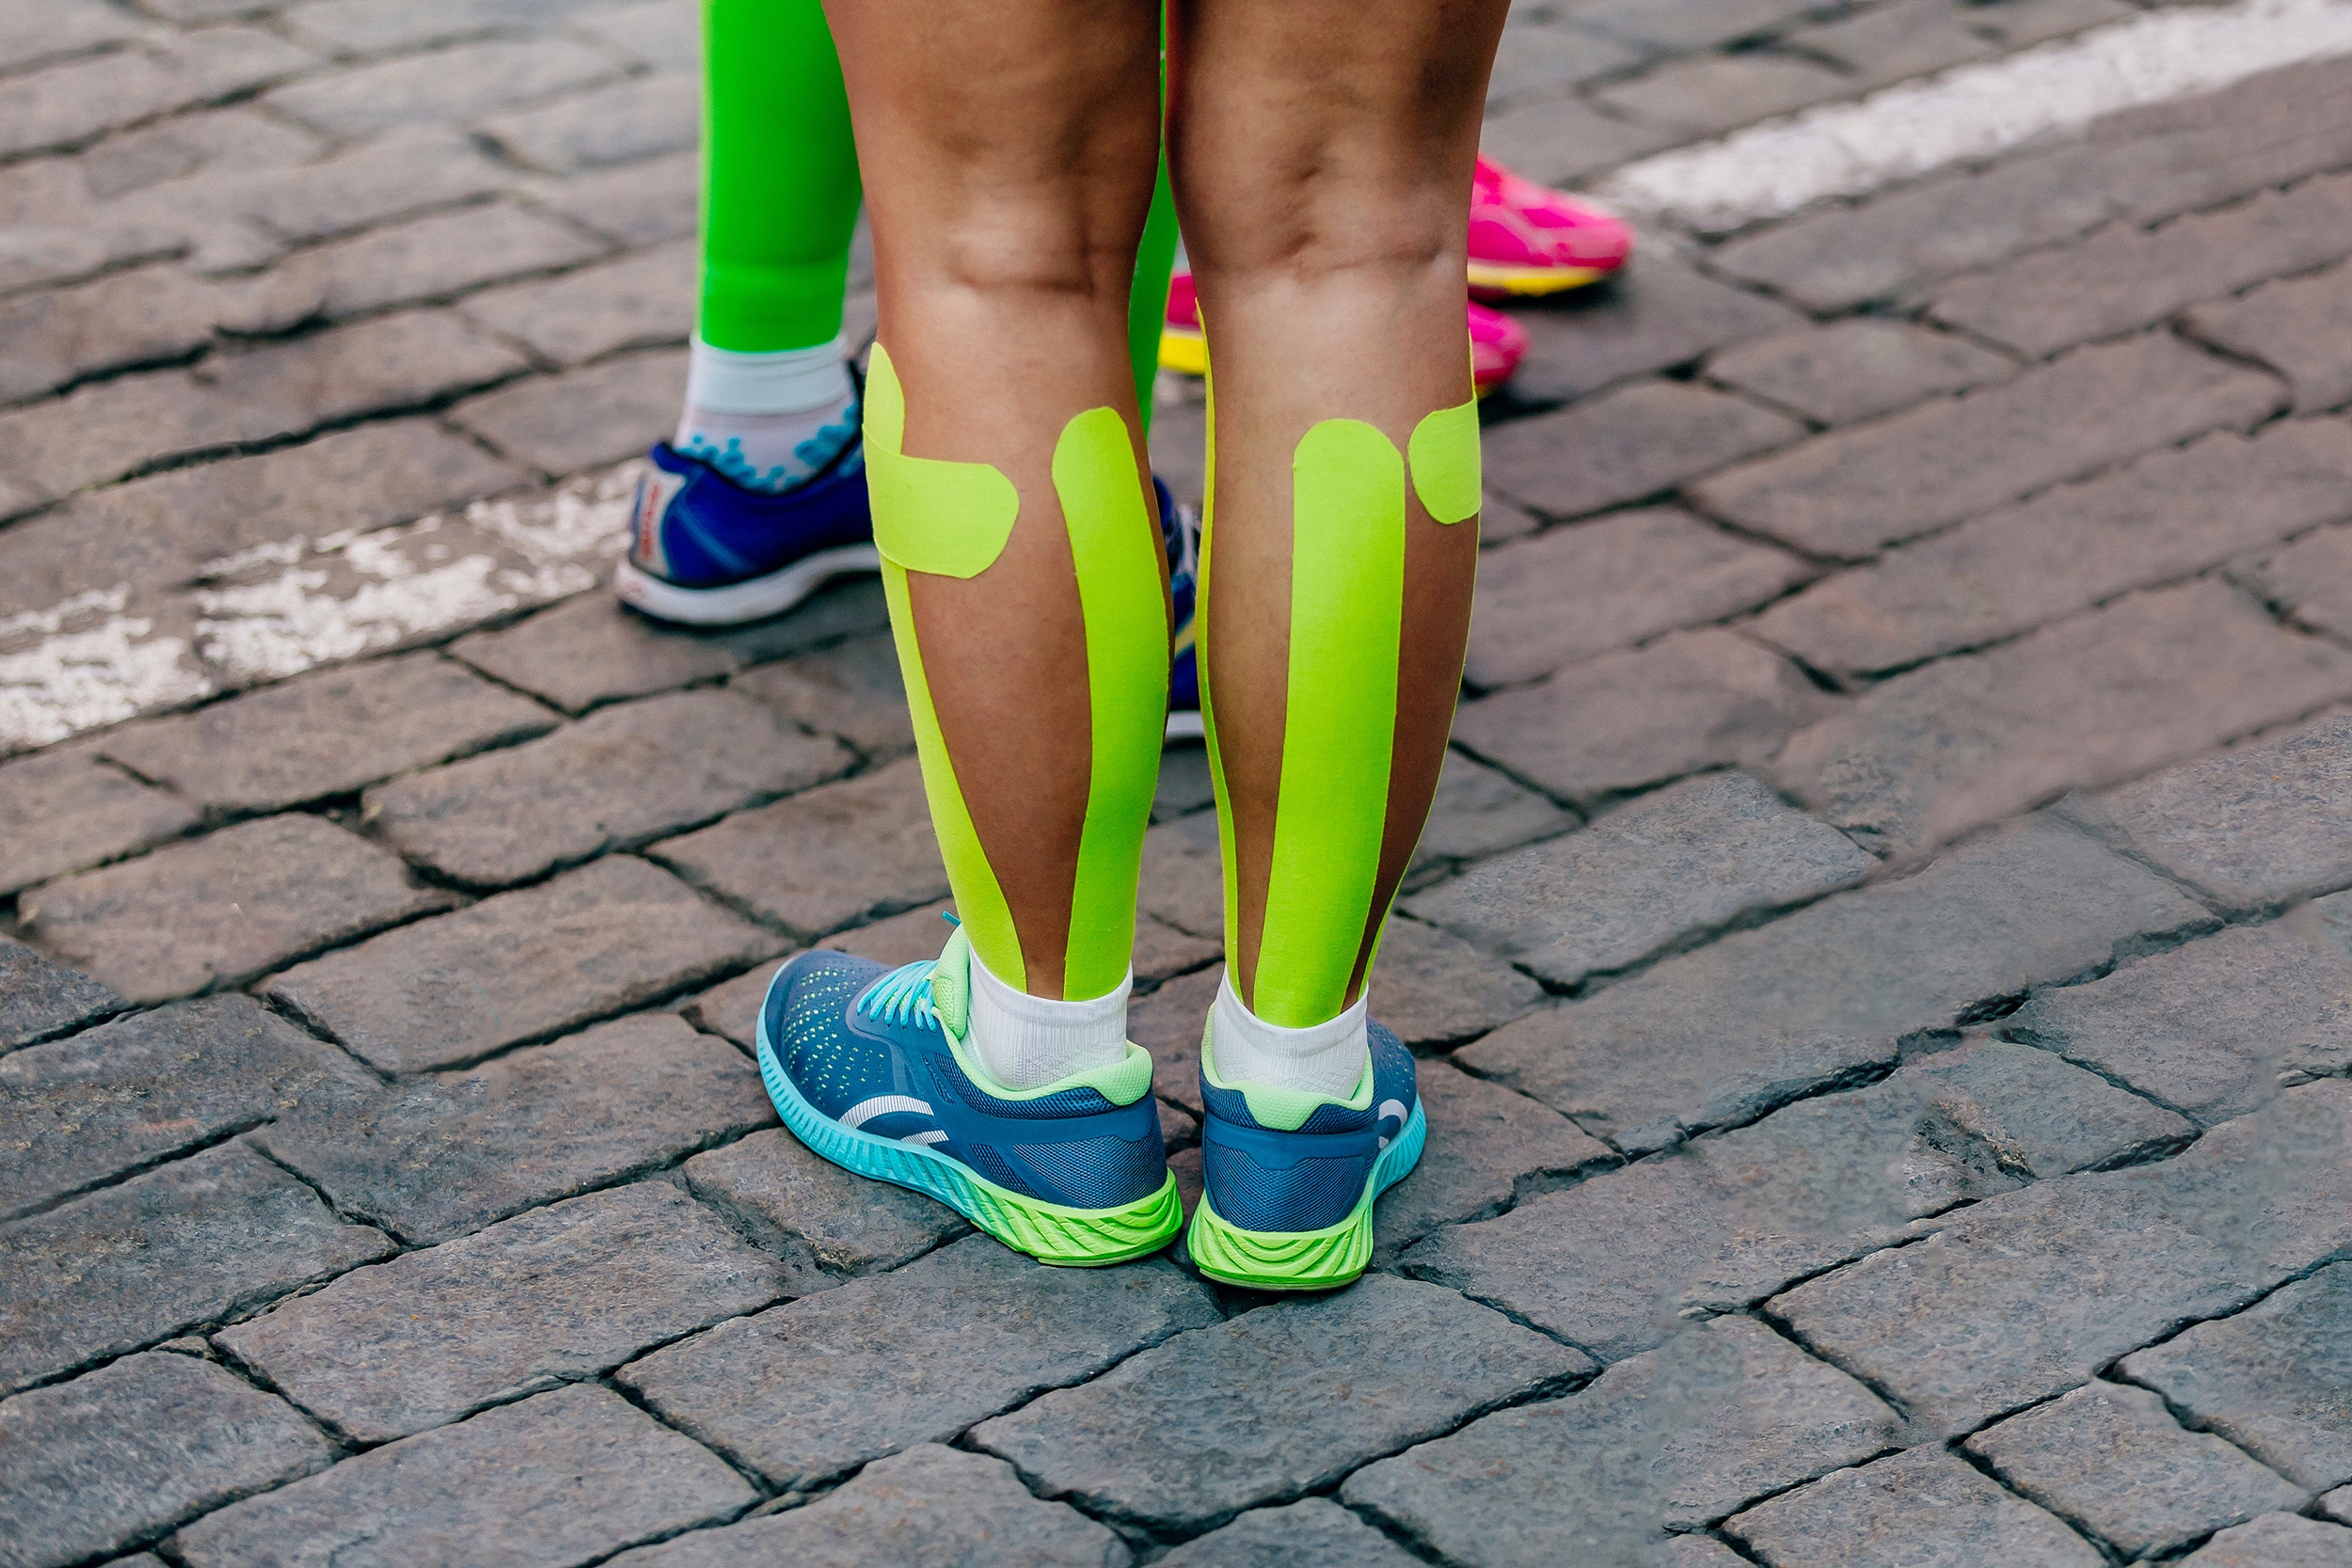
Compression
Wearing compression sleeves or socks can help reduce swelling and improve blood circulation, which may speed up the healing process. Compression socks specifically designed for runners are a great option.
Medication
In cases of severe pain, consider taking Nonsteroidal anti-inflammatory drugs ( NSAIDs), like aspirin or ibuprofen, to soothe the pain and speed up recovery.
But be careful not to overdo it.
Research shows that these over-the-counter pills have side effects, like ulcers. That’s why you should only take them for a short period, preferably under the guidance of a certified physician.
Stretching and Strengthening
Building strength and flexibility in your lower legs can make a big difference in recovering from shin splints and preventing them from coming back. Here are some effective exercises to target your calves, shins, and supporting muscles.
Calf Raises. Strengthening your calf muscles is essential for absorbing impact while running, which helps to reduce stress on your shins.
How to Do It: Stand on a flat surface with your feet hip-width apart. Slowly rise up onto your toes, then lower back down with control.
Sets & Reps: Aim for 3 sets of 15-20 reps.
Toe Taps. This simple exercise targets the muscles at the front of your lower leg, helping to balance and stabilize your shin area.
How to Do It: Sit in a chair with your feet flat on the ground. Lift your toes up, then tap them down for 1-2 minutes.
Calf and Hamstring Stretches. Maintaining flexibility in your calves and hamstrings can ease tension in the lower legs, helping to alleviate shin pain and prevent strain.
How to Do It:
Calf Stretch: Stand facing a wall, place one foot back, and press your heel into the ground while keeping your knee straight. Hold for 30 seconds on each leg.
Hamstring Stretch: Sit on the ground with one leg extended and the other bent in. Reach toward your toes on the extended leg, keeping your back straight. Hold for 30 seconds, then switch sides.
Ankle Circles. Strengthening and loosening up your ankle area also supports the muscles around your shin, reducing the risk of overuse injuries.
How to Do It: Sit or stand, and extend one leg. Slowly rotate your ankle in big circles, first clockwise, then counterclockwise, for about 1-2 minutes on each side.
How Long Does It Take to Recover?
In my experience, recovery time varies. The first time I had shin splints, I ignored the signs and kept running until the pain became unbearable. That turned into a two-month recovery process.
The second time around, I caught it early, rested immediately, and was back to running within three weeks. The lesson here? Listen to your body early on to speed up recovery.
In most cases, mild shin splints will improve after a week or two of rest and treatment. More severe cases might take up to six weeks or longer, especially if the pain persists or if you’re dealing with a stress fracture.
When I finally felt ready to run again after dealing with shin splints, I was nervous. The last thing I wanted was to reinjure myself. I started with short, slow runs, focusing on how my legs felt.
Instead of pushing for mileage, I paid attention to my form and made sure to run on softer surfaces to ease back into things. I was able to gradually increase my distance without a relapse, and those small steps made all the difference.
So whatever you do, don’t rush back into running! Start with short, easy runs once your pain has subsided, and gradually build up your mileage.
How to Prevent Shin Splints
After dealing with shin splints multiple times, I’ve adopted the motto: “Prevention is better than cure.”
Here are the best ways to avoid shin splints in the future:
Gradual Progression
Avoid the temptation to increase your mileage or speed too quickly. As I mentioned earlier, the 10% rule is a great guideline—don’t increase your mileage by more than 10% each week. This gradual progression allows your body to adapt to the increased stress without overloading your muscles and bones.
Proper Footwear
Wearing the right running shoes is critical for preventing shin splints. Make sure your shoes provide adequate support and cushioning for your foot type. If your shoes are old or worn out, replace them every 300 to 500 miles to ensure they’re still protecting your feet.
Strengthen Your Muscles
Strength training is key to preventing shin splints. Strong muscles can better absorb the impact of running, reducing the strain on your bones and tendons. Focus on exercises that target your calves, shins, and hips.
Try doing calf raises, toe taps, and lunges a few times a week to keep your muscles strong and resilient.
Improve Your Running Form
Running with proper form can also help prevent shin splints. Avoid overstriding (landing with your foot too far in front of your body), which increases the impact on your shins. Instead, aim to land with your foot directly under your body and focus on increasing your cadence to around 170-180 steps per minute.
Wrapping Up:
Shin splints can be a frustrating injury, but with the right treatment and prevention strategies, you can get back to running without pain. Remember to listen to your body, take rest days when needed, and build up your training gradually.
Whether you’re a beginner or an experienced runner, these tips will help keep you on the road (or trail) and injury-free.
Thank you for reading!
Got questions or need some tips? Just drop a comment below—I’m here to help!
Happy running, and stay strong!