I’ve gotten lost on trails more times than I care to admit.
One time, I chased a random runner and ended up miles off-course.
Another time, I thought I could navigate a backwoods trail based on nothing but gut instinct.
Yeah, it didn’t end well.
I could keep going, but I think you get the idea—getting lost on the trail happens to the best of us.
The key? Knowing how to minimize the chances, staying calm when it does happen, and avoiding making the situation worse.
In this guide, I’m going to break down the best ways to avoid getting lost while trail running and how to stay calm if it happens.
The more you prep, the more you can focus on enjoying the run—and maybe even take that wrong turn with a little more confidence.
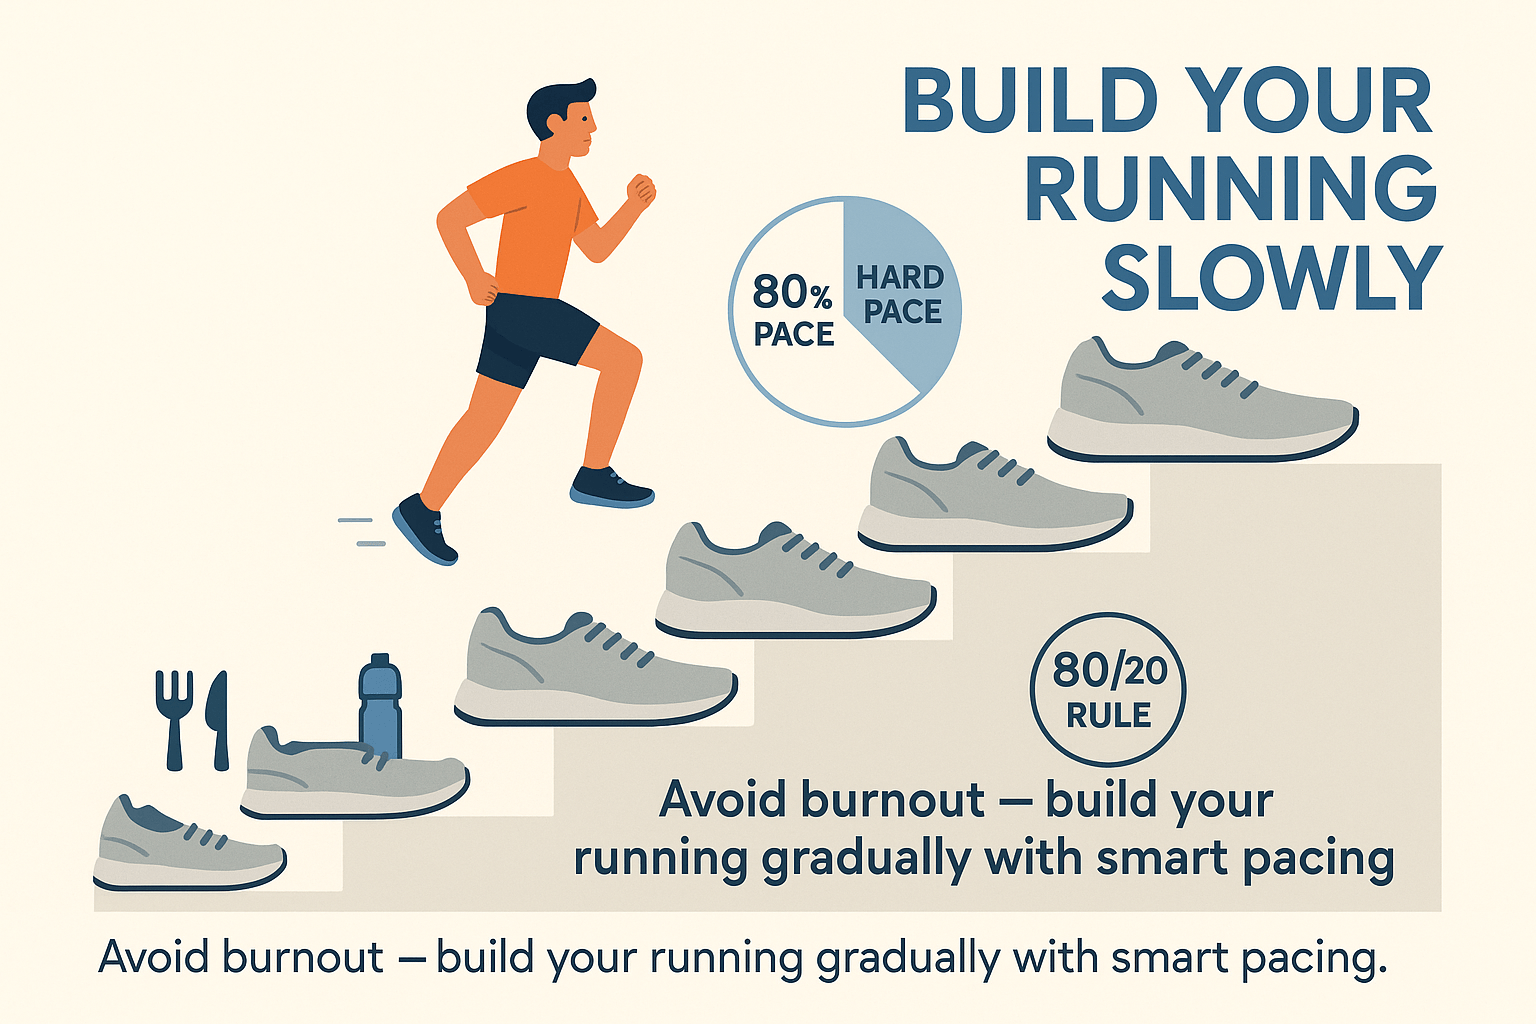
Start Slow and Pick Easy Trails
When you first start running on trails, don’t go for the toughest one right away.
I know it’s tempting to pick a cool, wild trail, but trust me—if it’s not marked well, you’ll get lost pretty quickly.
And I’m speaking from personal experience of course.
On one of my first trail runs, I turned the wrong way and ended up hiking up a mountain on a trail that looked like nobody had been there for years.
It was a rookie mistake.
Luckily, I found my way back, but it could’ve been much worse.
Here’s my advice: Stick to well-marked, easy-to-follow trails when you’re starting out.
You don’t want to waste your time worrying about getting lost, especially when you’re still learning how to find your way.
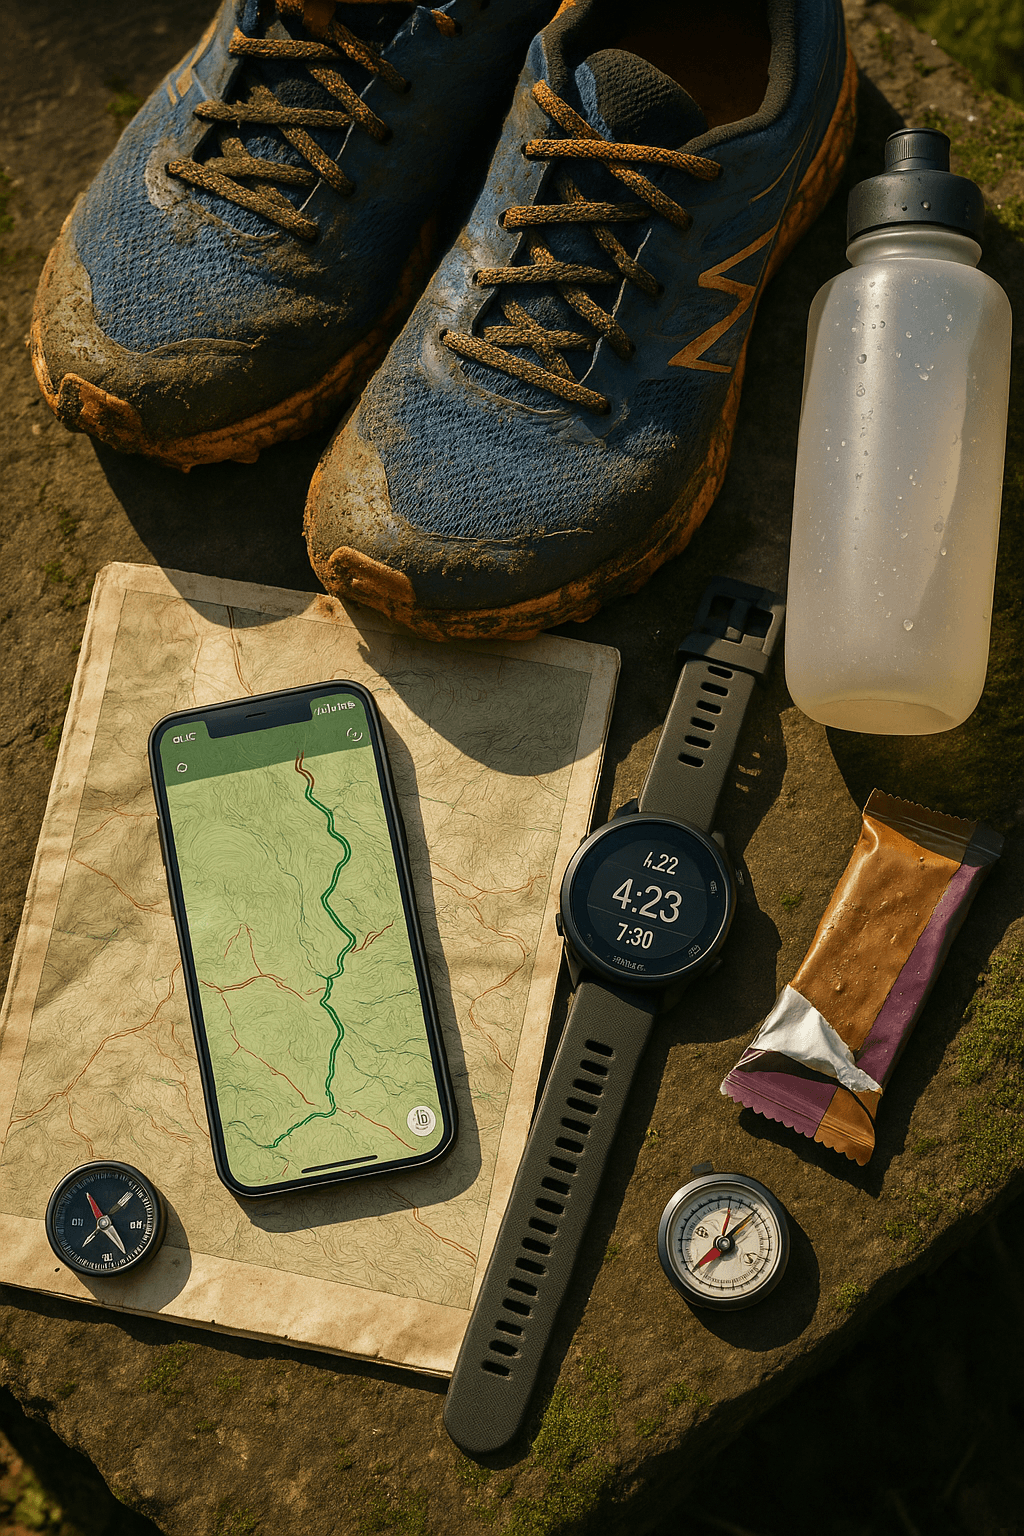
Use Your Phone
It’s easy to trust your phone’s GPS or a fancy watch when you’re running, but out on remote trails, the signal can disappear pretty fast.
Here’s what I do: I use both a paper map and my phone.
Why? Because phones run out of battery. It’s always smart to be ready for anything.
Before you go, download your trail maps so you can still use them if the signal drops. Apps like Gaia GPS or AllTrails are great for this.
And if you have a watch, set up your route on it before you head out so you’re ready—even if you go off the grid.
One more tip: put a pin on your phone where you parked. That way, if you get lost, you can always find your way back to the car. It’s way easier than hoping your watch will magically save you. Safety matters!
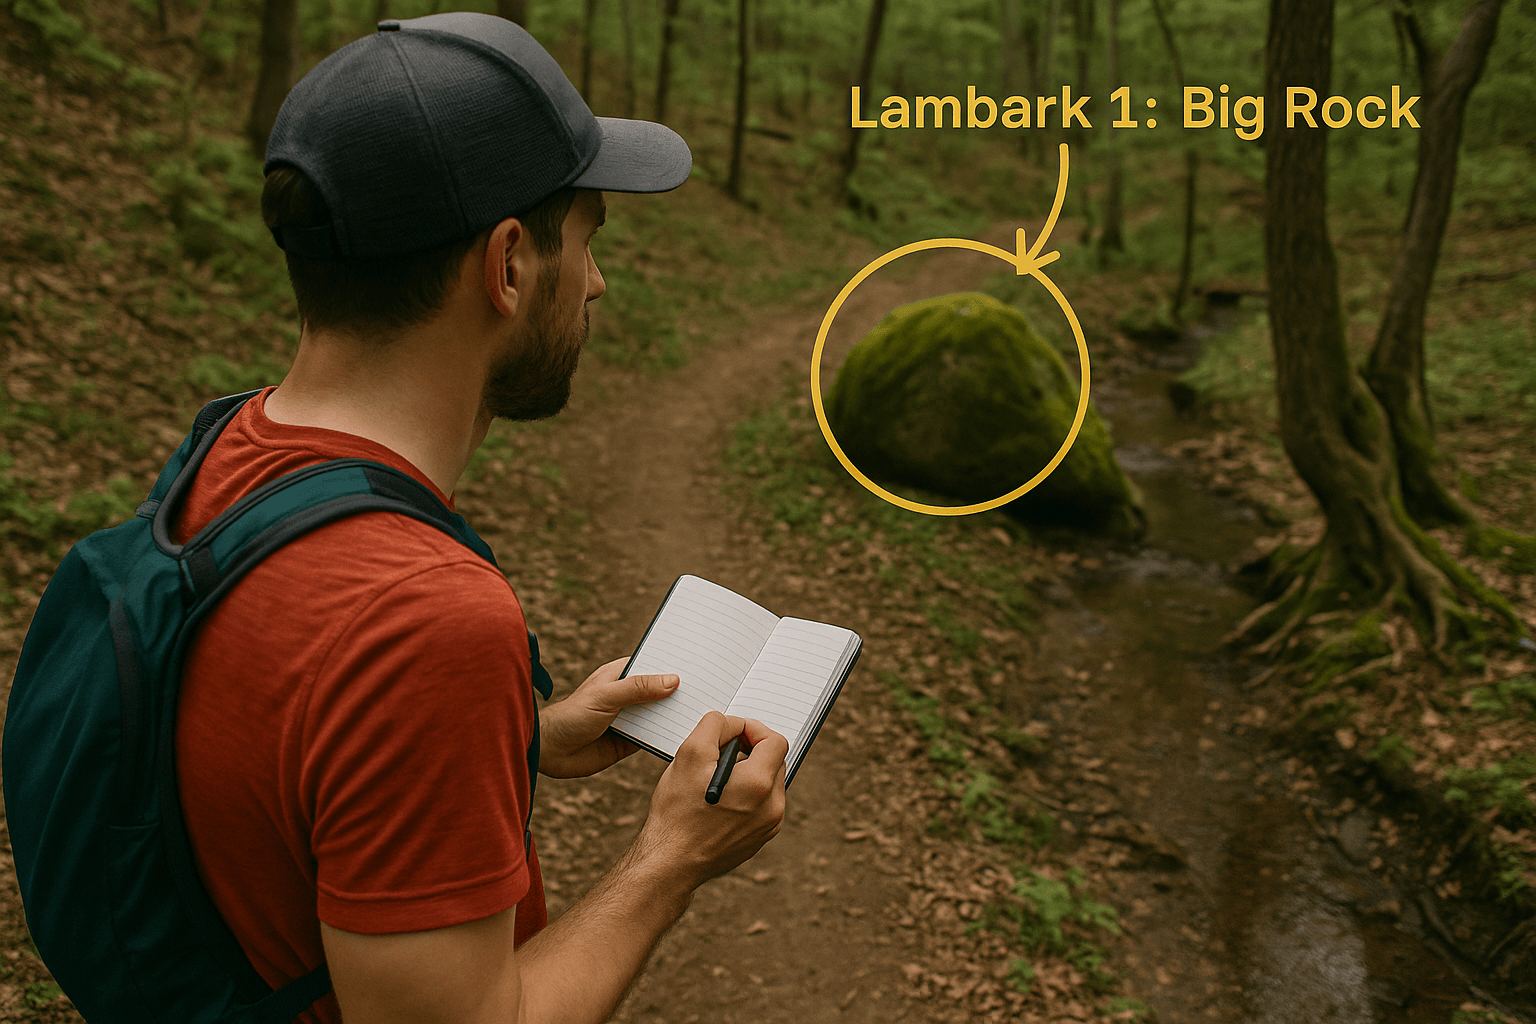
Know the Landmarks
I love trail running because it’s a chance to zone out and enjoy nature. But when you’re really into the run, it’s easy to lose track of where you are.
Here’s my rule: Pay attention to the first few minutes of your run.
Look for landmarks like big rocks, stream crossings, or big trees. These are the things that will help you find your way back.
If you remember these markers, even if you get a little lost, you can retrace your steps. It really makes a difference!
Stick to Marked Trails
I get it—some people like a little adventure, but if you don’t know the area well, stick to the marked trails. If you’re unsure, stay away from animal trails or those tempting “shortcuts.” They might seem fun, but they can easily lead you into the unknown.
The more people there are on a trail, the more likely you’ll find someone if you need help. Stick to the popular trails, and you’ll be safe!
Plan Your Route Ahead of Time
Planning is key to not getting lost.
Before you head out, take 10 minutes to check your route on a map or app. It’s worth it!
When I first started trail running, I never planned, and I regretted it every time I got lost in unfamiliar places. A little planning can help you feel more confident and make your run a lot more enjoyable.
Tell Someone Where You’re Going
I know it sounds basic, but this is super important:
Always tell someone where you’re going and when you plan to be back.
Even if it’s just a short run, things can go wrong.
If you’re running alone, this is a must.
The last thing you want is for someone to get worried because they can’t reach you. A quick check-in can make all the difference if something goes wrong.
Stay Calm and Backtrack If You Need To
If you get lost, don’t freak out. Just stop, take a deep breath, and look around.
Start by retracing your steps. I’ve been there—thinking I was totally lost, only to realize I missed a turn just five minutes ago.
Going back to where you last felt good can save you a lot of trouble and help you get back on track quickly.
Know When to Turn Back
Here’s the deal: Trail running isn’t about pushing yourself too hard. It’s about being smart.
If you feel like the trail’s getting rougher, the weather’s turning, or you’re just too tired—turn around. It’s not a failure, it’s being safe. You might think running just one more mile will be fine, but it could turn into a bad situation.
Knowing when to stop is part of staying safe and being ready for your next run. And hey, you can always try again when the conditions are better!
Stay Calm and Breathe
Trail running can be scary sometimes, especially when things start looking unfamiliar. Feeling nervous is normal, but panicking won’t help.
If you get lost, try to stay calm. It helps you think clearly and get back on track.
A trick I use is called box breathing: breathe in for four seconds, hold for four seconds, and breathe out for four.
It slows everything down and helps you think better.
Look around for landmarks like a big rock or a stream. They’ll help you figure out where you are. And if you’re in doubt, just stop, breathe, and think. It works!
Solo Running vs. Running with Friends
Running alone can be amazing. You get to clear your mind and enjoy the run. But solo running on unfamiliar trails can be risky.
If you’re not familiar with the area, it’s smart to bring a friend or run with a group. Having someone with you can help you stay on track, and if things go wrong, they’ll be there to help.
But running solo doesn’t have to be dangerous.
If you know the route, carry a map, and always tell someone where you’re going, you’ll be fine.
Solo runs are great if you’re on familiar trails, but if you’re on unfamiliar ones, it’s smart to bring someone with you.
Hydration and Extra Supplies
I might sound like a broken record but proper hydration is really important—especially on the trail.
Sometimes the trail will surprise you. You don’t want to get stuck without enough water or snacks, especially if your run takes longer than expected.
Always carry extra water, even if you think you won’t need it. Being thirsty in the middle of nowhere is no fun.
Pack snacks too, like energy bars or gels. They’ll keep you going. And if you’re deep in the woods, bring a water filter or purification tablets.
If you run out of water, you can grab some from a creek without worrying about getting sick. It’s always better to be safe than sorry.
Talking to Locals and Trail Communities
This one’s huge: Talk to locals who know the trails. I’m serious, don’t skip this step.
There are tons of online forums, local groups, and Facebook communities where experienced trail runners share their tips. They know the best routes and can warn you about tricky spots.
I’ve learned so much from talking to locals, and sometimes they’ll even offer to run with you. Running with someone who knows the trail makes everything less stressful and more fun.
Plus, you get all the insider info.
Conclusion:
Getting lost on a trail is just part of the adventure, but it doesn’t have to be scary. With a little planning and the right gear, you can stay safe and enjoy every step.
Whether it’s your first trail run or your hundredth, remember—it’s not just about finishing the run; it’s about getting there safely. So lace up, get out there, and enjoy exploring the trails!