I wasn’t always a runner who knew what they were doing.
When I started, I thought just showing up and jogging for 20 to 30 minutes would magically melt off the pounds.
Spoiler: it didn’t.
It took me a while to understand but I learned that losing weight by running isn’t just about logging minutes on the clock.
It’s about how you run those minutes, how you fuel your body, and how you recover so you can keep coming back stronger.
If you’re ready for no BS, no quick fixes, just straight-up real advice from someone who’s been there, this article is for you.
Keep reading, and I’ll show you exactly what works when running 30 minutes a day meets smart habits — so you actually see results without burning out or spinning your wheels.
Let’s get to it
How Many Calories Can You Burn Running 30 Minutes a Day?
You’ve probably heard that running for 30 minutes a day can burn a lot of calories.
Here’s the lowdown: running for 30 minutes can burn anywhere between 200 and 500 calories.
It all depends on your pace and how much you’re willing to push yourself.
For example, a 150-pound person can burn approximately 240 calories running at a moderate pace for 30 minutes (according to the American Council on Exercise).
The secret? The faster and harder you run, the more those calories will vanish. A brisk jog won’t burn as many calories as pushing the pace and really challenging yourself.
So don’t kid yourself—just because you ran around the block doesn’t mean you can stuff your face with a burrito and call it even.
Instead, let’s get real—eat smart.
You don’t need to starve yourself, but keeping those portions in check is key to staying on track.
Why Running Alone Won’t Make You Lose Weight
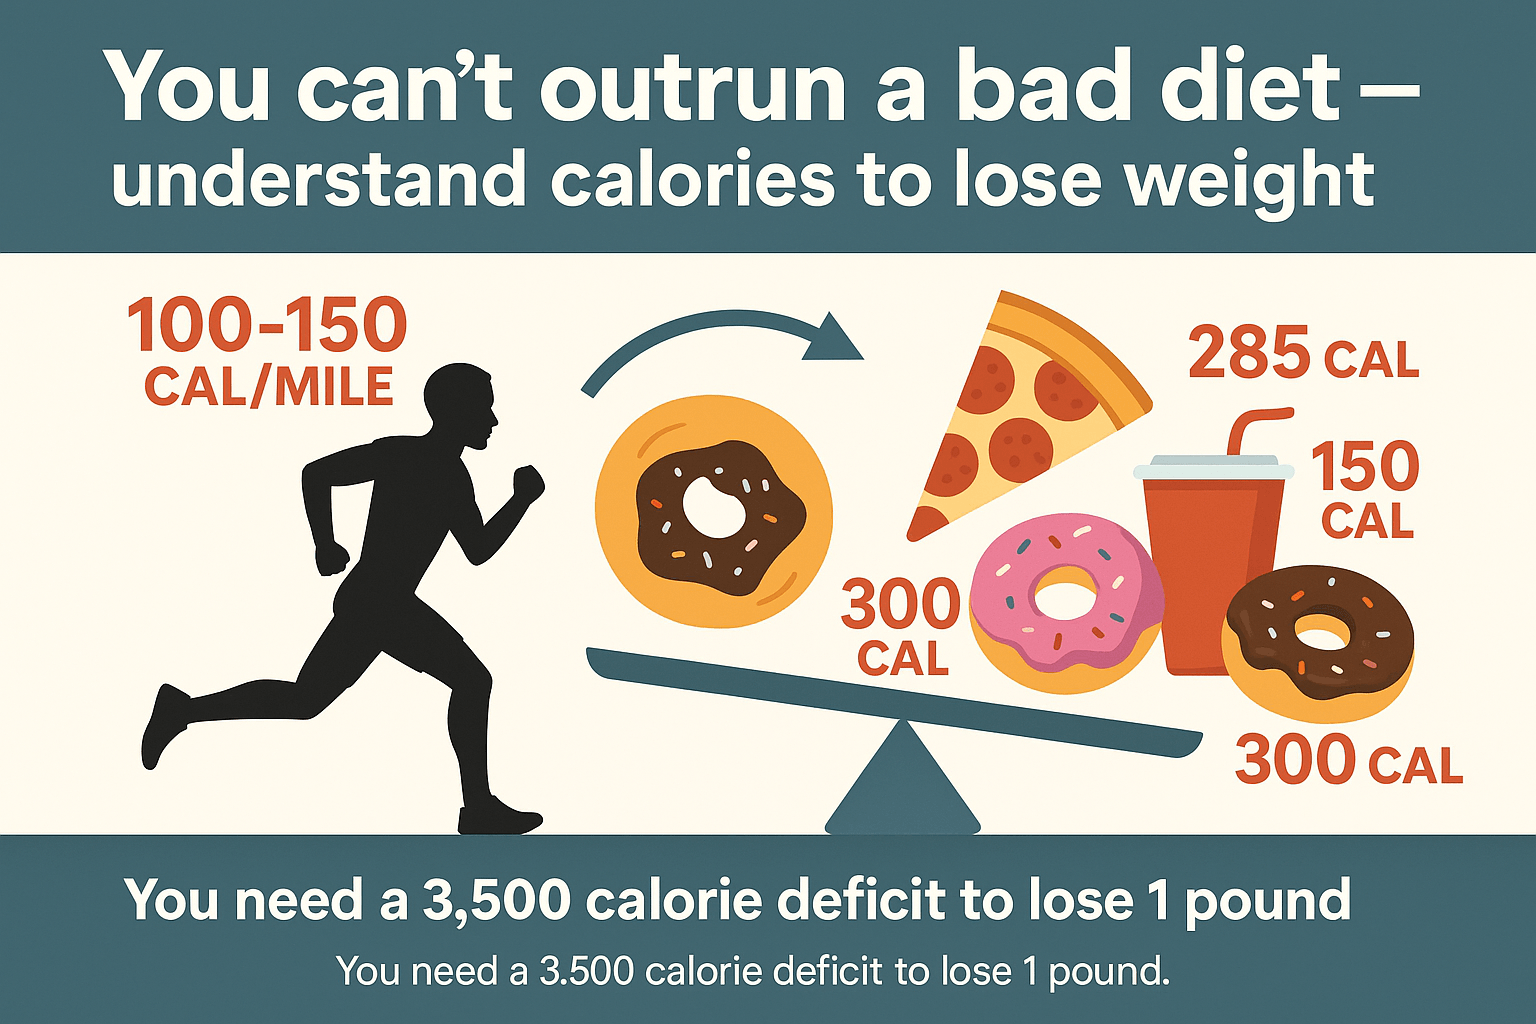
Look, I hate to break it to you, but running alone won’t do the trick if your diet is a dumpster fire.
You gotta balance both. I get it—I was that guy who thought running was the magic fix.
But guess what? I was cranking out the miles while still stuffing my face with junk, and the scale didn’t budge.
Running’s great, but it’s not a miracle. The reality is, weight loss is just simple math.
Burn more than you eat.
End of story.
If you’re serious about losing weight, pair your runs with a solid, calorie-conscious diet.
You can also include natural detox drinks — like lemon and detox drops infused water, cucumber-mint infusions, or green tea — to support healthy weight loss by boosting hydration, aiding digestion, and helping your body naturally flush out toxins while keeping your nutrition clean and balanced.
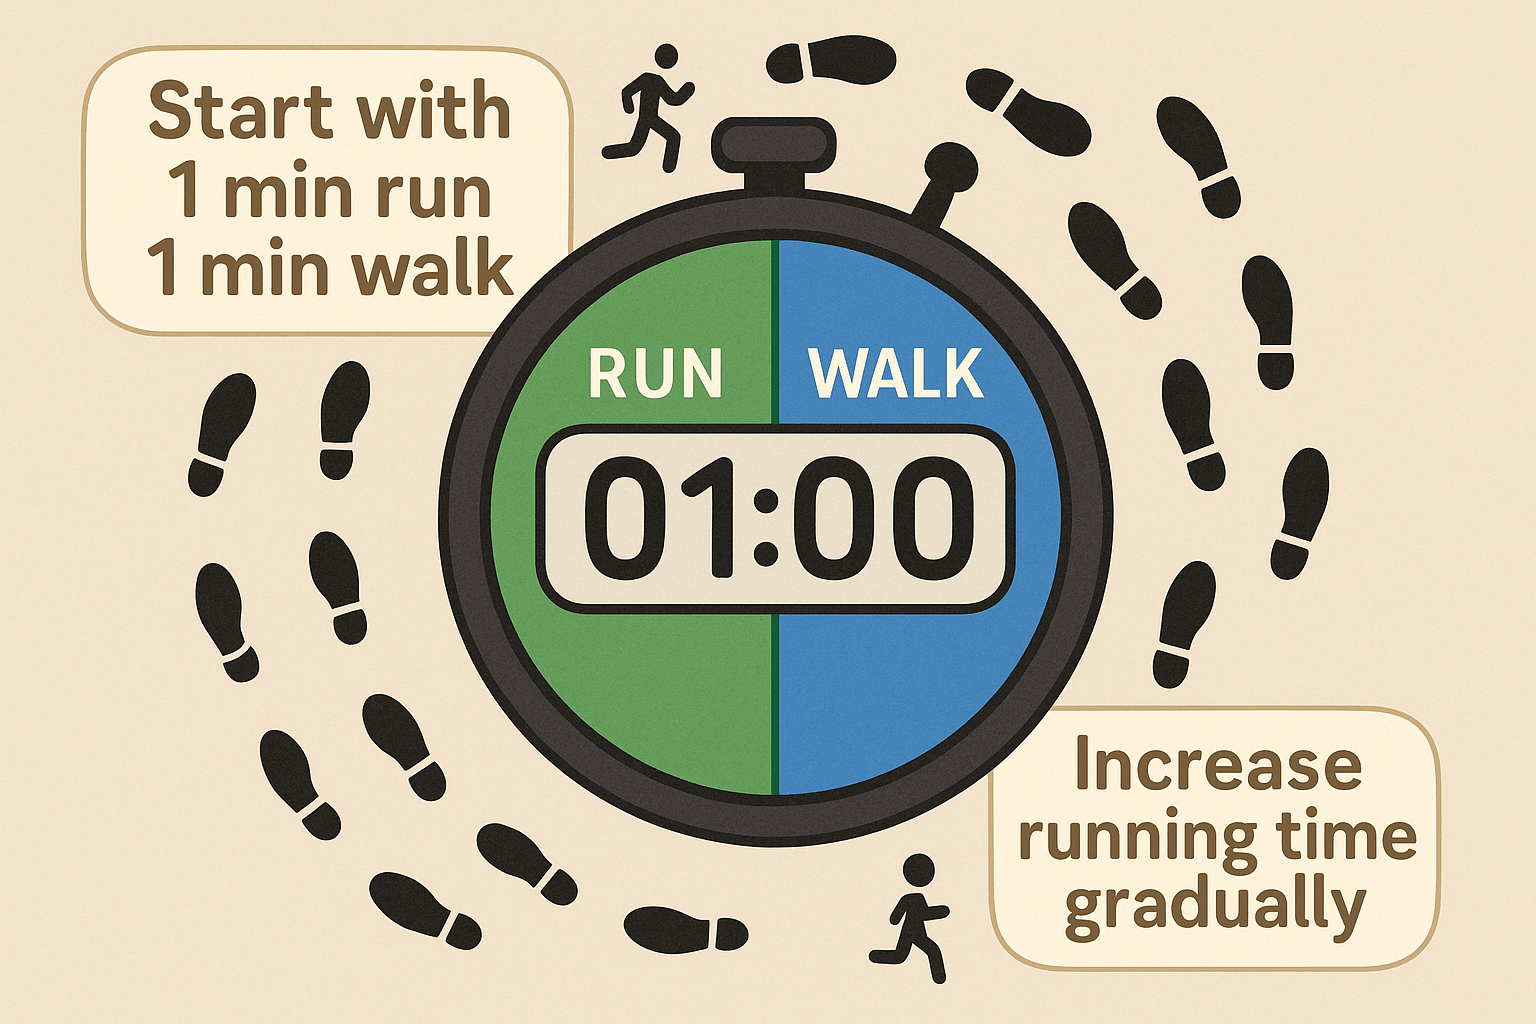
How Running Intensity Boosts Fat Loss and Burns More Calories
Here’s the deal: 30 minutes of slow, steady jogging will burn some calories, but if you want to burn fat, you’ve got to turn up the intensity.
Throw in some intervals—short bursts of speed followed by a recovery jog—and watch your metabolism go into overdrive.
It’s not just about how long you run; it’s about how you run.
My best advice?
Try sprinting for 30 seconds, then slow down to a jog for 1-2 minutes.
Repeat that for 20-30 minutes. Trust me, it’s a game-changer for fat loss, and your metabolism will keep burning calories long after you’re done running.
Don’t take my word for it. Check the out the following research and studies:
Why Consistency Matters
I’ve been pretty open about why I started running—it was to lose weight. When got into running, I had that “go big or go home” mentality.
I thought I had to run 3 miles every day to see results. But guess what happened?
Burnout.
Injury.
Frustration.
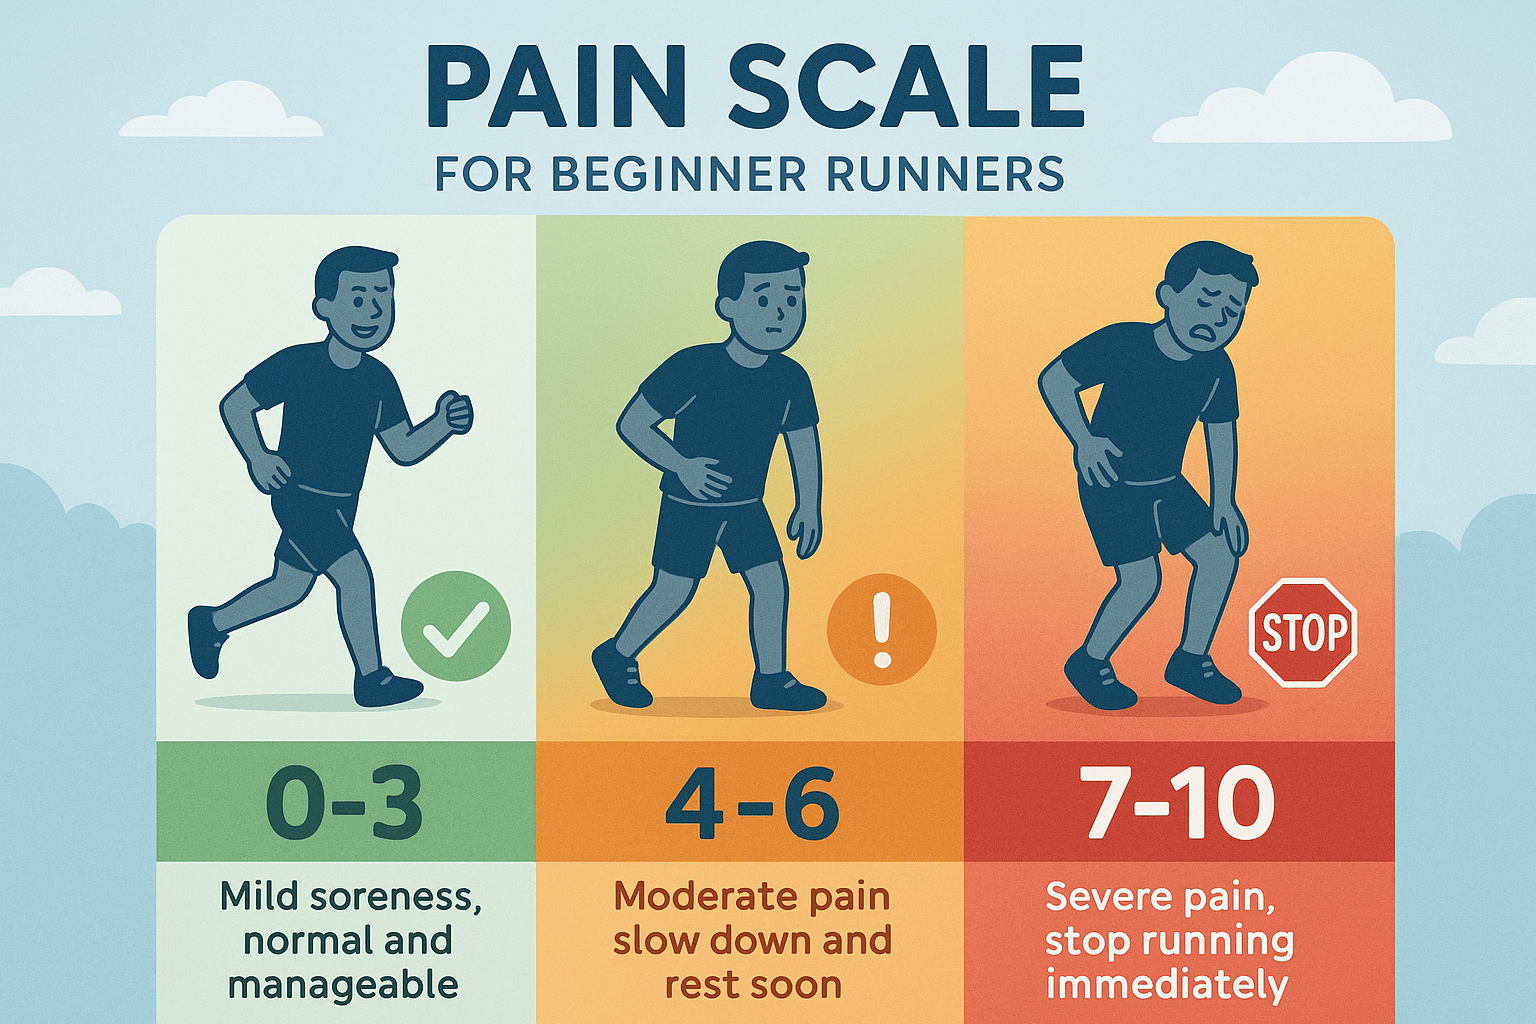
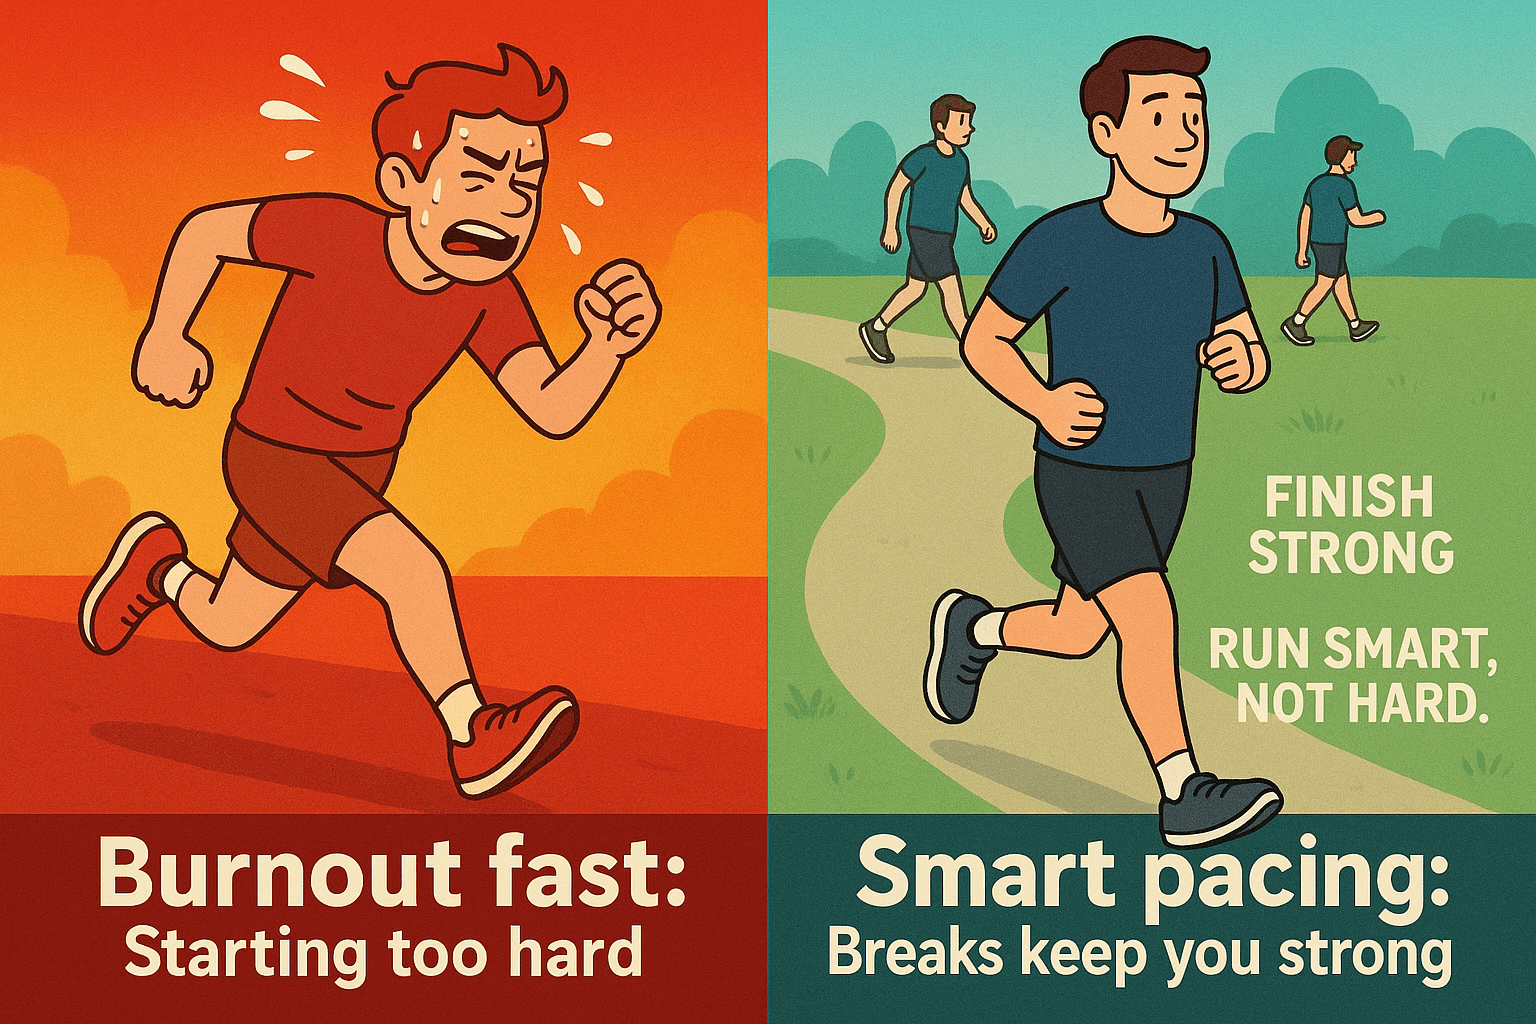
I’ve been through burnout more times than I care to admit.
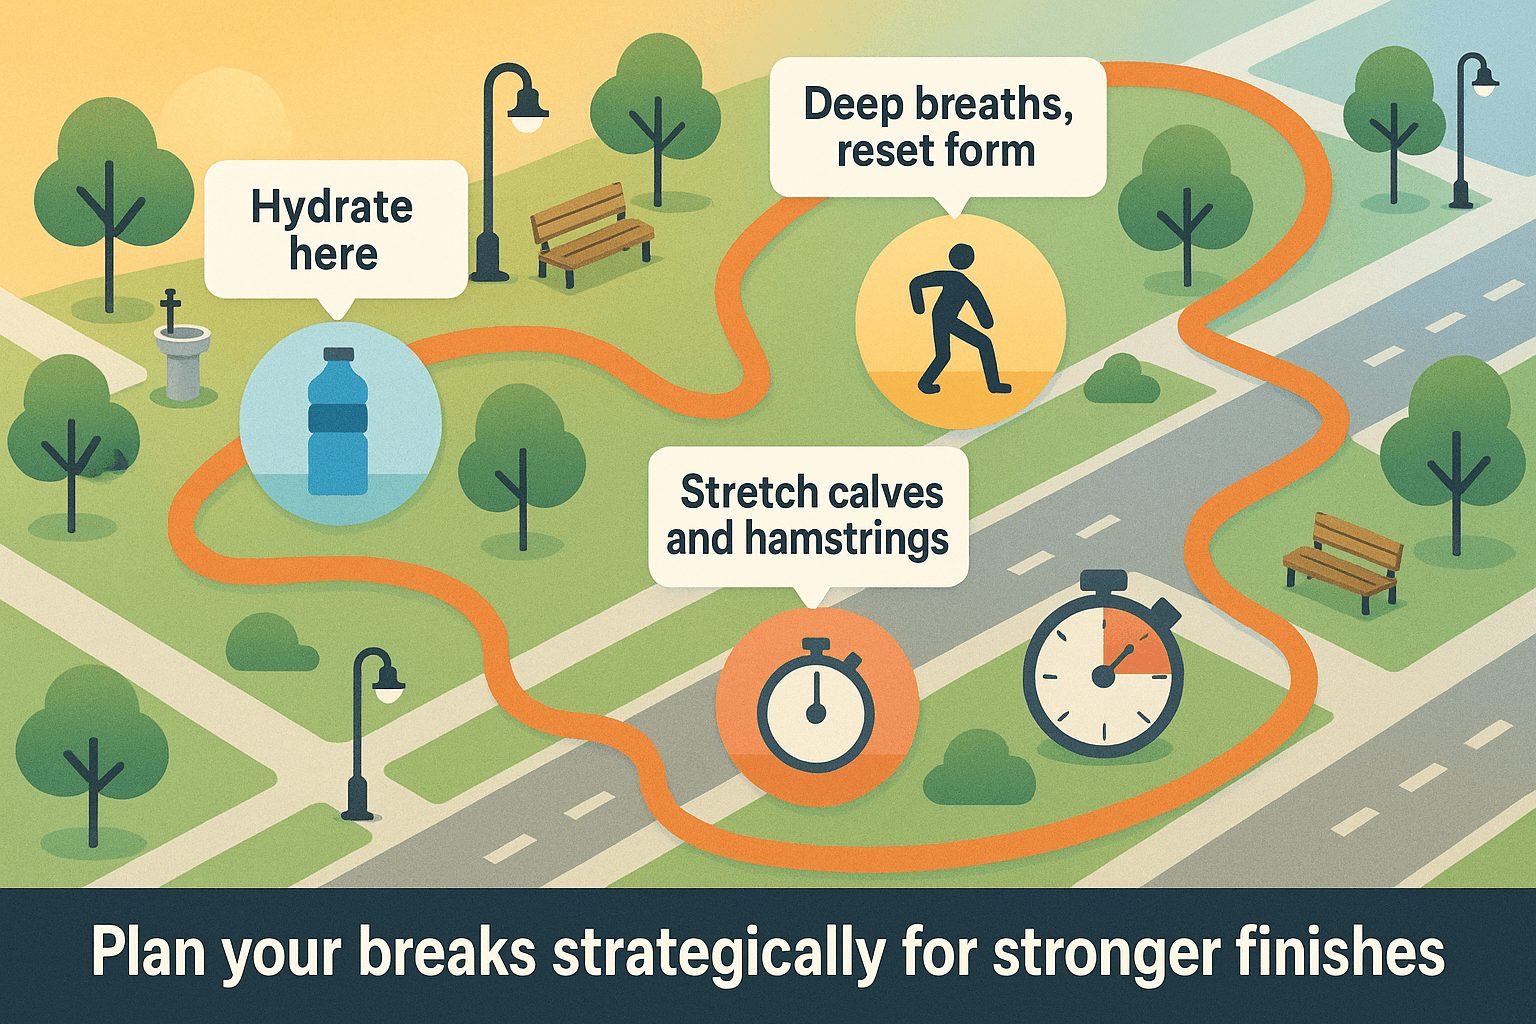
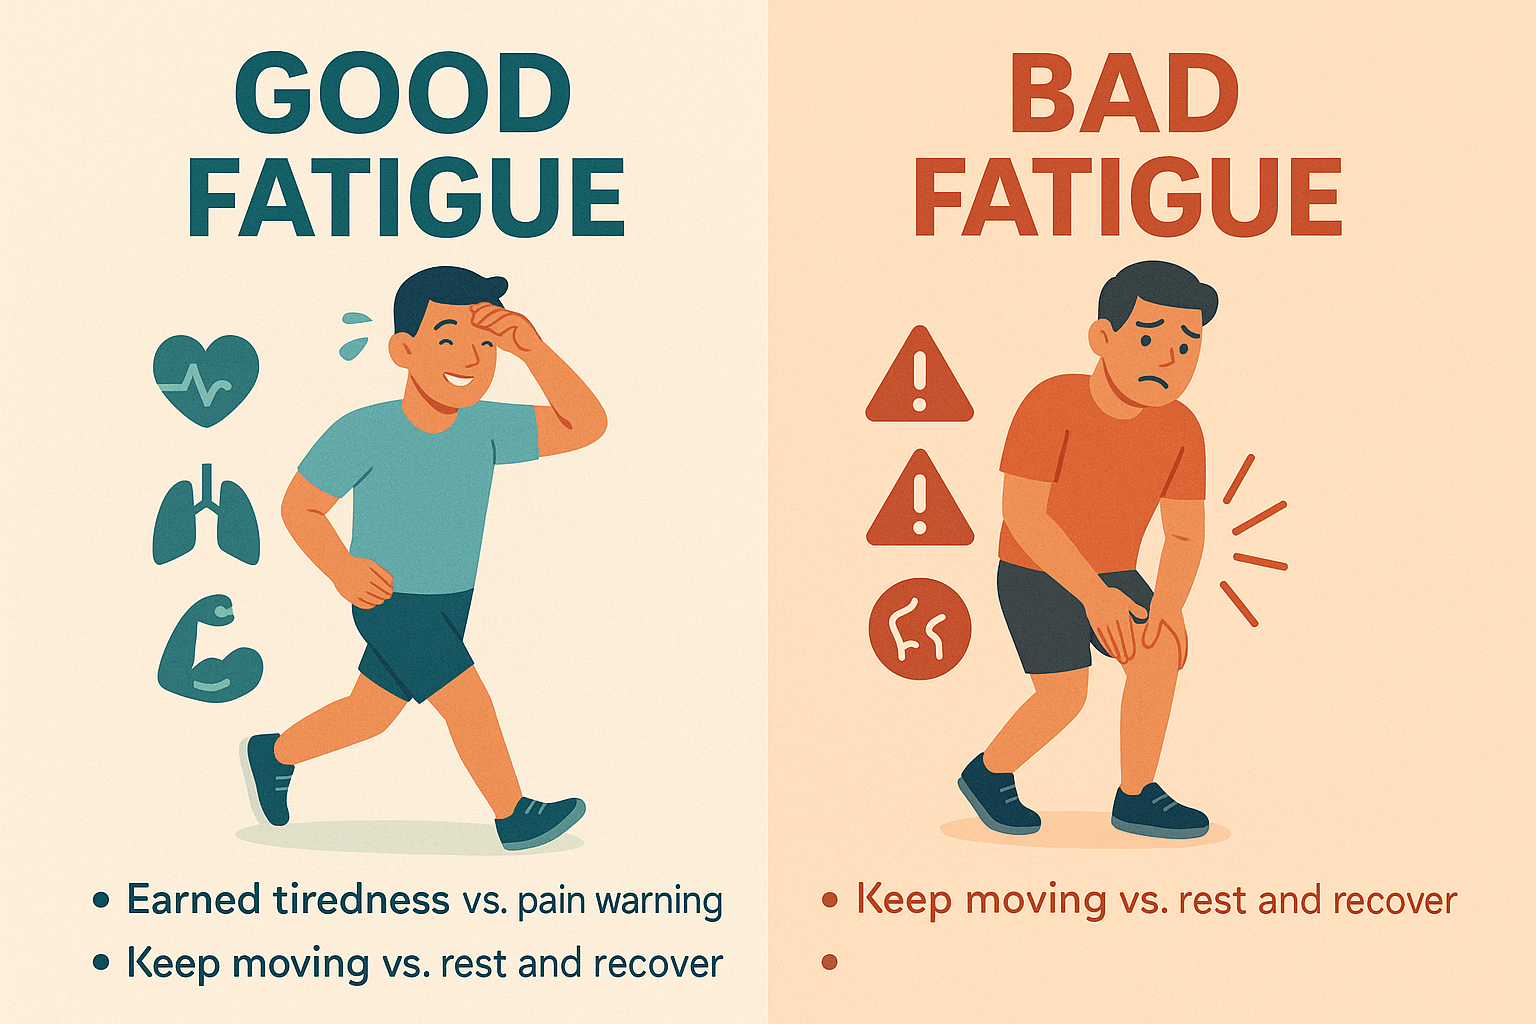
Pushing yourself to run every day sounds great in theory, but your body needs rest to stay healthy and motivated.
The real key? Getting out there regularly—not pushing yourself to the limit every time.
So, what should you focus on? Consistency, not perfection. Shoot for 3-4 solid runs a week.
Make it a habit, and before you know it, it’ll be second nature. A consistent 30-minute run 3-4 times a week will do more for you than burning yourself out trying to run every day.
Stick with it, and trust me—those results are gonna show up sooner than you think.
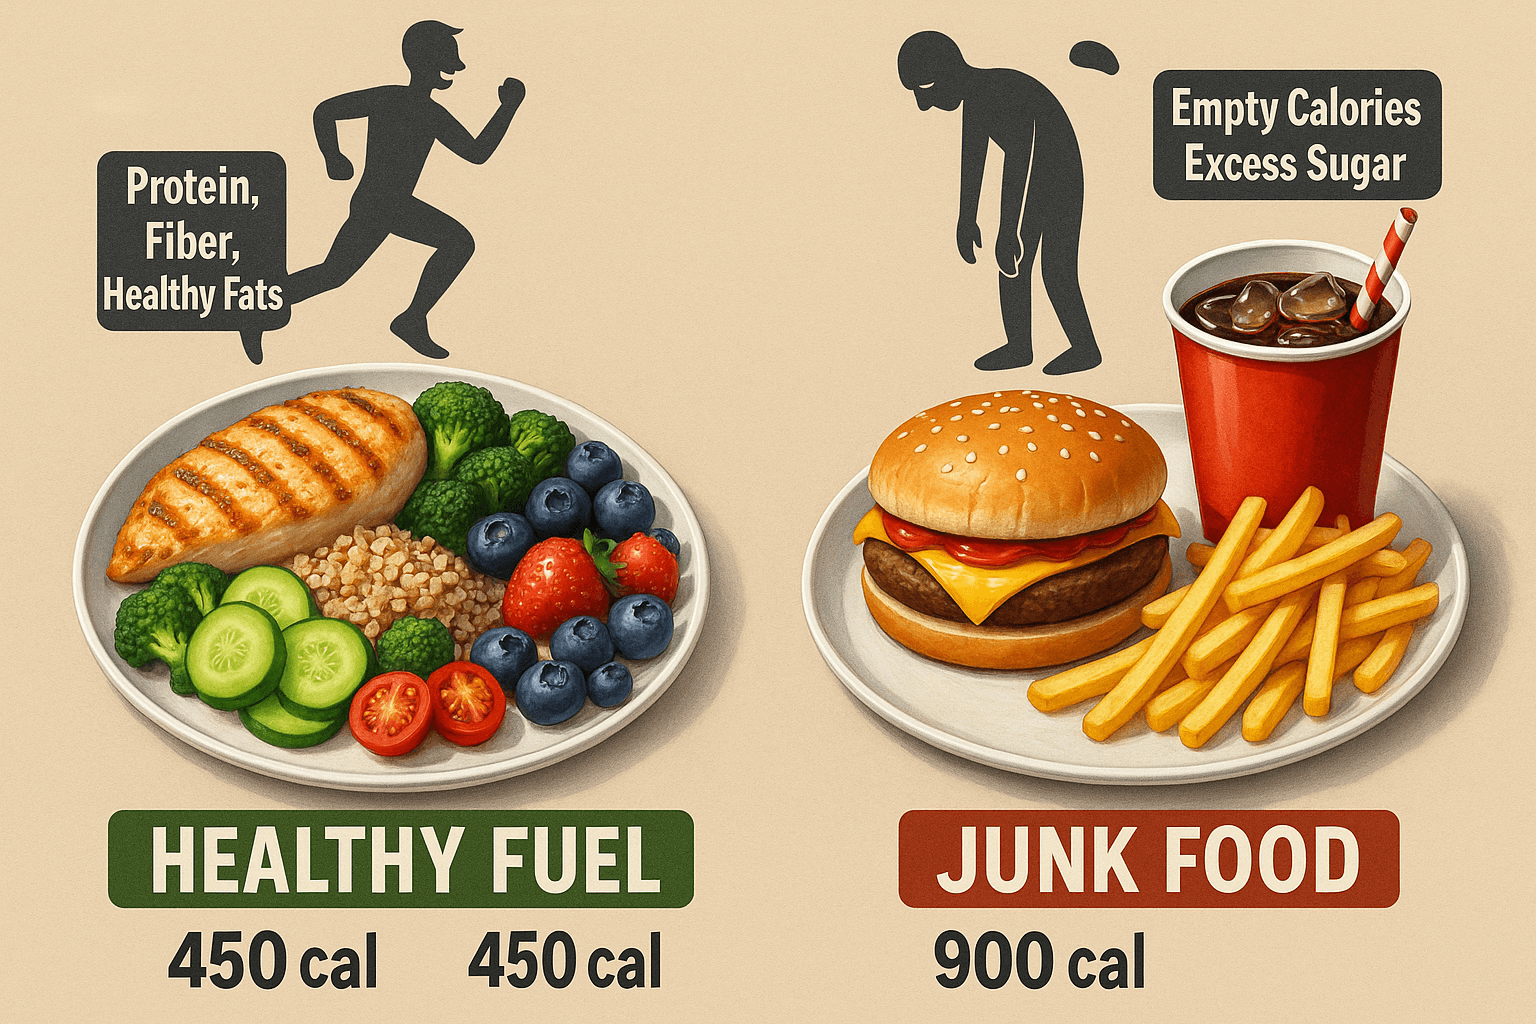
What About Your Diet?
Let’s be honest—running makes you hungry.
I get it.
But if you’re grabbing snacks every time you finish a run, those calories can easily cancel out what you’ve burned.
Early on, I realized I had to pay attention to my diet, too.
I wasn’t about to starve myself, but I quickly realized I had to think a little more about what I was putting in my body.
Focus on whole, nutrient-dense foods, or what I call superfoods.
And if you struggle with portion control or staying consistent, wellness experts at Siluet note that small, sustainable habit changes—like planning meals ahead and choosing nutrient-dense foods—can make weight loss from running noticeably easier
Eating clean, filling foods will keep you on track and help you stay energized for those runs.
Mental Game: Getting Over the “Why Bother” Days
Running is just as much a mental game as it is a physical one. There will be days when you just want to quit.
And that’s normal.
Trust me, I’ve been there.
But here’s the thing—the real win is pushing past that voice in your head that says, “It’s too hard, just quit.” That’s when you level up. It’s all about showing up day after day.
You’re building consistency, strength, and endurance, even on the tough days.
So how do you keep going?
Set a small goal, like running 15 minutes without stopping.
Then, celebrate when you hit it. Every little win adds up and keeps that motivation rolling.
In case you’re a total noob, check out my couch to 5K training plan.
You’ll See More Than Weight Loss
I got into running to lose weight, but over the years I realized that the benefits go way beyond that.
The truth is: running isn’t just about weight loss—it’s about feeling stronger, feeling better, and knowing you’re doing something great for both your body and mind.
You’ll sleep better, feel more energized, and deal with stress a lot better.
And here’s the kicker—you’re building mental toughness that’ll help you tackle everything in life, not just running.
I could go on and on about all the benefits of running, but that’s a whole other conversation. What you need to know is this: running is transformative, not just a weight loss tool.
FAQ
- How many calories does running 30 minutes burn?
Answer: “Running for 30 minutes burns around 200-500 calories, depending on your weight, pace, and effort.” - What’s the best way to lose weight with running?
Answer: “To lose weight with running, combine regular runs with a calorie-conscious diet. Aim for a caloric deficit, where you burn more calories than you consume. Consistency and intensity matter, too—add sprints and vary your pace for better results.” - How often should I run to lose weight?
Answer: “Aim for 3-4 runs per week. Start with 30-minute sessions, and gradually increase your intensity or distance. Consistency is key.” - What should I eat before running to lose weight?
Answer: “Opt for a light snack with carbs and protein, like a banana with peanut butter, about 30-60 minutes before your run. This gives you enough energy to push through without overeating.” - Can I lose weight by running 30 minutes a day?
Answer: “Yes, running 30 minutes a day can help you lose weight, especially if you combine it with a healthy diet. Just remember: weight loss comes from a calorie deficit, so track your intake and burn more than you consume.”
Conclusion: Keep Going—It’s All About Consistency
Losing weight by running 30 minutes a day is absolutely possible, but it’s not a quick fix.
Focus on building a solid routine, keeping the intensity up, resting when needed, and being mindful of what you eat.
Don’t obsess over the scale. Pay attention to how you feel, both mentally and physically. You’re building a habit, one step at a time.