If you’re serious about reaching your full running potential, then you’re in the right place.
In today’s post, I’m sharing more than 100 running tips designed to help make your workout routine a complete success.
Follow these practical, simple, and proven strategies, and you’ll reach your full running potential in no time.
Let’s get this ball rolling…

Without further ado, here’s a list of the best running tips ever.
Get the Right Shoes
Shoes are the most important running equipment.
Period.
A proper shoe not only makes running feel more comfortable, but also help improve your performance and ward off all sorts of injuries, including shin splints, plantar fasciitis, knee pain, and foot pain.
How do you pick the right shoes?
The golden rule is to go for a shoe that feels comfortable.
That’s the conclusion of a study published in the British Journal of Sports Medicine.
The right shoes have to match your natural foot shape and biomechanics.
As a rule of thumb, leave at least a thumbnail’s distance (roughly 1 cm, or ½ an inch) from the end of your longest toes (while flat on the floor) to the end of the shoe.
In other words, you should be able to freely wiggle all of your toes, with plenty of room to spare.
For the full guide on how to choose the right running shoes, see my post here.
Visit a Specialty Running Store
Don’t know what it takes to pick a proper pair?
Head to a specialty running store dedicated specifically to running-related gear, accessories, and gadgets.
Once you’re there, have your foot type and gait analyzed by the professional staff.
That’s how you’ll find out things you might not know on your own – you might be a severe overpronator or underpronator who needs trainers with a bit of more support than the typical (mostly neutral) runner.
They’ll know and explain what you need.
When you go shoe shopping, treat their staff the way you would a physician.
Be willing to answer all sorts of questions regarding your training goals and personal preferences.
It’s worth the extra cost you’ll pay there to get a true “shoe fitting” service.
Wear the Right Clothing
Once you have the right running shoes, add on some basic running clothing and apparel.
You’ll need shirts for different seasons, preferably made of moisture-wicking technical fabrics that can help pull the sweat away from your skin and keep you dry and comfortable in the process.
Some of the best fabrics include Coolmax and Dri-fit.
Special apparel costs a little bit more than casual clothing, but you’ll find that it’s worth every penny — especially if you’re serious about staying comfortable for the long haul.
You’ll need a couple of pairs of bottoms: shorts, tights, pants, or even a skirt if you find that more comfortable.
And female runners need a good sports bra that both provides support and reduces the risk of chafing.
Other items to consider include (but are not limited to) running sunglasses, hats, hydration belts, sports watches, heart monitors, and more.
Here’s the full guide to cold weather running.
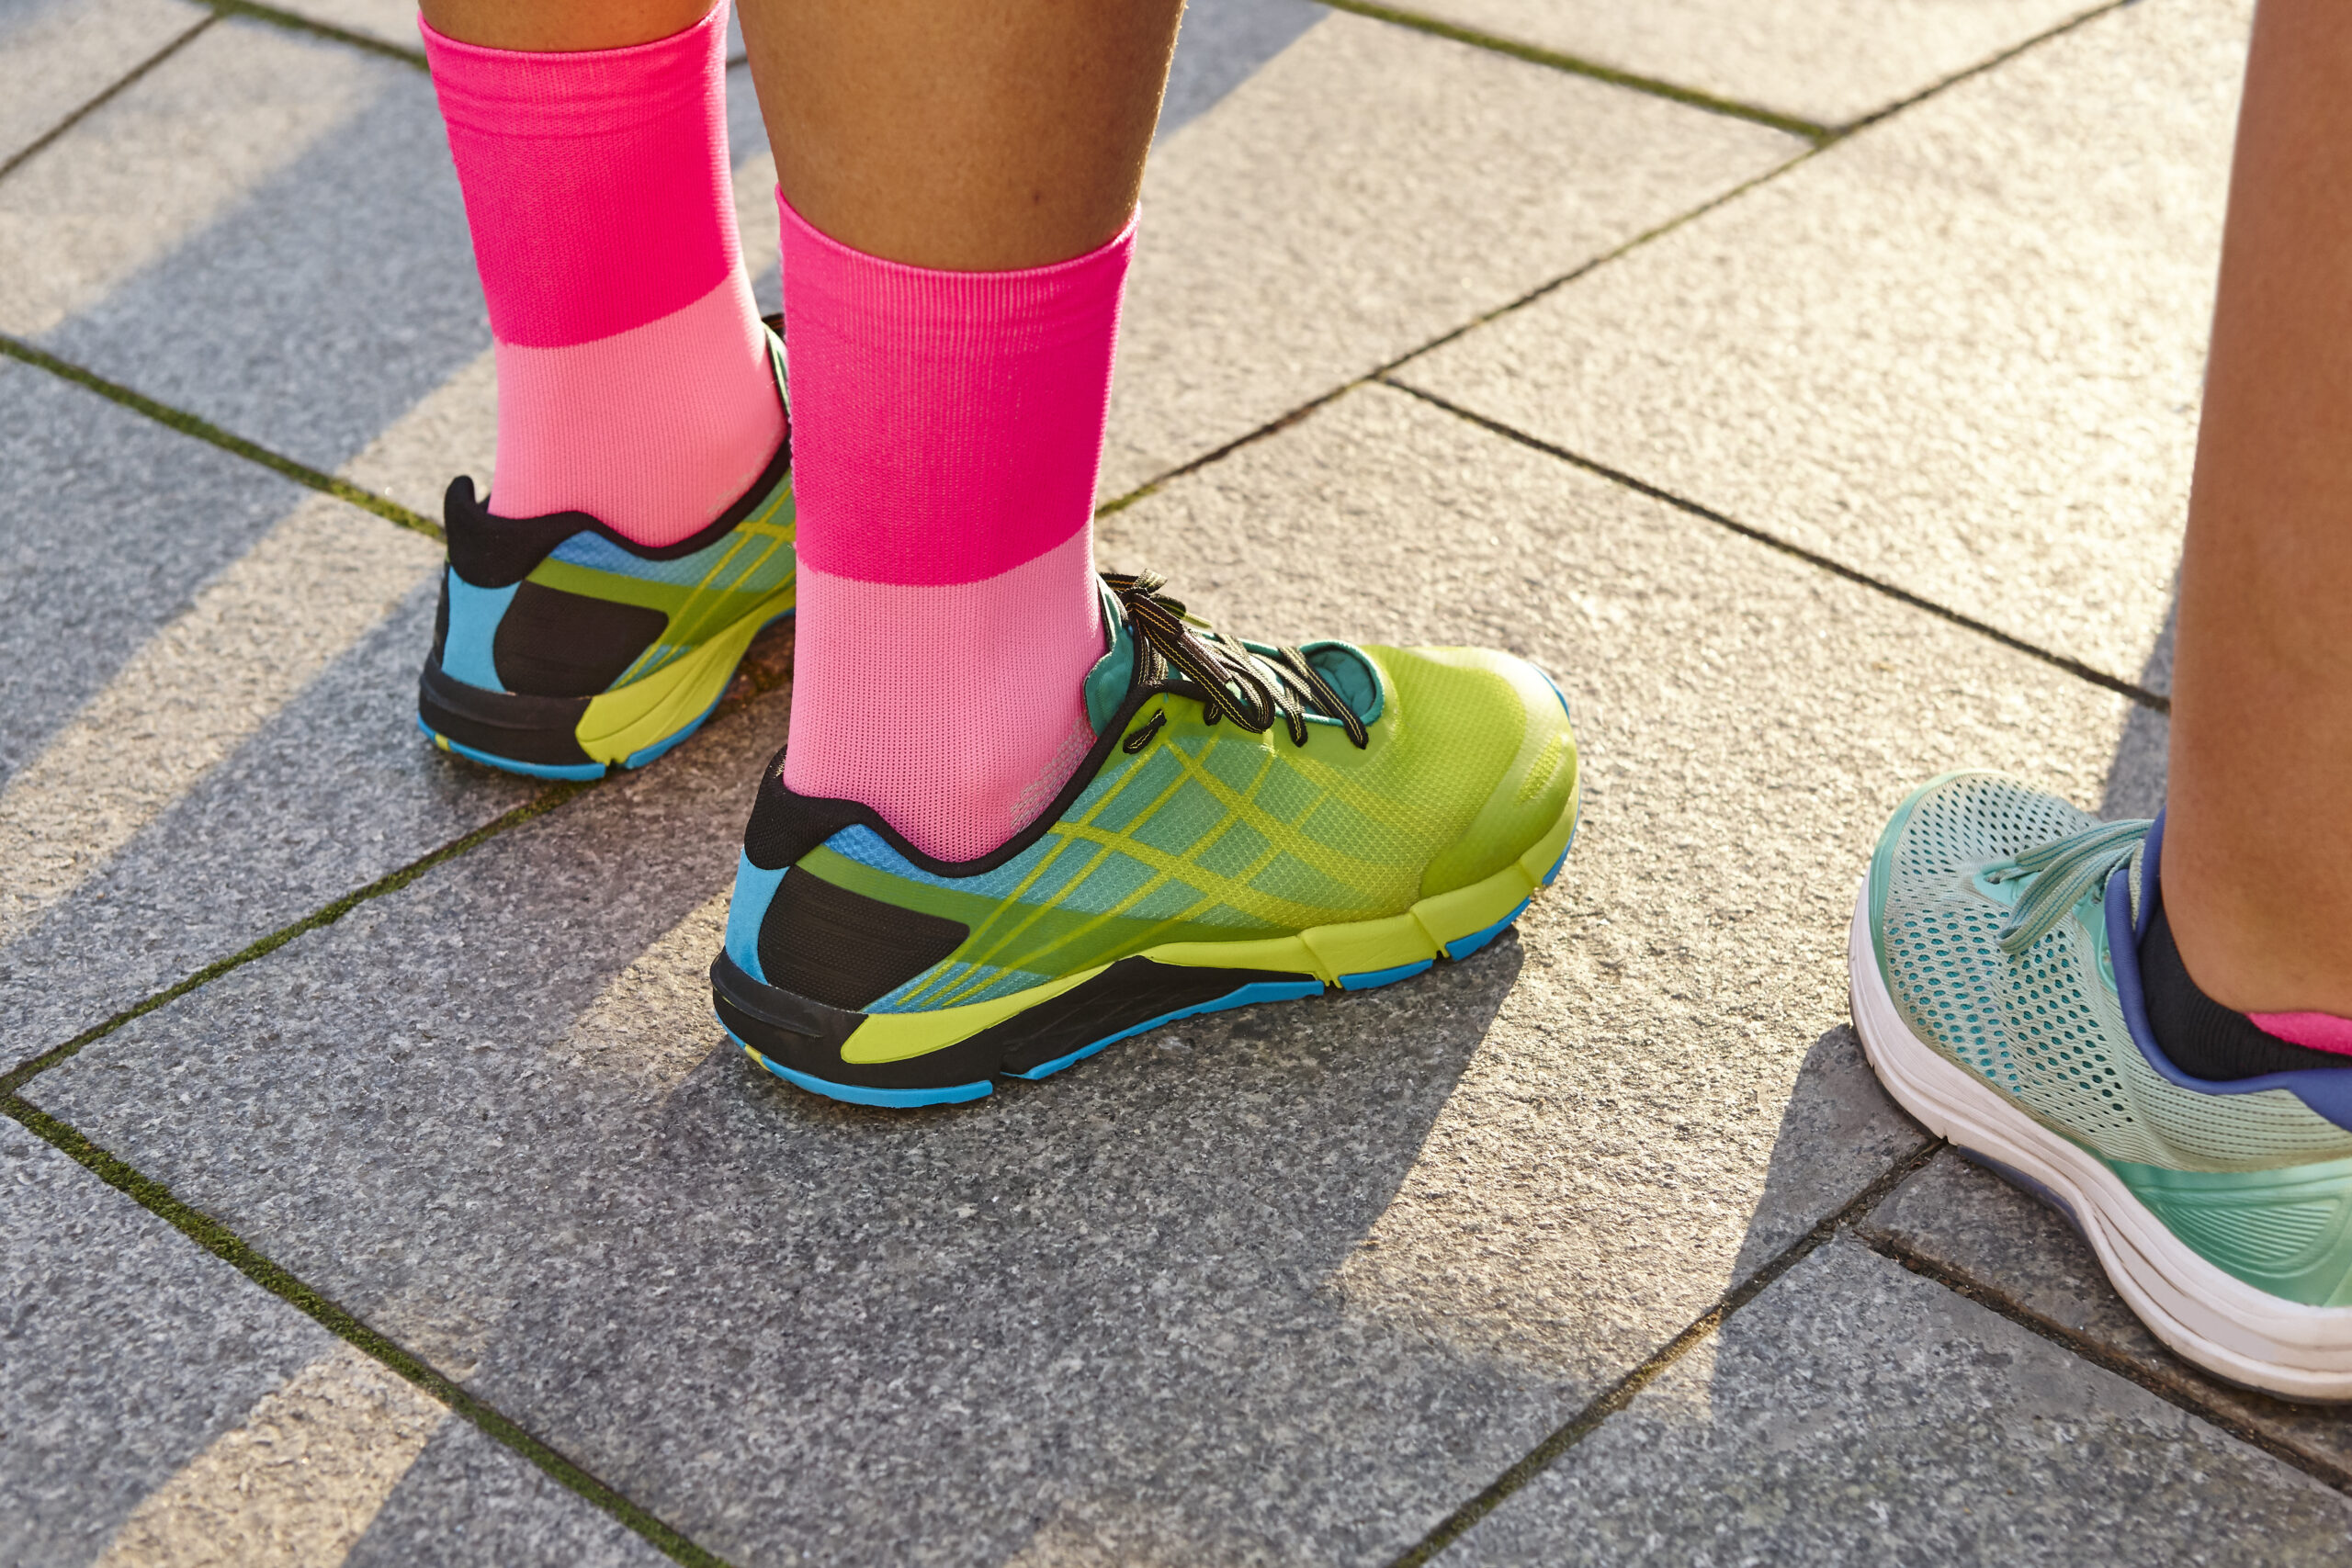
Opt for Smart Socks
The golden rule on running is that you should not run in cotton socks. Cotton absorbs and retains moisture, and since your feet will sweat, running in cotton will leave your feet soggy and moist.
This leads to the two side effects of moisture and friction —calluses and blisters.
Instead, go for technical running socks.
These wick moisture away from your feet, keeping them comfortable and relatively dry.
Smart socks are made from either a blend of natural fibers such as wool, or from synthetic fibers such as nylon, acrylic, or Coolmax.
You can also try compression socks.
Have More than One Pair
According to research published in the British Journal of Sports Medicine, runners who rotate their shoes among various models during a 6-month period had a 40 percent lower risk of incurring a running injury than those who ran in the same pair through the same period.
If you’re serious about reducing your risk of injury, train in more than one pair.
Clean Your Shoes
If you take care of your running shoes, they’ll return the favor and take good care of your feet.
They’ll also last longer.
Failure to do so will mean that your shoes will lose their cushioning properties sooner than they need to: neglect wears them out prematurely.
Here are a few shoe-cleaning rules:
- Do not toss your running shoes in the washer. Wash them manually instead.
- Use an old toothbrush or nail brush and mild soap — preferably an anti-grease soap. A bit of water added in will wash away stains, dirt, and mud.
- Do not toss your shoes in the dryer. Dry them in the open air under direct sunlight.
Replace Your Running Shoes
Sooner or later, your trainers will wear out and lose their shock-absorption properties.
That’s when you need to ditch them and get a new pair.
Here’s the bad news.
As far as I know, there’s no proven formula that tells you exactly when to replace your running shoes.
That’s because there are many factors that impact running shoe lifespan, including:
- Running surfaces
- Runner weight
- Weekly mileage
- Training intensity
- Running biomechanics
- The climate you run in
As a rough guide, a running shoe should last you between 500 and 600 miles. Once your shoes go beyond this range you’re risking discomfort and pain, as well as injury.
My best advice is to use an app like MapMyRun to keep tabs on the mileage of a specific pair, or you can do it the old-fashioned way, using pen and paper or an Excel spreadsheet.
Additional resource – Guide to running lingo
Tie Your Shoes the Right Way
Tying their shoes is something that well-accomplished 5-year-olds can do with ease. But there are many different ways to lace trainers, and different techniques can not only make them more comfortable, but also help avoid all sorts of discomfort.
According to a study conducted at the University of Duisberg-Essen in Germany, shoe-lacing technique has a huge influence on impact force, pronation, and foot biomechanics.
In this infographic, you’ll find a lineup of top knots to learn.

Infographic source: RunRepeat.Com
Bonus tip: You can also invest in a pair of Lock Laces.
Dress For 10 Degrees Warmer Than What the Thermometer Says
Running during the winter has its challenges, but if you overdress, you’ll get in trouble.
For winter running, you need to aim for warmth, but without making yourself sweat so much that you get a chill.
That’s why I highly recommend that you dress as if it’s 10 to 15 degrees warmer than it is outside. You should feel slightly cold when you take your first few steps outside. Once you get moving you’ll warm up quite a bit, so don’t worry about feeling cold at first.
Try YakTrax
As a winter runner, you need good traction to prevent sliding and slipping — especially when road conditions are freezing and/or snowy.
One thing you can do to make sure that you stay on your feet is to try YakTrax. It’s a traction device that meets the needs of runners during wintertime. They improve control and stability when there’s snow, sleet, and ice underfoot.
Buy Running Garments On Sale
Are you a runner on a tight budget?
Buy your athletic garments at the end of the season.
As with any other store, running specialty stores put sale items on clearance as the weather changes to make room for the new models and styles that are coming in.
I’ve purchased some of my favorite summer running clothes in late autumn or winter when it was too cold to run in them, and my favorite cold-weather running gear when the temperature outside was hot
There’s nothing wrong with last season’s styles. They’re generally made from the same materials, and running clothes are performance tools, not fashion statements.
For the best running shoe deals on the web, check ShoeKicker.com. It’s a great website that scours the internet looking for the best deals.
Use GPS Tracking Apps
Being able to measure your day-to-day performance is a great way to reach the next athletic level. After all, if you can’t measure, you can’t improve it.
Fortunately, advances in mobile apps mean that you can challenge yourself each time you head out the door. Running apps are perfect for beginning runners who need a little bit of a push and a way to monitor their progress, as well as for elite runners trying to stay in peak shape throughout the racing season.
That’s why, whether you’re training for your first 5K or your 11th marathon, your smartphone (or any other “smart” device) can be an excellent coach.
Here are a few of some of the best apps out there:
- Runtastic
- RunKeeper
- Strava
- MapMyRun
- Edmundo
- MyFitnessPal
Use a Heart Rate Monitor
Using a heart monitor is like having a coach along for every run. When used right, it can show you, down to the stride, how hard or easy you are working. It can help you find your running sweet spot and prevent overtraining or undertraining in the process.
Here are the four main heart rate training zones you need to be aware of. Plan your workouts within each zone for a well-rounded training program
Zone 1—The recovery or energy efficient zone, it’s roughly 60 to 70 percent of maximum heart rate, or MHR.
Zone 2—The aerobic heart rate zone, it’s roughly 70 to 80 percent of MHR.
Zone 3—The anaerobic zone, it’s about 80 to 90 percent of MHR.
Zone 4—The VO2Max or Red Zone, it’s approximately 90 to 99.99 percent of MHR
Additional resource – How long is a 100-mile race?
Protect Your Electronics
If you do a lot of running in the rain with a non-waterproof phone or GPS watch, then you need to protect your electronic devices from water damage.
Here’s how:
Store your device(s) in a lightweight zip-lock bag. The bag should to be securely sealed to prevent water from leaking in.
You can also cloak your device in plastic wrap, leaving no “skin” exposed. When wrapping, make sure that the charger port is well covered.
What I love about using plastic wrap is that it’s dense enough to protect against moisture but thin enough that you’ll still be able to use the touchscreen through the plastic.
Additional resource – Choosing a running partner
Manage Your Keys
If all the jingling and jangling of running with keys in your pocket drives you nuts, you’re not alone. Here’s my favorite solution:
Take the key off of its keychain, unlace your shoe a notch, then slide one of your shoelaces through the key and put it on the string. Tuck the key under the other lace before retying your shoe.
To keep the key from bouncing around, tie your shoe using a double knot and secure the other end of the key under the crisscrossed laces.
This technique will give you peace of mind and allow you to enjoy your run.
If you don’t want to do this, you can put a rubber band around your keys before tossing them in your pocket, or try putting them on a shoelace and wearing them like a necklace.
Long Walks First
If you’ve been exercising regularly for the last 3 to 6 months and you’re already in good shape, you may choose to skip this step, but if you’re a real beginner, this is the most important step for building the right foundation.
Before you start running, do plenty of walks to prep your body. Start out with 30 minutes of brisk walking, then build it up to a full hour, three times a week for a full month.
By week four you should be walking for at least 60 minutes at a brisk pace three times per week. Now you’re ready to move onto a walk/run schedule.
Walk/Run
The walk/run method is ideal for helping new trainees get fit without getting hurt. The key here is to gradually stretch your comfort zone without overextending it.
Here’s how to do it
Start with a proper warm-up of 10 minutes of walking at a brisk pace. This will get your heart rate up and the blood flowing to your muscles.
Next, jog slowly for 20 to 30 seconds. Slow it down and walk for 30 seconds to a full minute, then jog again for another 20 seconds.
Keep repeating the cycle for 15 to 20 minutes, then end your session with a 10-minute cooldown.
If everything is going well, increase your running time by 5 to 10 seconds from one session to the next. Do these increases gradually, staying within your fitness level the entire time.
Give C25K a Try
Newcomers to running or those returning to it after a long layoff should give the C25k app a try.
This handy app offers a nine-week training plan that can help you train for a 5K race (roughly 3.1 miles) in a gradual and safe manner. You only need to commit 20 to 30 minutes, three times a week.
Additional Resource – Running during lunch break
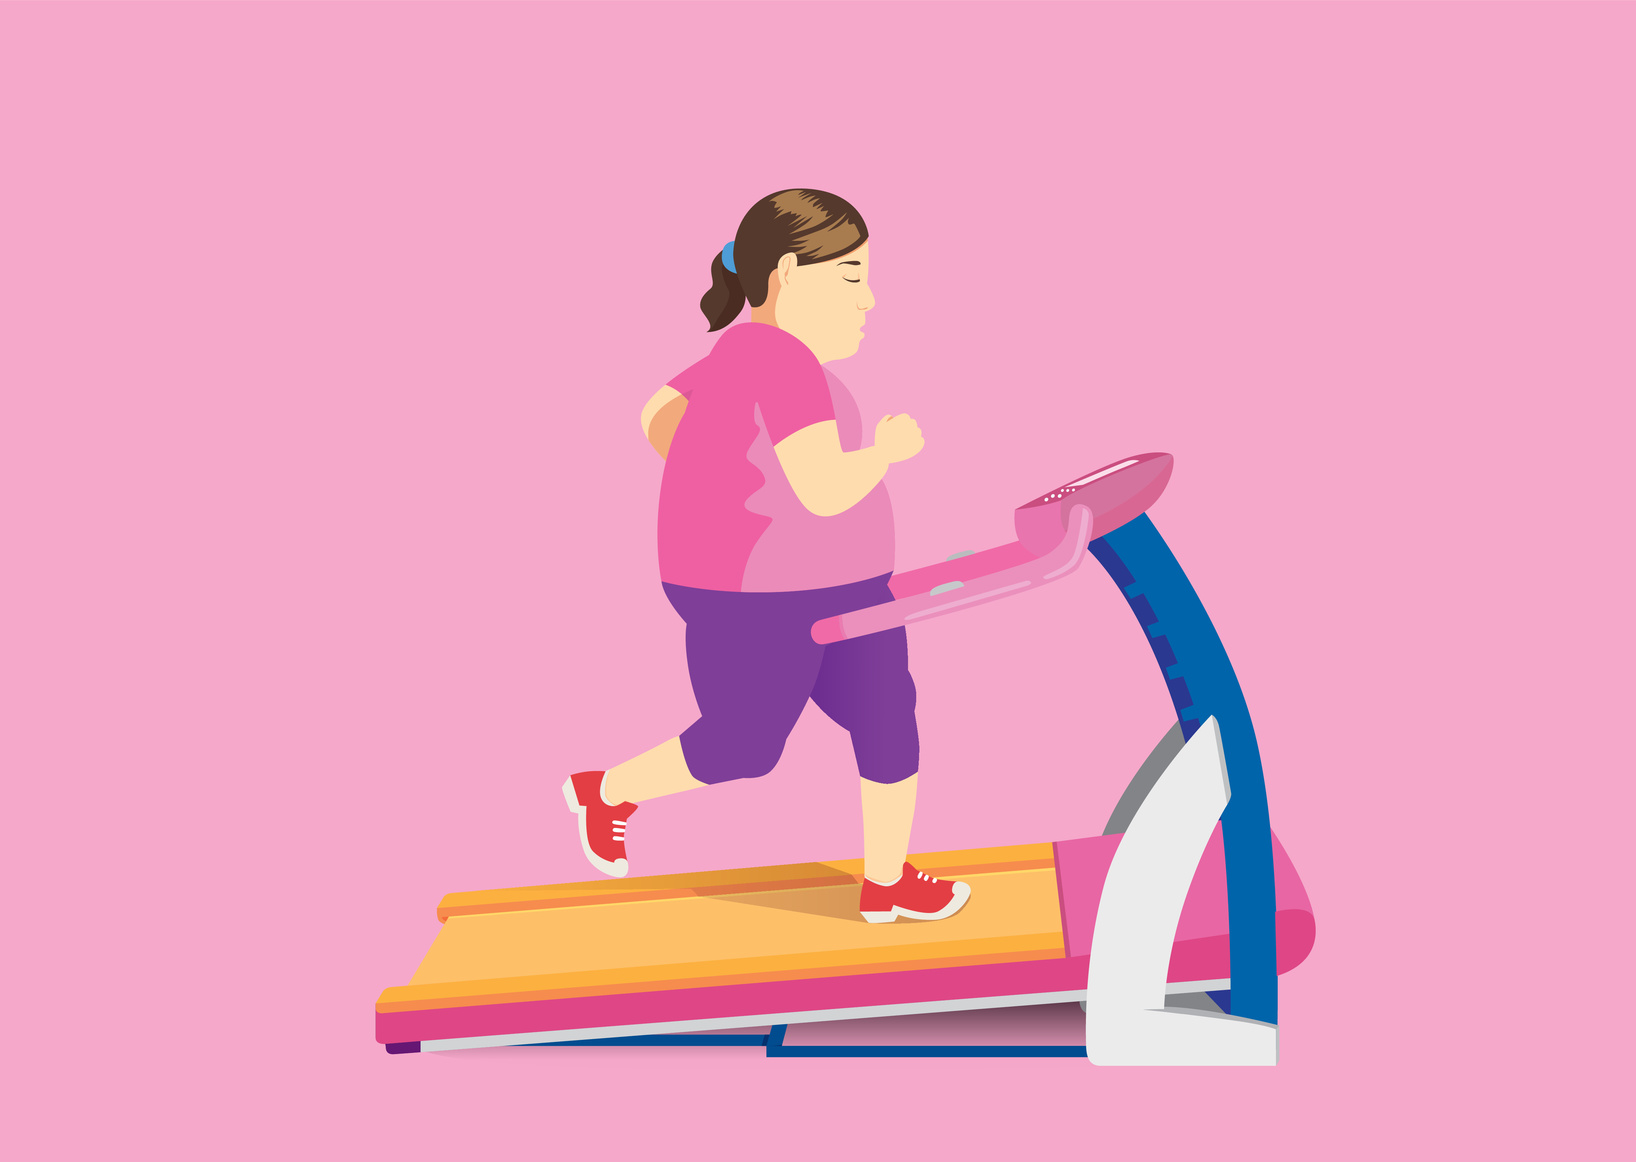
Start on the Treadmill
The treadmill is the perfect tool for building endurance without putting too much stress on the body. It gives you full control over your speed and incline, and allows you to adjust your speed and intensity to match your fitness level.
You really can’t overtrain on the treadmill unless you’re doing so on purpose, ignoring your body’s signals of pain and discomfort.
Here’s the workout routine you need:
Warm up for 10 minutes. Start with a 10-minute walk at 1.5 to 2 mph, then jog for three minutes at a pace of 2.5 to 3 mph for next three minutes. Make sure to practice good running form.
Increase the speed to 3.5 to 4 mph and stick to this relatively fast pace for one full minute before slowing back down to a walk for another 4 minutes.
Increase your speed to 3 mph and jog for three minutes, then run for one minute, picking up your pace to 4 to 5 mph (or even faster if your fitness allows it). Back off if your body hurts or your form starts to suffer.
Finish off with a 10-minute cooldown walk.
The Talk Test
As a beginning runner, make sure that you’re running at what is known as a conversational pace. This means you should be able to speak in full sentences on-the-go without gasping for air. Want to test yourself?
If you can recite the Pledge of Allegiance without too much difficulty, you’re not running too hard.
By sticking to this rule, you’ll build your aerobic endurance based on the right foundation, and this will set you up for success later on.
The only exception to this rule is when doing any sort of speed work training. Speedwork includes sprints, fartleks, hill reps, or racing. These are not moves you should concern yourself within the early stages of your training.
Run For More
After three to four weeks of using the run/walk method, start lengthening your running segments until you can run at a comfortable pace for 30 minutes straight.
Depending on your fitness level and training consistency, this may take you a while. But if you stick with it long enough, you’ll get there.
Once you can run for 30 minutes straight without much trouble, feel free to take your running to the next level. That’s when you’re going to start seeing some amazing results.
Once you’ve increased your running time to an hour or more, you will be in good enough shape that you’ll be able to sign up for 5k races, do interval or hill training, and much more.
Avoid The Rueful Toos
Runners who do too much too soon without giving their body enough time to adapt to their new training load will eventually run into trouble. It’s one of the most common mistakes beginners make.
Don’t fall into the trap of “too much, too soon, too often, too fast, with too little rest.” Instead, build a solid base of easy, short, aerobic distances before you up the ante with speed, distance or hill training.
Even if you feel like you can do more during the first few months of training, rein that temptation in. The temporary sense of accomplishment you might get is not worth the risk of a painful injury or a burnout.
Dynamic Warm-up
A good warm-up is the backbone of effective training, especially when doing hard, intense runs such as interval sessions or hill runs.
Warming up the right way can improve your performance as well as reduce the risk of injury.
Here’s a simple routine you can try.
Do at least ten reps of each exercise below for two to three rounds.
- High kicks
- Lunge with a twist
- Inchworms
- Hip stretch with a twist
- Butt kicks
Or check my full routine here.
Cool Down Right
The cooldown is just as vital to your performance and fitness as the warm-up.
A proper cool down can help transition blood from the working muscles to the normal resting flow, but when you stop on the spot, blood can start to pool in the legs and feet, leading to dizziness, vertigo, and discomfort in some people.
Here’s how to cool down properly. Jog or walk for at least 5 to 10 minutes (depending on your training intensity). Then do some post-run strength, mobility, and stretching exercises.
Stretch After Your Runs
The benefits of stretching are a hotly debated topic in both the scientific and running world, but I still recommend stretching as a way of preventing injury and improving performance.
Here a few benefits of stretching:
- Improves muscular coordination
- Reduces lower back pain
- Enhances posture
- Alleviates post-run soreness
- Increases range of motion
Whatever you do, don’t stretch before a run like we used to do in high school gym class. Studies show that static stretching before a workout can compromise performance and may lead to injury (think muscle tears).
Aim to stretch for at least 10 to 20 minutes after a workout, focusing on the main running muscle groups including the hips, the glutes, the hamstrings, the quads, and the calves.
Hold each stretch for 20 to 30 seconds, and breathe deeply into your stretch to release any tension or discomfort.
Learn Lexicology
As you get more into running, sooner or later you’re going to run into some technical jargon. As is true in most sports, running has its own verbiage that you need to get good at if you’re going to be serious about calling yourself a runner.
In other words, you have to talk the talk.
Here is my full list of running jargon, where you’ll find more than 160 definitions of most common running terms.
Have a Plan
“If you fail to plan, then you’re planning to fail.”
That quote might sound like a cliche, but that does not make it any less true, especially when it comes to running. Following a training plan will help you remove the guesswork from your workout routine.
Pick a training plan. You can find an array of intricate plans online, with something for everyone. All in all, the best plan is a well-rounded plan, whether you’re a recreational runner doing it for health and fitness or an elite marathoner hoping to optimize your performance.
Include the following five elements in your training program:
- Interval workouts
- Tempo runs
- Hills runs
- Long runs (or LSDs)
- Easy run (for recovery).
Add a Long Run
Longs runs are vital for training. They increase stamina, build proper form, burn mad calories and will get you in tip-top running shape for any race or distance. And adding long runs into a running plan is not that complicated.
After at least six months of regular training, increase your longest running session—typically, your weekend workout—by up to 10 percent from one week to the next. Keep doing this until you’re running for two and a half to three hours.
Do your long runs at approximately 60 to 70 percent of your 5K pace—that should be a comfortable pace. To make sure you’re doing LSD runs right, do a quick talk test whenever you feel you might be working too hard.
Speed Work
Whether you’re looking to outpace your running buddy or aiming to beat your current PB at a given distance, speedwork is the way to go. It can also increase your range of motion, improve your conditioning, burn mad calories and build muscle mass, all of which can make you a stronger and fitter runner.
Here are the main speedwork sessions you need to add to your training schedule:
- Classic 200m sprints
- Tabata sprints
- 400m laps around a track
- Short and medium hill sprints
- Fartlek sprints
As a rule, aim for quality over quantity. Speedwork should account for no more than 20 percent of your weekly total mileage.
Sprint
Long sessions have their benefits, but to take your running to the next level, sprinting is of the utmost importance.
A form of high-intensity interval training (HIIT), sprinting can help you burn three times more calories than steady-state running. According to studies, it also boosts your metabolism and helps develop killer lower body strength and speed.
What I really like about sprinting is that it takes just half an hour to complete an entire session. What’s not to love?
Here’s how to proceed:
Start with a proper warm-up. Do five minutes of slow jogging followed by dynamic movements such as knee circles, inchworms, lateral lunges and walking lunges.
Then go for your first sprint, running at 70 percent of your top speed for 30 seconds. Take a minute to recover and then do it again, running your next sprint at 80 percent of your max effort.
Shoot for eight to ten sprints, then finish off the workout with a decent cooldown. Jog slowly for five minutes, then stretch your whole lower body.
Tempo Run
Also known as lactate threshold, LT, or threshold runs, tempo workouts are faster-paced runs that are vital for boosting metabolic fitness.
The primary purpose for tempo runs is to increase your lactate threshold level, the point at which the body fatigues at a certain pace.
As a general rule, your tempo workouts should feel comfortably hard. A good example is a comfortably hard and sustained 3- to 4-mile run.
Here’s how to proceed:
For a five-mile tempo workout, start by warming up with a 5-minute slow jog, then run a mile at 20 seconds slower than your half-marathon pace.
For the remainder of the workout, pick up the pace every mile by five to 10 seconds until you’re running the final mile 20 seconds faster than your half marathon pace.
Tackle the Hills
Hills build leg strength, boost lung capacity, improve running form and reduce the rate of injury. For these reasons and more, do not avoid hill workouts, but make sure you train using proper form. Your uphill running should mimic your sprinting form.
Here’s how:
- Run tall, with your core engaged and your back flat. Do not lean forward.
- Engage your hamstrings, quads, and glutes on the way up. Make sure to push from the hip while engaging your entire lower body to get up the hill.
- Feel free to walk on the steepest sections of any given hill.
Train Negative
If you want to improve your running speed/time, practice negative splitting. This means running the second half of your session a bit faster than the first.
In the ideal negative split run, once you reach the midpoint of the workout each mile gets increasingly faster than the last. As long as you finish the last mile faster than the first, you’re in a good place.
Here’s an example of a 4-mile session:
After a thorough warm-up, run your first two miles at an easy and controlled pace—shoot for 15 to 30 seconds slower than your average pace for that distance. Once you’ve reached the midpoint, pick up your speed to a 10K or 5K pace, then switch to maximum speed for the last 100 to 200 feet of your run.
Try Fartleks
Fartlek is a Swedish term that means speed play. It’s a non-structured form of interval training developed in the early 1930s.
The primary purpose of a fartlek workout is to increase your speed and endurance in the most unpredictable and playful way possible.
Here’s how to proceed:
Start your workout with a 10-minute warm-up jog, then sight an object in the distance: it can be a tree, a parked car, or a building. Run towards it fast. Once you reach it, slow down and recover. Sight the next object and repeat.
Whatever you do, make it random. Make it fun.
Try Tabata Protocol Runs
Made famous by a 1996 study by Dr. Izumi Tabata and his colleagues, the Tabata protocol is a very specific method of interval training proven to shed body fat and increase performance.
A session consists of twenty seconds of maximum burst (max effort/max reps) followed by ten seconds of recovery.
To do Tabata, sprint for 20 seconds at full speed, then rest for 10 seconds.
You can also up the ante by adding in some bodyweight exercises to make the workout more challenging.
Here’s a simple Tabata protocol to try.
- Set 1: Sprint at a moderate pace for 20 seconds. Rest for 10 seconds.
- Set 2: Do as many push-ups as possible in 20 seconds. Rest for 10 seconds.
- Set 3: Sprint for another 20 seconds at max speed. Rest for 10 seconds.
- Set 4: Do as many squats as possible in 20 seconds. Rest for 10 seconds.
- Set 5: Sprint as fast as you can for 20 seconds. Rest for 10 seconds.
Rest for two minutes and repeat the whole circuit twice.
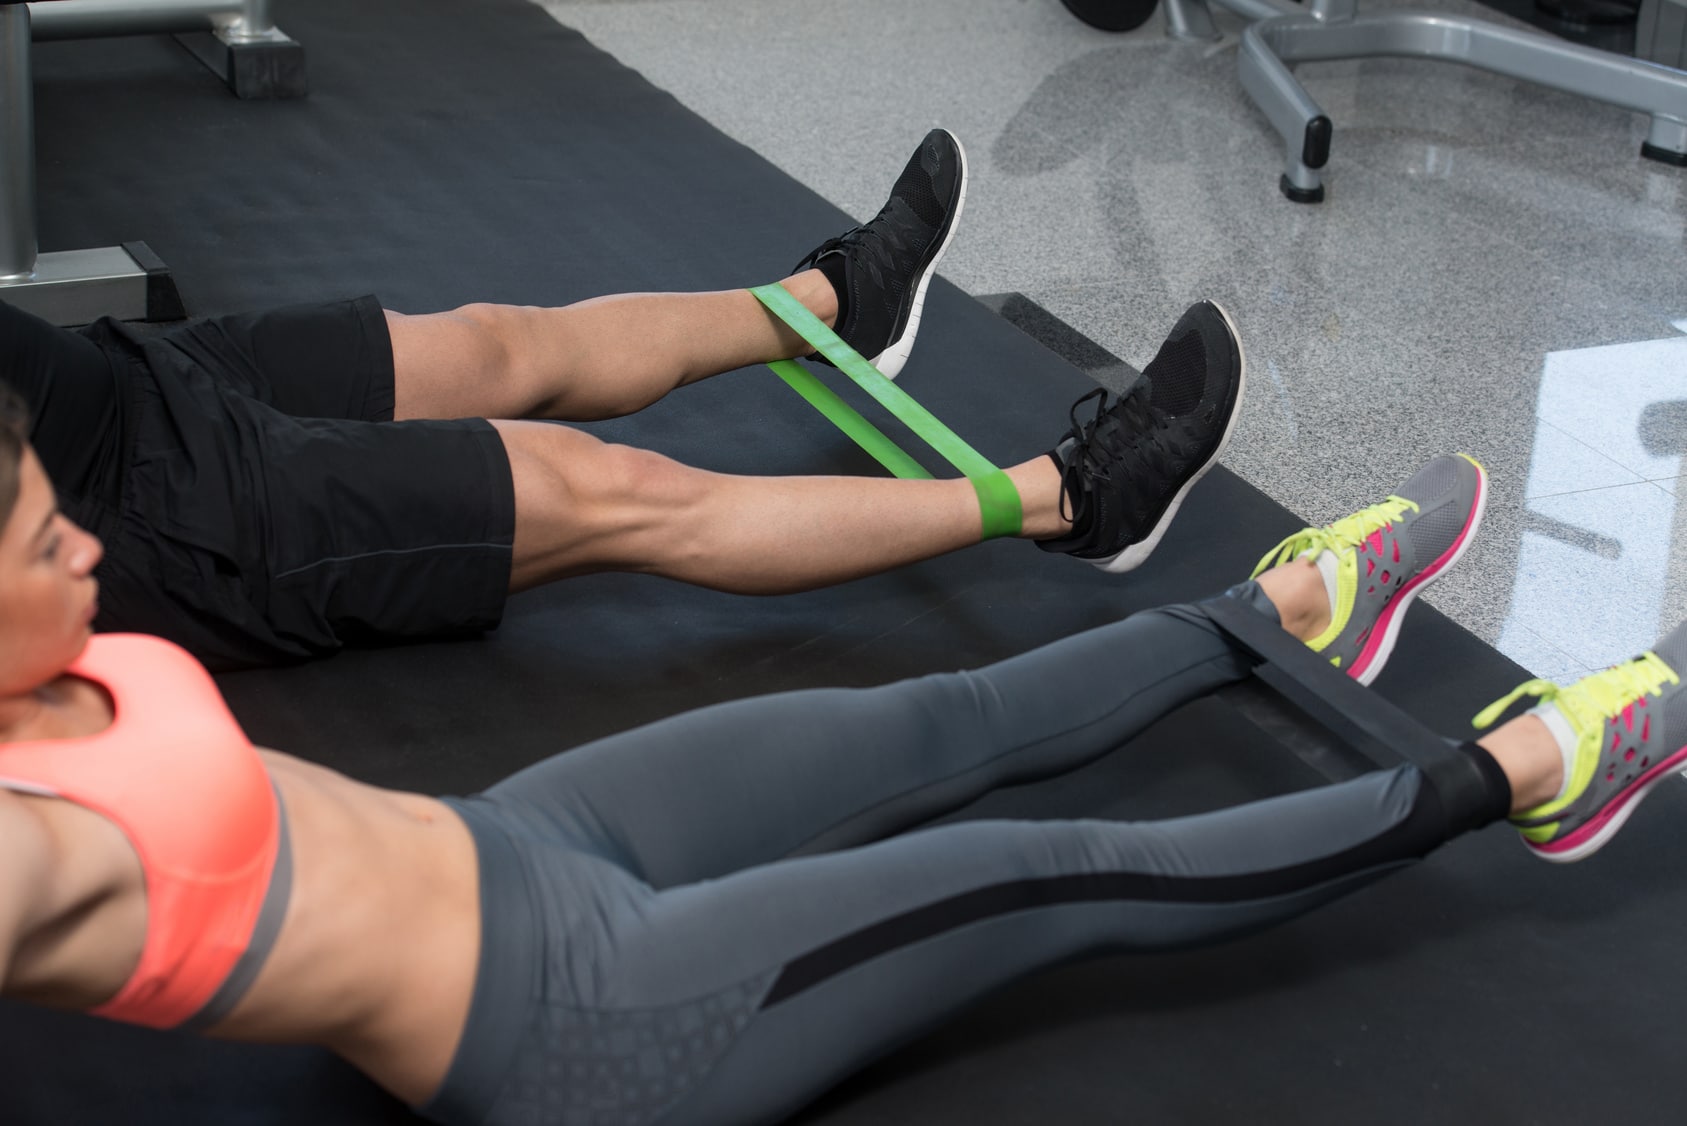
Cross Train
Cross training is vital for runners because it can help prevent overuse injuries such as runner’s knee, ITBS, shin splints, and stress fractures, as well as lower back issues, hip, joint and knee pain.
Cross training can also boost your speed, increase your stride length, improve your running form and boost your overall fitness and health level.
Here are eight super-effective training methods to try:
- Yoga
- Cycling
- Weight training
- CrossFit
- Swimming
- Jumping rope
- Rowing
Get Explosive
Plyometric training, also known as explosive or jump training, is another excellent cross-training method that research shows can increase running speed and power.
This type of training requires a fast and forceful recruitment of muscles fibers through high velocity, dynamic moves. These are key for building explosive power both on and off the running field.
Here’s a list of some of the best explosive exercises for runners:
- Squat jumps
- Box jumps
- Kettlebell swings
- Burpees
Here’s my full guide to plyometric training.
Practice Planking
The core is made up of the muscles that connect the upper and lower body. It includes the glutes, lower back, hip, and abdominal muscles.
Your core muscles work in tandem to hold your torso upright and provide stability for your entire kinetic chain while running. That’s why you MUST do a core strengthening routine two to three times a week.
One of the best exercises for runners is the good old planks. I cannot recommend these enough. In addition to building up your core, they’ll also help develop endurance and strength in the shoulders, arms, and back.
Check the following tutorial to help you build and keep good plank form.
Test Yourself
To improve your running, you MUST measure it — otherwise, you’ll have no idea whether you’re progressing.
The best way to measure your fitness progress is to test it.
Check my full guide to fitness testing here.
Here are the main tests you should be taking on a monthly basis:
- The 400m sprint
- The one-mile run
- The Cooper 12-minute test
- A 5K distance run
- A 10K distance run
Build the Habit
There’s are few things that feel worse than falling off the fitness wagon after investing so much time into building the right foundation.
That’s why even once you’ve reached your fitness goals, you have to keep your training program going strong. Quit or slack off, and you risk undoing all your hard work—and you don’t want that.
To stay consistent with your new running routine, make sure you turn it into a habit.
Here’s how:
- Use a calendar and book your running sessions the same way you schedule an important family event or work meeting. If you create a sense of urgency and importance around your run, you’re more likely to carry through.
- Start running with a friend or training partner. This will boost your motivation and add a sense of accountability to your program. This is vital for consistency.
- Resolve to run at least three to four times a week for the upcoming 8 to 12 weeks. Do what you have to do never to miss a session.
For my guide on habit formation, check this post.
Set Goals
When it comes to running, it’s vital to have something to work towards regardless of your training aspirations.
Whether your goal is weight loss, improved performance, stress relief, or anything else, having a set of goals creates a benchmark of progress as well as a sense of accomplishment once you start achieving them. I cannot overemphasize the importance of goal setting—even if it’s something you’ve never consider doing before.
Setting goals is what helped me go from being a complete couch potato to becoming a consistent runner, so please start setting fitness goals.
Here’s the golden rule of good goal setting:
Make your goals S.M.A.R.T., And that’s an acronym that stands for Specific; Measurable; Achievable; Realistic; and Time-related.
For my in-depth article on this topic, check my post here.
Run With a Partner
Running is, by definition, a solitary sport and a solo journey, but it doesn’t have to be that way.
Research shows that pairing up with a training buddy can lead to better consistency, help you become more accountable, and may even make you exercise a bit harder than you would when you run alone. All of these can do wonders for your running routine.
I’d go so far as to claim that training partners might be the most valuable tools you can have as a runner.
Ask a friend, a family member, a gym partner, or neighbor to run with you.
If you can’t find a suitable partner among people you know, join a local running group or hunt for one online.
Chart Your Progress
As I’ve already stated, if you can’t measure it you can’t improve it.
That’s why I keep stressing the importance of monitoring your progress (or lack thereof, for that matter).
Keep a written log of your running routine. You don’t need anything fancy – a standard training journal, a spiral notebook or a plain notepad will suffice.
Here are some of the things and factors you need to keep track of:
- Your running times
- Your running distances
- Your heart rate (and its fluctuations)
- Calories burned
- Running routes
- Aches, pains, and injuries
- Cross training workouts and reps
- Body weight
- Body measurements
Use Excel spreadsheets to create simple charts for tracking your progress.
You can also keep tabs on your progress online using sites like MapMyRun, DailyMile.com, or RunKeeper.
Run To And/Or From Work
Finding balance between everyday life obligations, work chores, and a running routine is no easy feat. This is especially the case if you’re already burning the candle at both ends.
Instead of running to catch up with the train or a bus, try running to or from work. Put your commute time to good use. But whatever you do, make sure you do the following two things:
First, plan your run-commute thoroughly. Have everything ready the night before, from clothes to shoes, hydration and more.
Second, invest in the right backpack. You might need to think this one through before you make a buying decision. Your pack should be runner-friendly and must not bounce with every step.
Reward Yourself for Your Successes
Rewards are positive reinforcement, and can be a powerful motivator.
When you reach a certain benchmark or achieve a given goal, treat yourself for the hard work you’ve put in and what you’ve accomplished.
Here are some ideas:
- Buy a new running shirt or a pair of shorts
- Have a meal at a nice restaurant
- Watch your favorite Netflix show
- Go on a special trip
- Go to the movies
- Take a long nap
Try Zombies, Run!
For runners looking to turn their everyday workouts into an immersive adventure through a zombie-infested wasteland, look no further than this fantastic gaming app — especially if you’re running out of enthusiasm and need to add a bit of adventure and fun.
Zombies, Run! is an amazing audio adventure for thriller-seeking runners. Thanks to this game you’ll be the hero of your very own zombie adventure story. You’ll run through various missions while being chased by zombies, while also collecting the items you need to progress through the game.
Additional resource – How to Do a Run Streak
Listen to the Right Music
Studies have linked listening to music to improved athletic performance, better training experience, and superior training consistency.
It’s not rocket science. All you need is the right playlist for the job.
Here’s the golden rule: when picking songs for your running playlist, stick with songs that have a BPM (Beat Per Minute) in the range of 120 to 140.
Here’s how:
You can do it manually, but it’s a real hassle. I don’t recommend this method unless you have a lot of time to spare.
Instead, check out websites that have already compiled thousands of songs and playlists tailored to all sorts of runs and events.
RunHundred.com and RunningPlaylist.Com are two of the best of these.
Get Ready the Night Before
To set yourself up for running success, lay out your running gear the night before your workout. Doing so will help eliminate any barriers between you and your workout, save you a lot of time, and keep your mornings stress-free and smooth.
It should take you no more than 5 to 10 minutes to get these things together:
- Your running clothes, including pants, socks, t-shirt, underwear, etc. (or sleep in them if you want to)
- Your waterbottle
- Your music playlist
- Your pre-run snack
- Your running route
- Your workout
Join Online Fitness Groups and Forums
Online health communities, whether they’re fitness groups, forums, social media website or some other type of group, are all great venues for expanding your social circle and connecting with like-minded fitness folks.
Joining up will help you increase your motivation and give you the push you need to exercise a little bit harder and stay consistent over the long haul.
Some of the best fitness-oriented online resources include:
- Men’s Health
- Runners World Forum
- My FitnessPal
- Fitbit
- Cool Running
- Jefit
- BodySpace
- Nerd Fitness
- Transformative Fitness
Race
Choose one of the many running-related events in your area, whether it’s a fun local 5K race, an obstacle race course, or a serious half-marathon or marathon distance challenge, and pay your registration fees in advance to keep yourself accountable.
Just make sure that the race fits your fitness level and schedule. If you’ve never done any sort of running before, spend a few months preparing for the race and make it a shorter distance such as a 5K or 10K run.
Change The Direction of Your Runs
If you run the same route day in day out, sooner or later you’re going to get bored, and that’s when you’re most likely to slack off. It’s bad for your consistency and overall training experience, so switch up your running route regularly.
The simplest way to do this is to run your typical route backward every other week.
Don’t like this idea?
For another option, use crowd-sourcing apps like MapMyRun or a web resource like WalkJogRun to find and discover new routes close to where you live.
Run in The Morning
Becoming a morning runner was a true godsend for me. It helped me stay consistent and become the runner I’m today.
As a bonus, research shows that those who exercise first thing in the morning are more consistent and efficient than the folks who work out later in the day.
Morning runs can improve your mood, boost productivity, shed more calories, and increase your focus and energy for the rest of the day, so if it’s all possible, run first thing in the morning.
Here are the golden rules:
- Prepare the night before by laying your workout gear out
- Aim for seven to eight hours of quality sleep
- Place your alarm clock far away from your bed to force yourself to get up and out
- Drink plenty of water and have a light pre-run snack before you head out the door
Work on your Running Form
Proper training form is king, whether you’re lifting weights in the gym or circling the running track. The right technique can help reduce your risk of injury and make your workouts more efficient.
Run with bad form, and you’re risking all sorts of strains, aches, pains, and injuries.
Here’s how to build good form:
- Run tall.
- Prevents neck strains by keeping your head straight and your eyes straight ahead. Don’t look down at your feet.
- Keep your shoulders relaxed, back, and down. Don’t let them tense up toward your ears.
Lean Forward
This is something I learned from the Chi Running method, and I’ve found it to be very helpful.
Instead of running with a upright posture, run with a slight forward lean of about 8 to 10 degrees. By doing so, your body falls forward with every step, which in theory helps propel you forward and increases your stride turnover.
Mastering the forward lean is more easily said than done. One major mistake I see many runners make is leaning from the waist. Running this way can put a lot of undue pressure on the lower back and slows you down.
Instead, lean from the ankles while engaging your core muscles and keeping your spine straight, allowing for no bending in the waist.
Keep Your Body Relaxed
As a runner, tension is enemy number one. It wastes energy, triggers bad form and can compromise the quality of your workout, leading to premature fatigue and increasing the risk of injuries.
Check your form throughout your run, allowing no chance for tension to creep into your workout.
Here are the few hacks that can help:
- Shake your arms and hands every couple of miles and try rolling your neck forward, backward, and to the sides.
- Imagine you’re holding an egg in each hand, gently cupping your palm with your thumb resting on your fingers instead of clenching your fist.
- Breathe deeply and consciously, letting go of tension and discomfort. You have to get good at catching yourself in the act, and that requires practice.
Pump Your Arms
As a runner, you’re, mainly relying on your legs to propel you forward, but that’s not the whole story. Your arms can help too.
Research shows that opting for a strong arm swing has a drastic impact on the smoothness of your running gait, resulting in a reduced workload on your legs and an increase in your economy of motion.
To boost your endurance and speed, drive your arms in a fluid motion, forward and backward, aiming for a 90- to 100-degree bend at the elbows. Do not pump your arms across the midline of your body—doing so wastes energy and tires your muscles. It might also hinder the forward motion of your body.
Your elbows should swing anywhere between the waistline and chest.
Kill the Bounce
Research shows that vertical oscillation (running with a bounce) has an enormous negative impact on running economy and speed.
When your body is moving up and down too much, you’re wasting a lot of energy and putting undue pressure on your lower body, especially your quads. This leads to premature fatigue and soreness.
Here’s how to keep it under control:
- Imagine you’re running under a low roof hovering a few inches above your head. Do not hit your head on the ceiling.
- Land with your foot almost directly below your knees. Do not let your foot land in a spot ahead of your knee.
- Focus on a faster leg turnover by running lightly and landing softly on your foot. Think quick steps. Focus on keeping your feet under your knees.
Shorten Your Stride
When you overstride your foot lands on the ground well ahead of your hips. This runs the risk of increasing the stress load on your lower body. It also creates a braking effect that can hinder performance.
So, what’s the solution?
It’s simple: shorten your stride. Doing so helps reduce the braking effect and encourages a smoother, more natural running gait.
Here’s how:
- To cover more ground, focus on springing off rather than trying to lengthen your stride.
- Think short, light foot strikes and keep shortening your normal stride until you reach the perfect running cadence.
- Keep your knee positioned above your foot and keep your shin vertical as your foot strikes the ground below you.
- To boost speed, increase your leg turnover, driving your leg back from the hips instead of reaching forward with your foot.
All of this may sound a little complicated, but with a little of practice you’ll be able to wrap your head around it in no time.
Increase your Cadence
In running lexicology, running cadence stands for the number of steps you take per minute while running.
When it comes to improving speed, cadence is a vital factor. Opting for the proper cadence reduces the impact of stress on your feet, knees, and ankles, and improves running economy.
According to Jack Daniels (the legendary running guru), the optimal cadence for running is roughly 170 to 180 steps per minute.
Your cadence doesn’t have to be exactly 180 throughout your training — in fact, your racing cadence and easy training cadence shouldn’t be the same.
Breathe Rhythmically
Rhythmic breathing is a form of synchronized breathing that consists of timing your breaths to your foot strikes. The right breathing ratio depends mostly on your current fitness level and training intensity.
So how do you pick the right ratio?
If you’re a complete beginner, start with a 3:3 ratio. This means that you breathe in on three steps—RIGHT foot, LEFT foot, RIGHT foot, then breathe out on the next three steps—LEFT foot, RIGHT foot, LEFT foot.
Using this pattern, you will be taking in roughly 25 to 30 breaths per minute.
This ratio is also ideal for easy (and recovery) runs.
If you feel like this is too slow for you, opt for a 3:2 ratio: inhale on the RIGHT, LEFT, RIGHT foot strikes, then exhale on the LEFT, RIGHT foot strikes.
A 2:2 ratio is ideal for when you’re running a tempo pace, or whenever you need more of a push. For the most part, this means cruising at roughly your 10K race pace, or maybe a bit slower. For quality workouts, opt for a 2:1 or even 1:1 ratio.
Here’s my full guide to proper rhythmic breathing while running.
Breathe Deeply
To improve performance and stamina, cultivate the habit of diaphragmatic breathing.
Most runners are chest breathers. That’s neither the most efficient nor the healthiest way to breathe while running. Chest breathing increases the risks of hyperventilation and reduces your intake of oxygen while running.
The good news is that by switching to deep breathing you get more oxygen into your bloodstream. This can boost lung power as well while reducing the risk of side stitches.
Downhill Running
As the saying goes, what goes up must come down. That’s why you should never forget the importance of downhill running.
On the descent, proper form can improve your performance and reduce post-workout soreness—especially in the quads.
Here’s the right way to run downhill:
- Stay upright, keeping your posture perpendicular to the ground beneath you. Do not lean back or overstride, as doing so creates a braking action. The only exception is on the steepest grades.
- Brace your core to keep control over your body and the hill. Don’t let the hill control you on the way down.
- Do not look straight down. Look ahead while focusing on the line you wish to follow for balance.
- Increase your cadence, aiming for quick, light steps and fast leg turnover.
Let Go of the Handles on the Treadmill
When you’re running on a treadmill, holding onto the handles may help when fatigue starts to set in, but doing so will compromise your overall workout. Positioning your hands on the handles aligns your body in an abnormal way, leading to discomfort and even injury, especially in the hips, lower back, knees, and shoulders.
Instead of touching the equipment, swing your arms backward and forward while engaging your core. This will not only help you keep good form, but will also engage your core, give you a full body workout, and burn more calories.
Have a Pre-run Meal (or Snack)
The main goal behind a pre-run meal is to give you a boost of energy without giving you a troubled stomach on the road.
For a proper pre-run meal, focus on high-quality carbs and low-fiber, low-fat foods.
Make sure you time your pre-run meals correctly. Timing is the most critical variable in the pre-run meal equation.
As a general guideline, if you have an hour or more before a run, you can eat at least 250 to 300 calories worth of food. If you’ve no more than half an hour before a run then eat no more than 140 calories worth. This is frequently the case if you’re running early in the morning but don’t want to go out the door on an empty stomach.
Post-Run Eating
The foods you consume immediately following a run are crucial for optimizing recovery and energy renewal.
Your post-run meal should score high on protein to help repair muscles and speed up recovery. You should also take in good carbohydrates to replenish your glycogen stores and get your body ready for your next run.
Here are three of my favorite post-workout meals:
- Chocolate milk. The mix of carbohydrates (chocolate) and protein (milk) is just right for refueling your weary body. In fact, according to a study in the Journal of Clinical Nutrition, consuming chocolate milk after a workout can increase muscle protein synthesis.
- Fruit salad. Fruit will not only help you replenish your energy stores with needed energy, but it will also help break down nutrients. Plus, the mix of fruits delivers a healthy punch of enzymes—anti-inflammatory properties that speed up recovery.
- Egg whites deliver a healthy punch of proteins and key amino acids, which can help you rebuild damaged tissues after strenuous exercise.
Hydrate Properly
Dehydration can lead to all sorts of serious issues such as headaches, premature fatigue, muscle cramping, decreased coordination, heat exhaustion, and more.
To keep it at bay, drink plenty of water, regardless of whether the weather is cold or warm. As a general rule, you need at least 12 to 16 glasses of water a day.
Please take note that the previous rule isn’t written in stone. The exact amount of water you need depends on many variables, including your age, body weight, gender, fitness level, training distance/intensity, sweat rate, physiology, and outdoor temperature.
One way or another, I highly recommend that you stay well hydrated throughout the day.
Look At Your Pee
I hate to sound like a broken record, but research shows that dehydration can lead to decreased performance, premature fatigue, seizures, blood clots, and even death.
To check for signs of dehydration, look at your pee. You should be drinking enough water throughout the day for your urine to be a light straw color, or mostly clear with a tinge of yellow.
If your urine looks like chardonnay, or is yellow or orange, then you’re dehydrated and need to be drinking a lot more.
Additional resource – How to Stop urine leakage in runners
Get More Iron
Iron is a vital component of the body’s red blood cells. Blood cells contain hemoglobin, and are crucial for transporting oxygen to your body’s various muscles and tissues. Iron deficiency leads to a reduction in hemoglobin level, which in turn hinders proper oxygen delivery.
Some of the best food sources for iron include egg yolks, lean meat, dark green leafy vegetables, lean meats, dried fruits, legumes, and whole grains. You can also go for iron-enriched or fortified cereals and bread.
To improve absorption, consume iron-rich foods with vitamin C like orange juice.
Have a Sports Drinks
Sports drinks are runner-friendly beverages that score high on both carbohydrates and electrolytes. These two nutrients are vital for staying well fueled and hydrated during intense aerobic activity.
Aim for taking in at least 30 to 50 grams of carbs for each hour spent running, but keep in mind that 8 ounces of a typical sports drink might contain roughly 16 grams of carb. During a long run, aim for taking in 4 to 6 ounces of fluid for every 20 to 30 minutes spent running.
Some of the best brands include Gatorade, HEED, PowerBar Perform, and GU Roctane.
If money is an issue, then the next tip will come in handy
Make your Own Sports Drink
I make my own sports drinks using whole foods and natural ingredients, and I love it. By doing so, I’m saving a lot of money while choosing a healthier path by going for more natural, whole ingredients.
For the icing on the cake, making your