If you’re serious about dropping pounds, crushing that first 5K without dying halfway, or chasing a marathon PR, there’s one secret weapon you might be overlooking: protein.
I used to think protein was just some fancy bonus—like sprinkles on a donut.
Turns out, it’s the whole plate the donut sits on.
After brutal runs and workouts where my legs felt like jelly and my energy hit zero, I realized protein wasn’t optional—it was what kept me from falling apart.
In this guide, I’ll break down:
-
Why protein is your body’s repair crew
-
How much you really need (hint: more than you think)
-
Smart ways to fuel up without turning meals into a math equation
You’ll learn why missing essential amino acids is like showing up to a race without shoes, how to spot if your recovery’s off, and the simple post-run protein hack that saved my legs more times than I can count.
If you want to stop limping through runs and start building a machine that actually gets stronger, this is where you start.
Ready? Let’s get into the real deal on protein for runners.
What Is Protein and Why It’s Crucial for Runners?
Ever wonder what’s keeping your legs from turning to jelly during a long run?
Spoiler: It’s not just wishful thinking.
It’s all about protein.
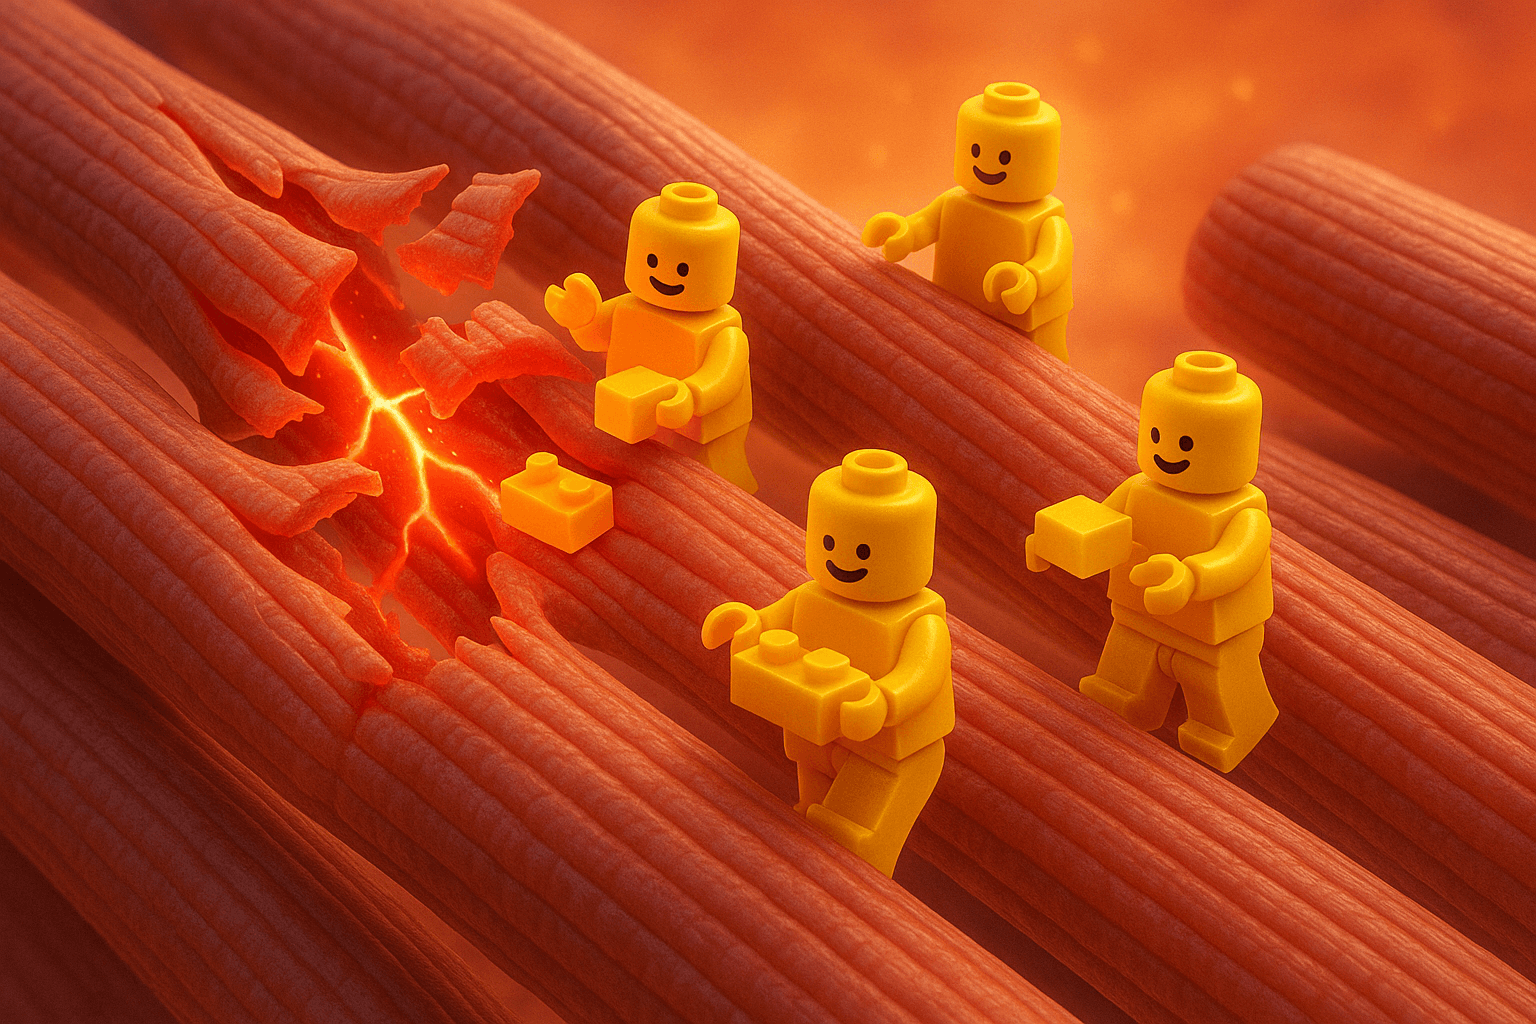
Tiny chains of amino acids — think of them like LEGO bricks — constantly tearing down and rebuilding your body while you go out there punishing yourself for fun.
Every time you finish a savage speed session or a long hill grind, you’re not just tired. You’re full of micro-tears. Tiny invisible battle scars all over your muscles. Protein is the repair crew that fixes you up and gets you back to your best.
And here’s the kicker:
When you run long enough and your carbs run out? Your body starts using protein for fuel. Yeah, your precious quads can literally start eating themselves if you don’t give them enough backup.
10% of your energy during big endurance runs? Protein’s working overtime.
Essential Vs. Non-Essential Amino Acids
I hate to break it to you but not all proteins are the same, though. Just like not all “easy runs” actually stay easy.
Here’s the real deal: There are 22 amino acids doing their thing in your body.
Only 9 of them are “essential.” Meaning your body can’t make them — you gotta get them from food. And without them, Without them, you’re in trouble.
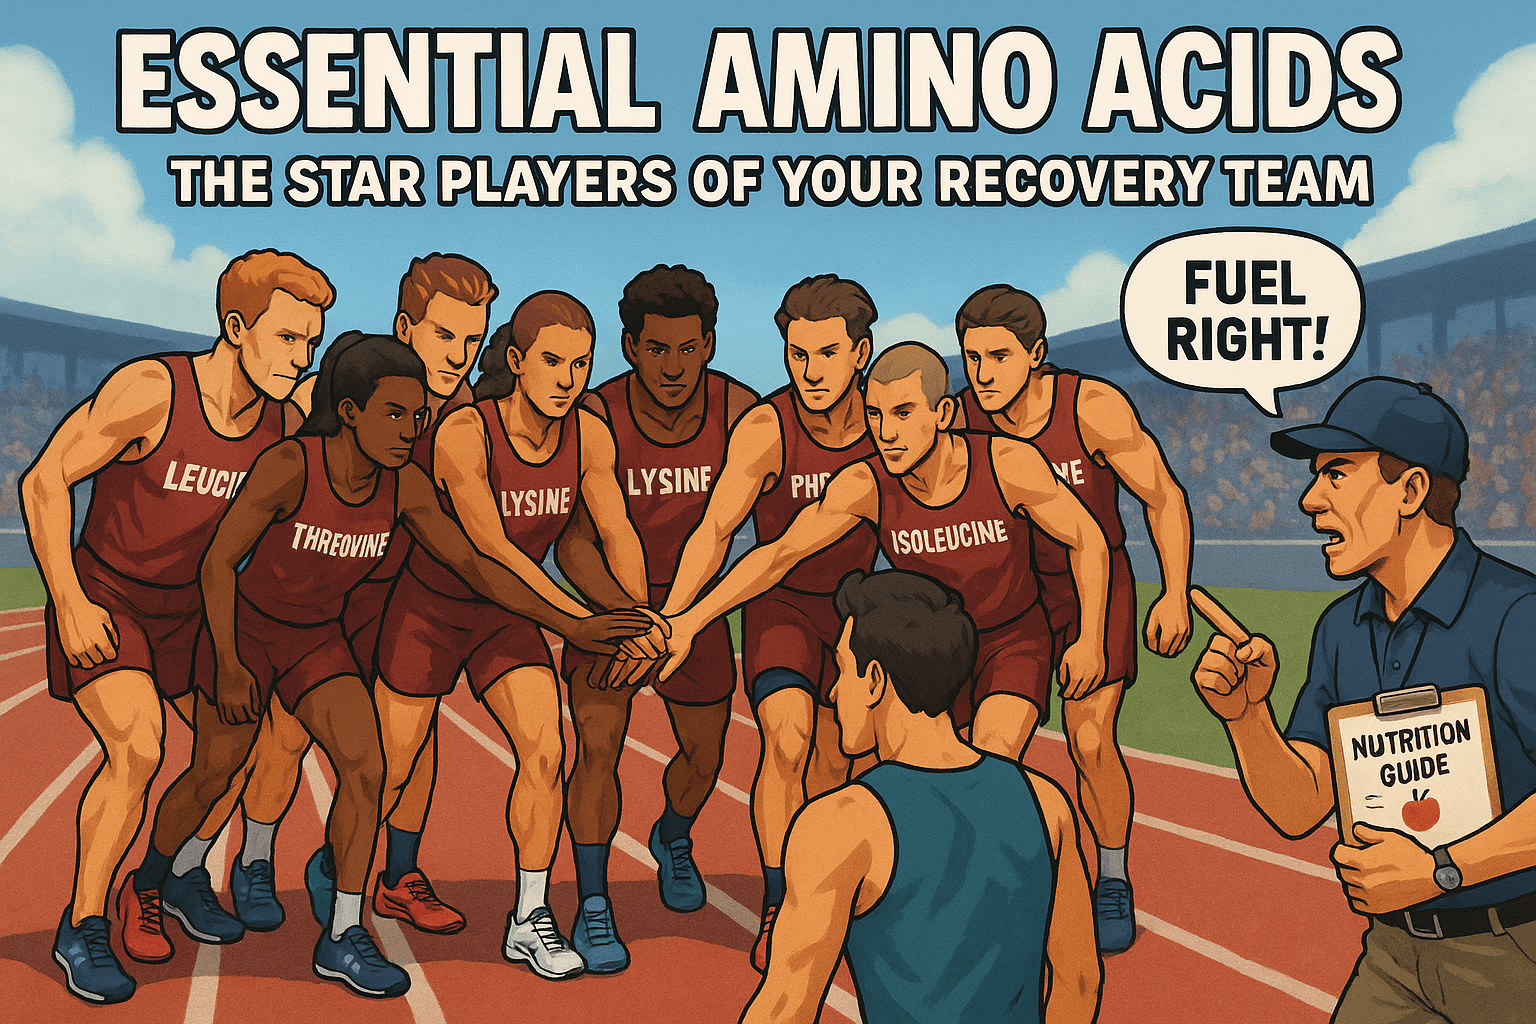
Where do you find these key players?
Simple: Real food. Real fuel. Real results. These include:
- Lean meats
- Fish
- Eggs
- Beans and nuts (if plant-powered)
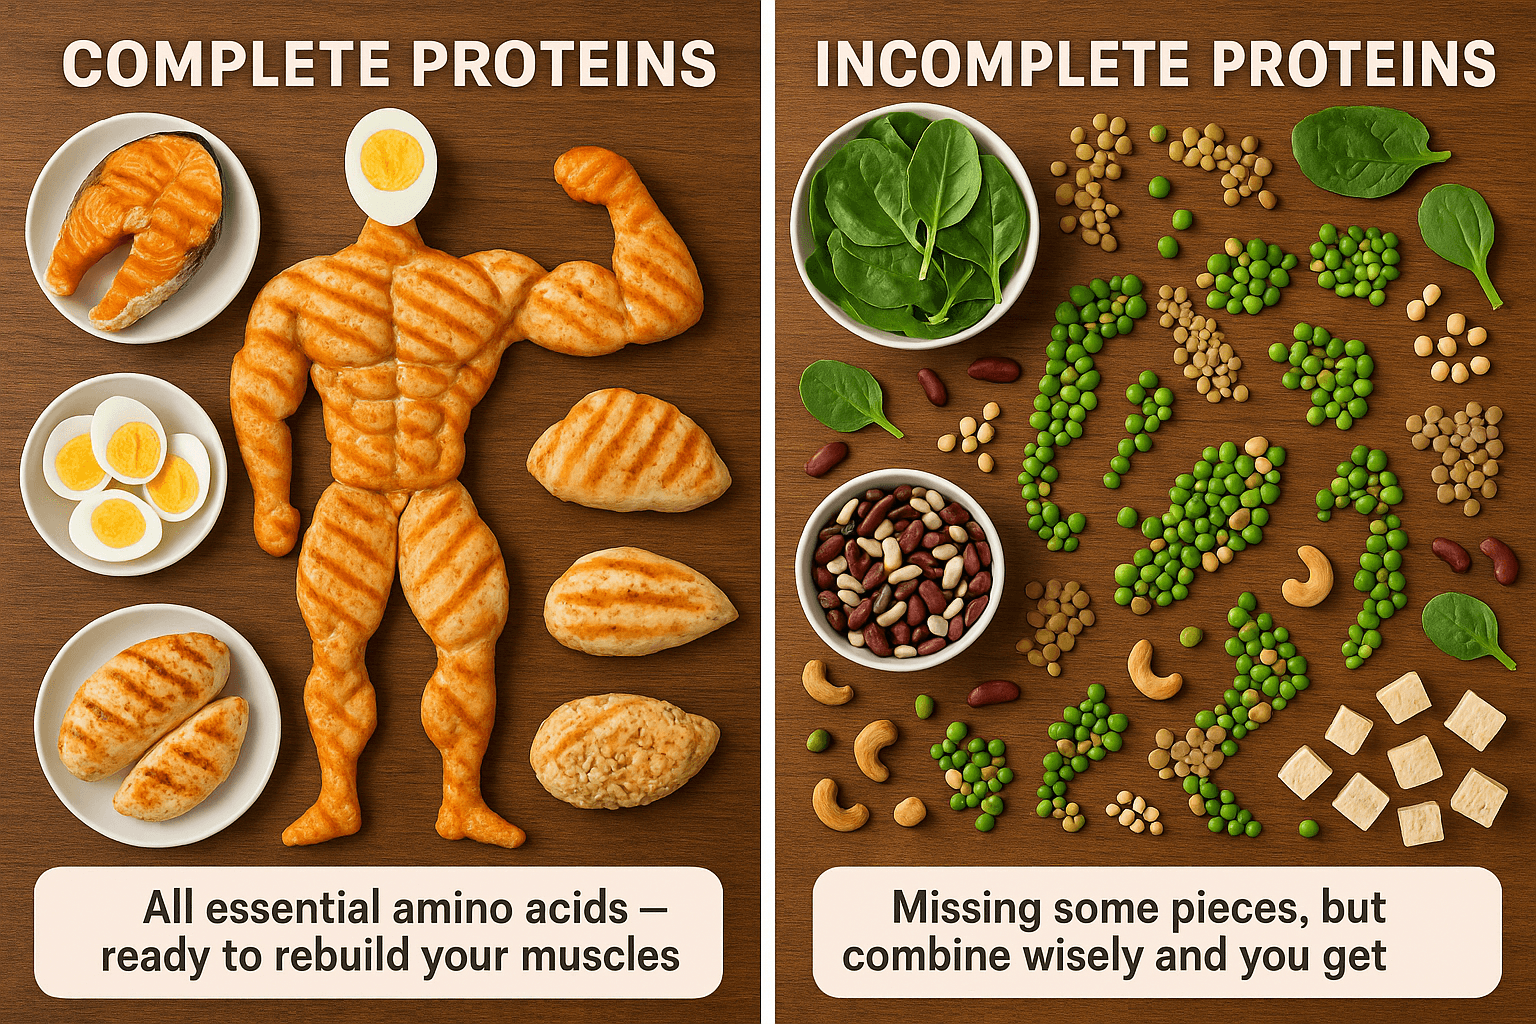
Complete vs Incomplete Proteins
I hate to sound like a broken record but — in running and in fueling, not everything is created equal. Same way some race days you feel like a machine… and some days you feel like wet cardboard.
Complete proteins have all 9 essential amino acids, ready to rebuild your muscles the second you finish your run.
You’ll mostly find these in:
One bite of these, and your recovery is off to a great start. No overthinking needed.
On other hand, most plant foods — veggies, grains, nuts, seeds — are incomplete proteins. They’re missing some amino acids, so they need a teammate to do the full job.
Mix these right, and you get a solid recovery combo:
-
Spinach salad with almonds
-
Rice and beans
-
Hummus with whole-wheat pita
-
Brown rice with peas
-
Yogurt and walnuts
-
Chickpeas with sunflower seeds
Do Runners Actually Need Protein?
Let’s kill a myth before it kills your training:
Protein isn’t just for bodybuilders at the gym.
It’s for any runner who’s ever struggled up a hill or questioned their sanity during the last mile of a race.
When I first started running, I thought protein was “bonus stuff” — like sprinkles on a donut.
Nice to have.
Extra.
Not essential.
Turns out it’s more like the plate the whole damn donut sits on. Without it? The whole thing collapses into a sad, sticky mess.
Here’s why: Running beats the hell outta your body — even when it feels good.
Every stride? Micro-tears.
Every uphill? Microscopic war zone.
Every long run? Controlled demolition site.
Protein is what helps fix you after all the damage.
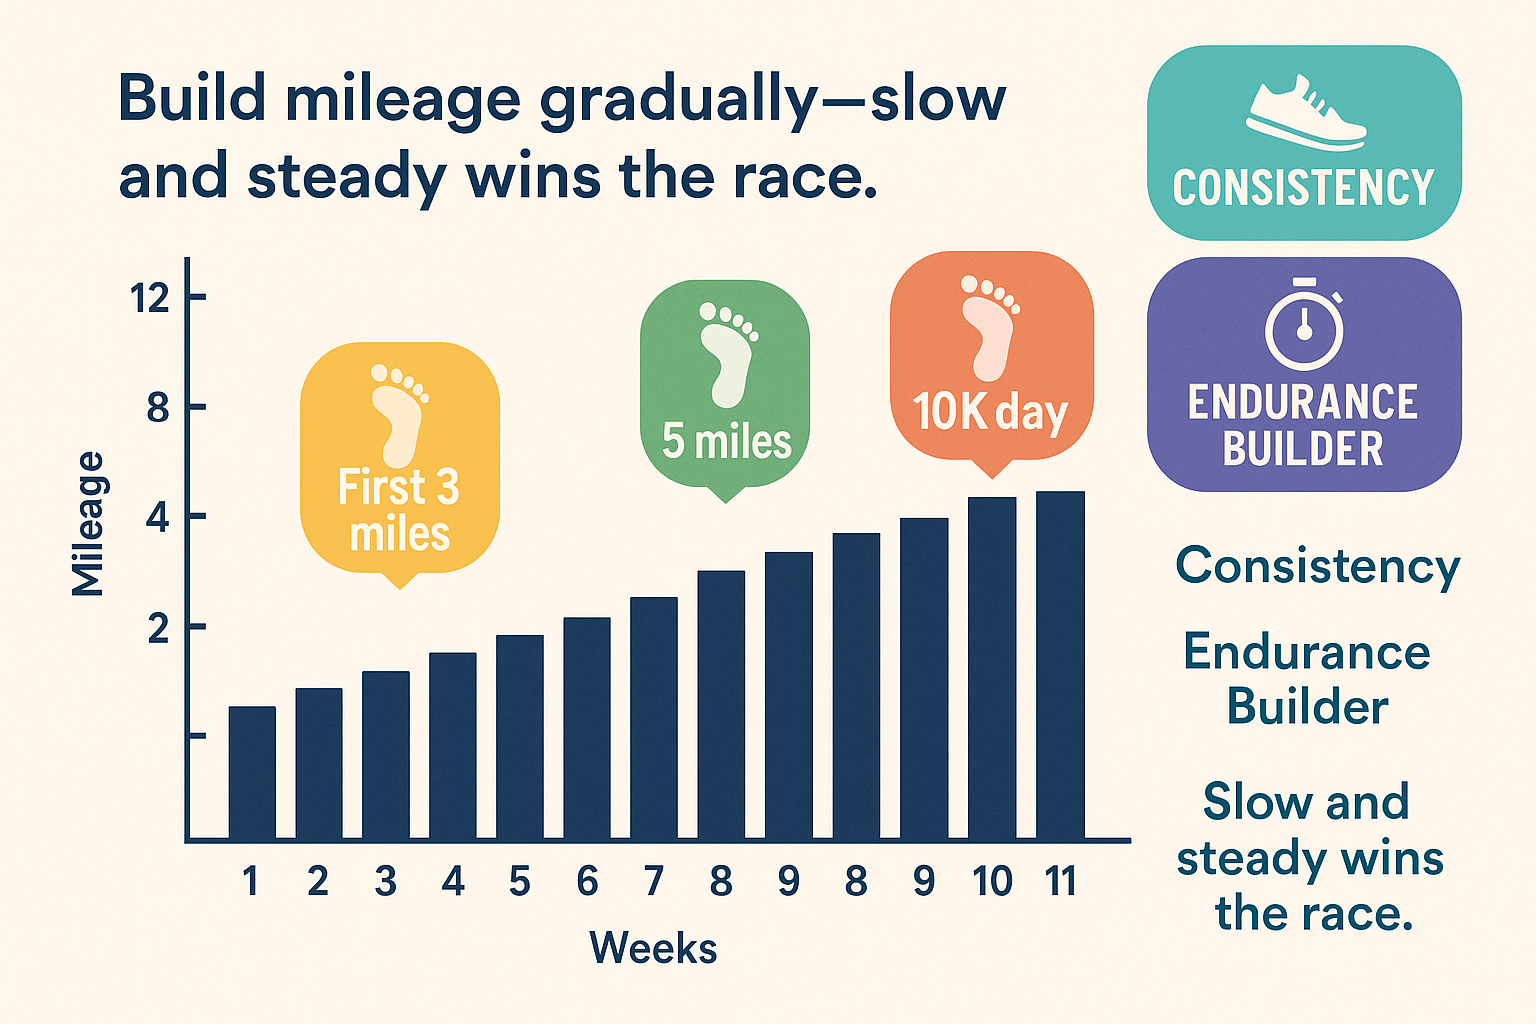
The Longer You Grind, the More You Need
You wanna know who’s really crying for protein? You, every time you go beyond a casual jog and start actually testing your limits.
A study in the Journal of Sports Sciences spelled it out plain: The longer and harder you run, the louder your body screams for protein.
Here’s how to make sense out of it:
- 20-minute jog around the block? Your muscles might not need as much.
- A hard one-hour hill session? It’s time to up the intake. Like. Right. Now.
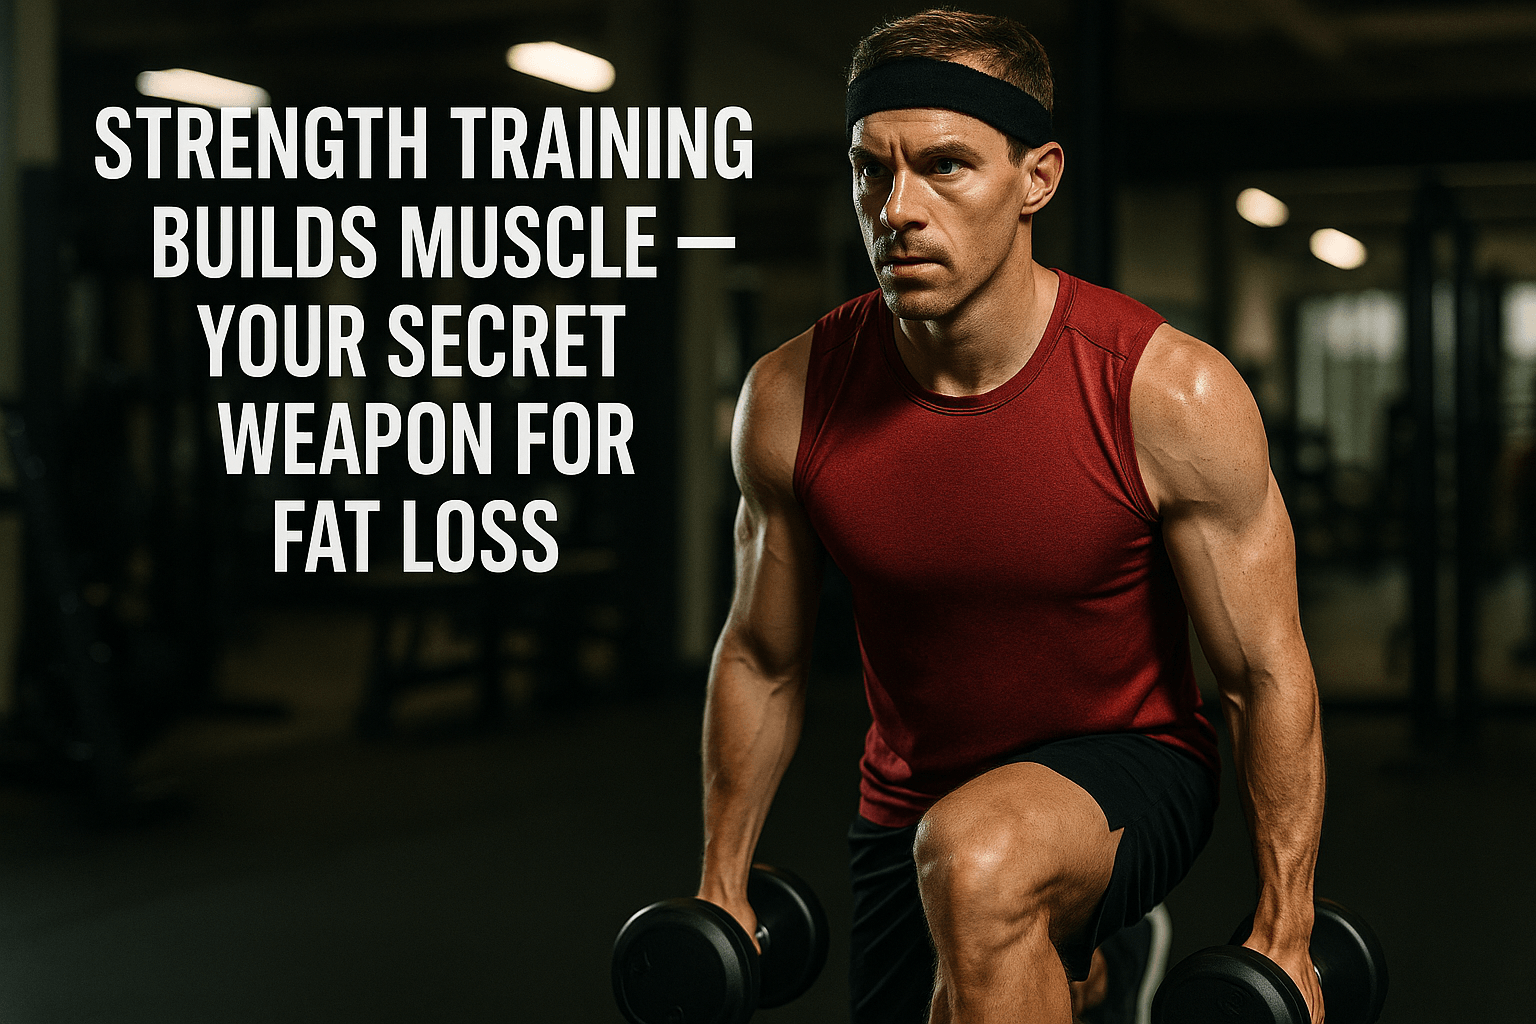
- Strength training too? Now, you just tripled your needs.
Protein: It’s NOT Your Gas Tank
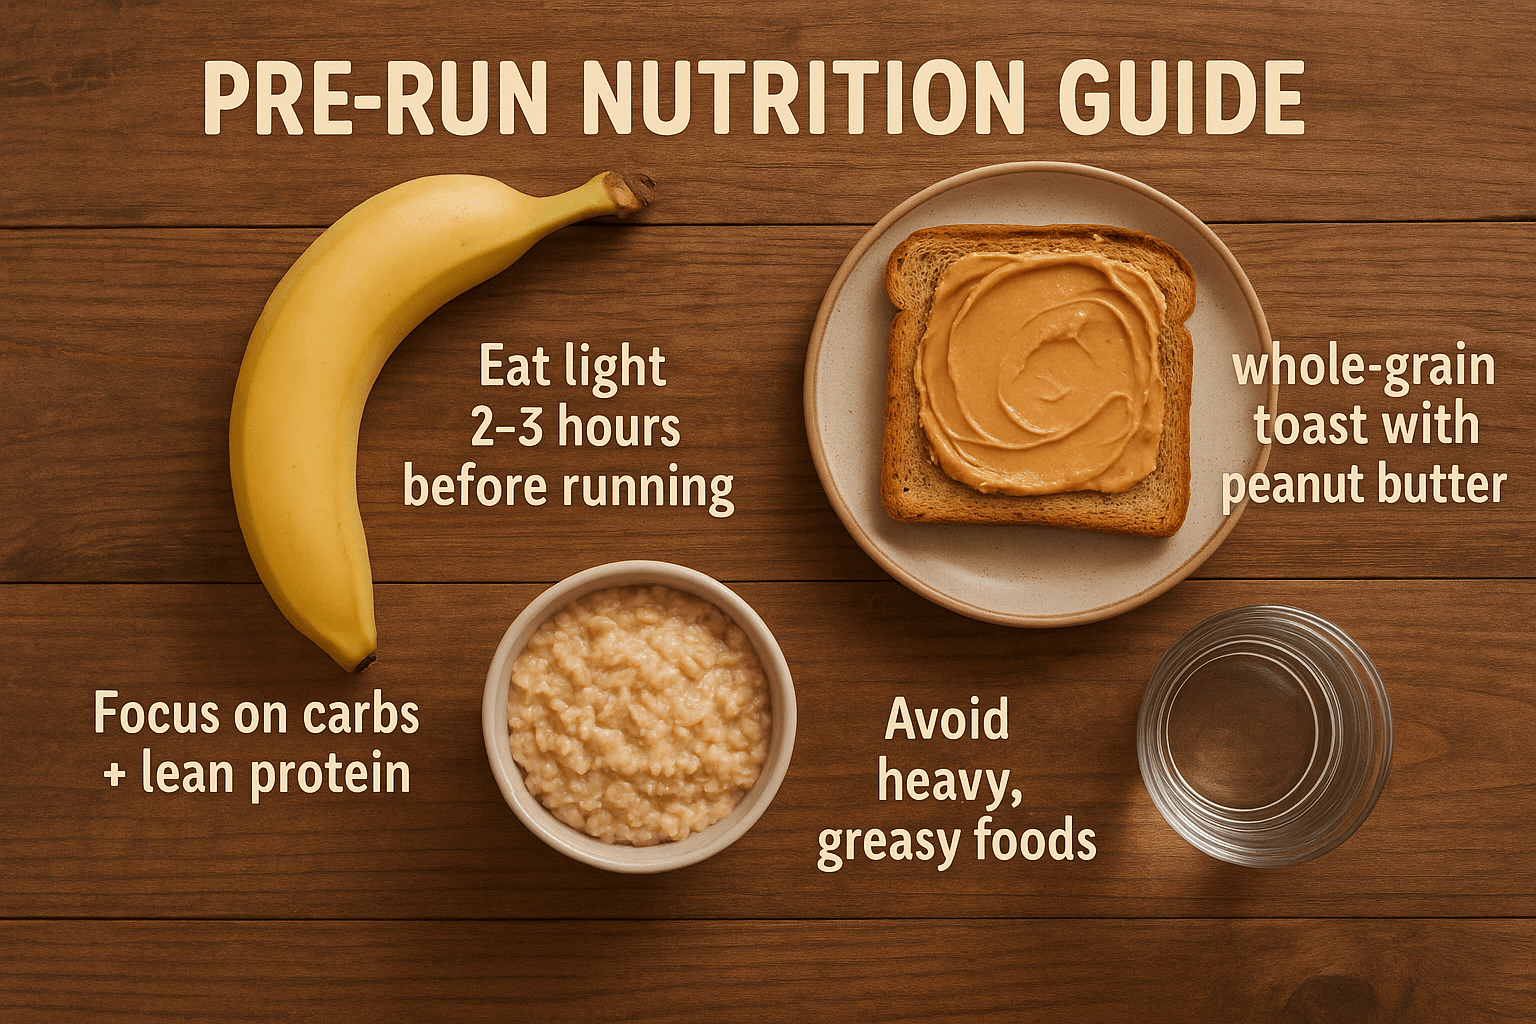
Here’s another classic mistake runners keep making — and trust me, I made it too, back when I thought peanut butter toast was all the recovery science I needed: Protein isn’t there to “fuel” your run.
It’s not your gas.
It’s not your turbo boost.
It’s not the stuff you’re burning up at mile 18 when you start questioning every life choice that brought you there.
Here’s how your body actually works:
- Carbs = gas in the tank.
- Fats = backup generator.
- Protein = the mechanic keeping the engine from blowing up when you redline.
Why Runners Need More Than “Normal People”
The basic advice you hear everywhere — “eat 0.36 grams of protein per pound of bodyweight”?
Yeah…
That’s for people who think walking their dog briskly counts as an endurance sport.
I don’t want to hate on anyone but you know what I’m talking about.
If you’re out here bleeding sweat, sucking air, and redlining, you gonna need way more.
My best advice?
- 1 gram per kilogram of body weight if you’re training regularly.
- 1.6–1.8 grams per kilogram if you’re training like you actually mean it — pushing hard, racing, lifting, chasing big goals.
So, for example, if you’re a 160-pound runner (~73kg), you need around 117 to 131 grams of protein a day.
Not when you “feel like it.”
Not when you “remember.”
Every. Single. Day.
Scientific Research: The Real Deal Behind Protein’s Role in Recovery
I’m not just making this stuff up — science backs it up. When it comes to protein and recovery, there’s a whole mountain of research that proves how crucial it is for runners like you.
Let me share a few notable studies with you:
Muscle Synthesis and Recovery:
Studies show that protein plays a key role in muscle protein synthesis—the process by which your muscles rebuild after they’ve been broken down during exercise (Phillips et al., 2007). Without adequate protein, your body can’t repair the damage, and you’ll find yourself feeling sore and sluggish.
One study even found that consuming 20–40 grams of protein post-exercise can significantly boost muscle recovery and reduce soreness (Jäger et al., 2017).
Endurance Performance:
Again, don’t just take my word for it—research also highlights that endurance athletes need more protein than the average person to maintain muscle mass and optimize performance.
A study in the Journal of Sports Sciences found that athletes who consumed higher amounts of protein—especially in combination with carbs—were able to maintain better endurance and perform longer (Pasiakos et al., 2014).
So yeah, protein isn’t just for the bodybuilders—it’s for anyone who’s putting their body through the grind, whether it’s a marathon or an ultra.
Glycogen Replenishment:
Here’s a little-known fact: protein also plays a part in helping your body replenish glycogen stores after a long run or intense workout.
A study in the Journal of Applied Physiology found that combining protein with carbs post-exercise speeds up glycogen resynthesis—and faster glycogen replenishment means better performance next time you hit the pavement (Ivy et al., 2003).
Bottom line?
Protein is non-negotiable if you’re serious about your running. Science says it, and the results speak for themselves.
Whether you’re running 5Ks or ultra marathons, fueling with the right amount of protein at the right time is one of the smartest moves you can make for long-term recovery and performance gains.
How Much Protein Do Runners Need?
Here’s your cheat sheet — no fancy formulas, no overthinking:
- Light runners (beginners and easy joggers): 0.8–1g of protein per pound of body weight
- Regular runners (5K–10K crowd): 1–1.3g per pound
- Heavy lifters (marathoners, ultra grinders): 1.3–1.8g per pound
Reminder – You don’t get stronger by just running. You get stronger by recovering — by actually letting your busted-up body rebuild. Fuel like it, or get ready to ride the injury train.
Balancing Your Diet
Wanna know how your calories should look if you’re actually out here running, not just posing for Strava screenshots?
- 50–60% Carbs (your rocket fuel)
- 20–30% Protein (your repair crew)
- 15–20% Fat (your backup generator for those ugly long runs)
How to Tell If You’re Screwing Up Protein
Look — you don’t need bloodwork and a nutritionist to know when you’re messing this up.
Look out for the following:
- Always tired (not earned tired, “I hate my life” tired)
- Poor sleep — tossing, turning, waking like you ran a marathon overnight
- Brain fog — losing your keys again
- Hair and nails falling apart
- Low libido — your body’s too busy surviving
- Losing muscle — legs feel like wet spaghetti, not steel cables
Can You Overdo Protein?
Look — Protein’s important. But piling it on like it’s gonna turn you into Kipchoge overnight?
Big mistake.
Here’s what actually happens when you go full “protein bro” mode:
- Wrecked wallet (hello, $400 grocery bills)
- Emergency bathroom sprints (porta-potty loses charm fast)
- Drained calcium stores (weaker bones, no thanks)
- No magic muscle gain — extra just becomes expensive pee
Result?
Broke.
Bloated.
Spent half a race sprinting from porta-potty to porta-potty like it was a bad scavenger hunt.
And I bet you want none of these. Fuel smart, not stupid. More isn’t better — better is better.
The Complete List Of Protein Sources For Runners
Here’s the almost-complete list of the main source of protein you should be eating as a runner. Enjoy!
Animal-based Sources
- 6 ounces of tuna = 40 grams
- 6 ounces of fish, salmon, or cod = 40 grams
- 4 ounces of lean red meat = 35 grams
- 4 ounces of skinless chicken = 35 grams
- 4 ounces of lean pork = 35 grams
- 3 ounces of roasted turkey = 26 grams
- 3 ounces of steak = 26 grams
- 4 ounces of trout = 27 grams
- 4 ounces of fresh, Atlantic farmed salmon = 25 grams
- 3 ounces of lamb = 23 grams
- 3 ounces of salmon = 22 grams
- 3 ounces of pork = 22 grams
- 3 ounces of shrimp = 20 grams
- 3 ounces of lobster = 16 grams
- 3 ounces of scallops = 14 grams
- One ounce of broiled beef, Sirloin steak = 8 grams
- One ounce of baked roast, beef = 8 grams
- One ounce of, dark meat, chicken = 7 grams
- One ounce of Salmon = 7 grams
- One ounce of, white meat, chicken = 7 grams
- One ounce of turkey breast = 7 grams
- One large, 50g, egg = 6 to 7 grams
- One ounce of Cod = 6.5
- One ounce of tuna = 6.5 grams
- One ounce of Scallops = 6 grams
- One ounce of shrimp = 6 grams
- One ounce of Flounder = 5 grams
- One slice of roasted turkey breast = 5 grams
- One ounce of smoked ham = 5 grams
- One large, white only, egg = 3.5 grams
- One medium slice of bacon = 2 grams
Plant-based Sources
- ½ cup of raw tofu = 19 grams
- One cup of lentils = 16 grams
- ½ package of tofu = 14 grams
- One cup of black beans = 12 grams
- ½ cup of pinto beans = 11 grams
- ½ cup of soybeans = 11 grams
- ½ cup of lentils = 9 grams
- ¼ cup of pumpkin seeds = 8 grams
- ½ cup of black beans = 8 grams
- ½ cup of chickpeas = 7 grams
- ½ cup of black eyed peas = 7 grams
- One ounce of peanuts = 7 grams
- One ounce of roasted almonds = 6.2 grams
- One ounce of almonds = 6 grams
- One ounce of flax seeds = 6 grams
- One ounce of Chia seeds = 5 grams
- One ounce of walnuts = 4 grams
- One cup cooked rice = 4 grams
- One ounce of roasted pistachios = 5 grams
- One ounce of roasted cashews = 4 grams
- ½ cup of quinoa = 4 grams
Dairy Food
- One cup of cottage cheese = 28 grams
- 6 ounces of Greek yogurt = 18 grams
- 4 ounces of cottage cheese = 14 grams
- One cup of regular, non-fat yogurt = 11 grams
- One cup of milk = 8 grams
- Two tablespoons of peanut butter = 8 grams
- One cup of skim milk = 8 grams
- One ounce of mozzarella = 7 grams
- One slice of cheddar cheese= 6 grams
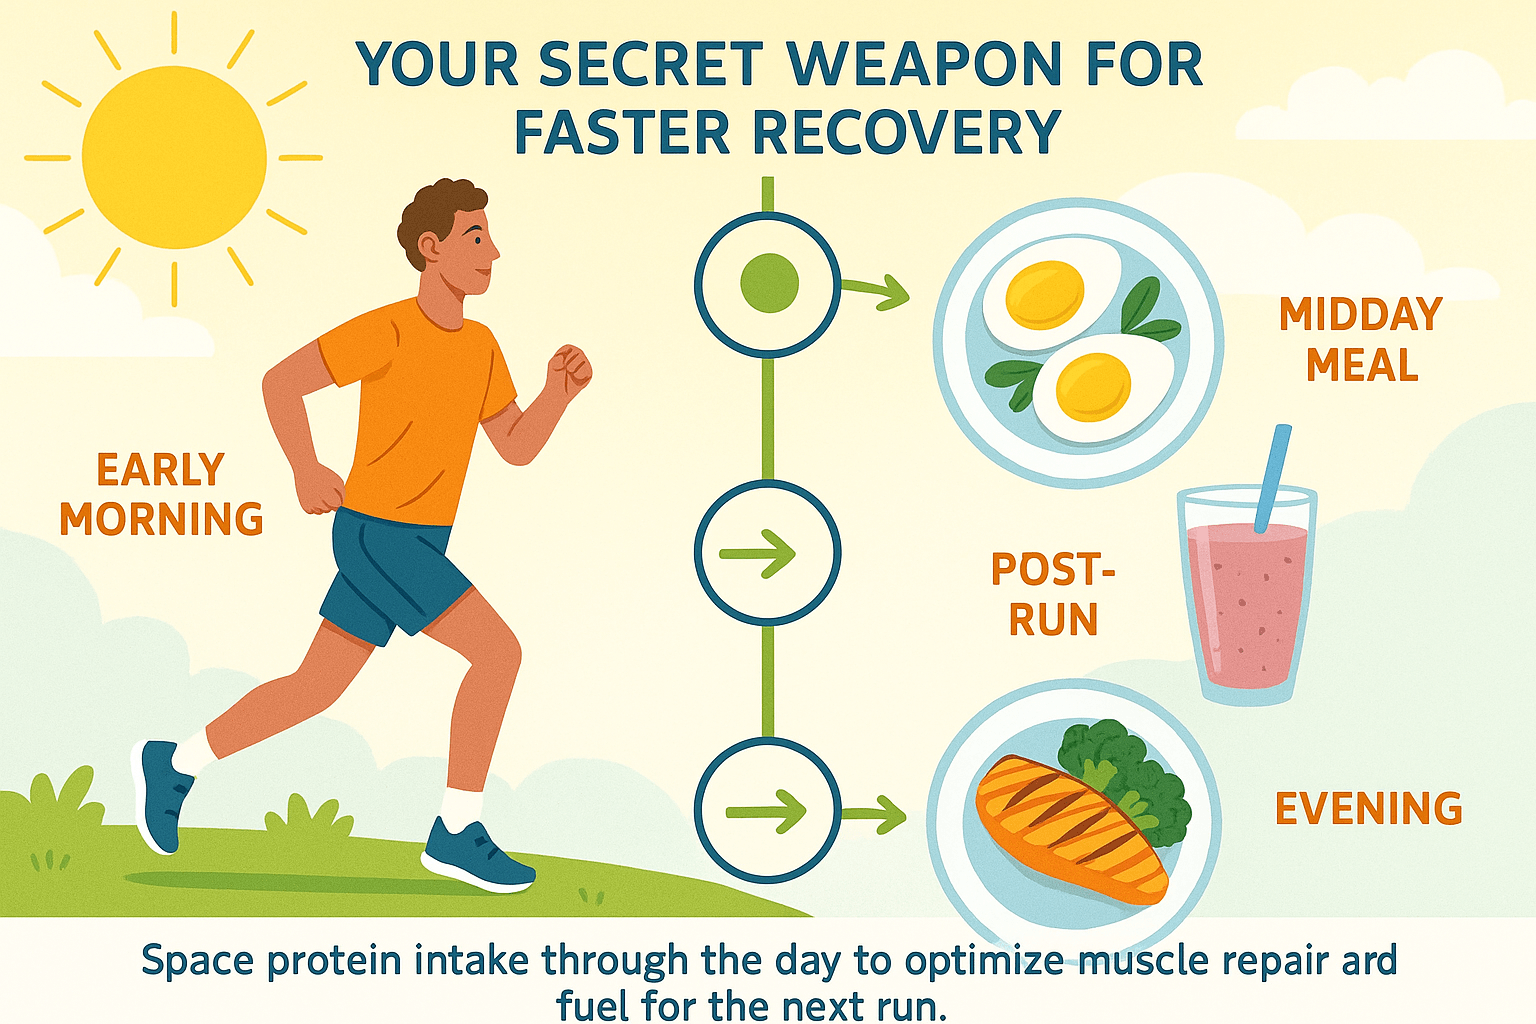
Final Word: Eat Like a Runner, Recover Like a Beast
You’re already showing up and doing the hard work. Fueling smart is the easy win most people skip.
👉 Hit your protein targets.
👉 Time it smart post-run.
👉 Mix your sources.
👉 Recover stronger.
You didn’t lace up your shoes to limp your way backward.
Keep running strong. And maybe — just maybe — pass that guy who skipped his post-run protein.
Thank you for stopping by.
Keep training strong.