If you’ve problems sticking to your running routine, this post is ideal for you.
Running is good for you for many reasons—it boosts your energy, uplifts your mood, fends off weight gain, etc.
I can go on and on.
But here’s the tricky part. Logging the miles on a consistent basis is no easy feat.
Fret no more.
In today’s article, I’ll share with you a few tips and guidelines to help you establish a running routine that you’ll actually stick to.
Sounds great?
Let’s lace up and dig in.
Start Easy
The first time I took up running, I decided to run daily for an hour. But, as I have soon discovered, it was a big mistake.
Here’s the truth.
When you do too much too soon—whether it’s running, weight lifting, yoga (yes!), you’ll end up sore, injured, or burned out—not the makings of a great start, I daresay.
In fact, even you’re the most motivated person in the world, the go-hard or go-home attitude isn’t great for keeping momentum.
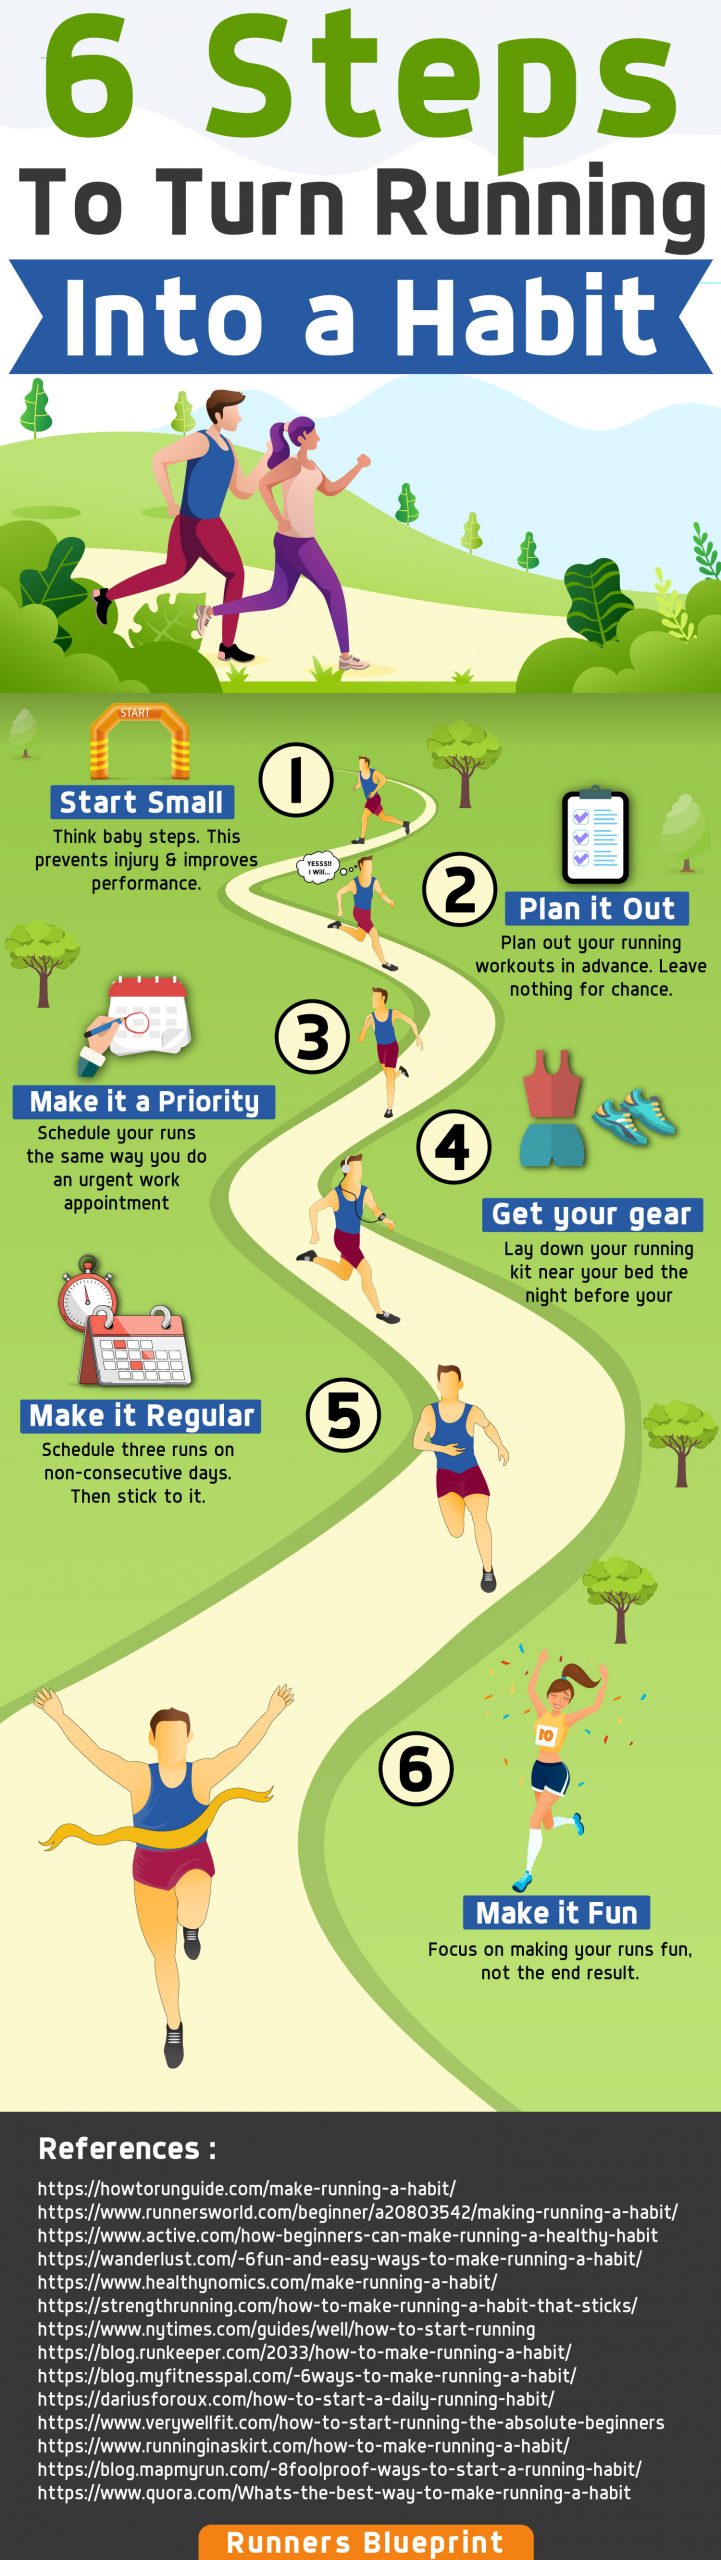
So, instead of shooting for the stars, think baby steps and build it from there.
How to Get Started
During the first few weeks, start with something you can do effortlessly—even if you’re severely lacking in both motivation and self-discipline.
For example, if you want to stick to your running routine, begin by jogging just for 15 to 20 minutes three days a week—it’s really that simple.
Once the “jogging habit” goes on autopilot, you can then gradually increase the length and intensity of training.
Doing so will definitely help you establish the exercise habit without hurting yourself.
The best way to get fit without getting hurt is to opt for the walk/run method.
Additional Resource – Here’s how to create a running plan
Have a Plan
I started running roughly 11 years ago, and if the practice has taught me anything is that planning is key to success.
After all, failing to plan is planning fail.
“But, David, I just want to run off a few pounds; I have not intentions to become a “serious” runner!”
I completely agree.
Just hear me out
Even if you’ve no racing ambitions, it’s a good idea to follow a planned out running schedule to help you stay consistent and safe.
Without a plan, you might risk increasing mileage too quickly, which definitely, will result in injury and disappointment.
The Plan(s) You Need
Here is the good news.
You don’t need a complicated plan.
At a minimum, aim for 140 to 160 minutes of exercise per week. That equates to roughly 30 to 45 minutes a day, four to five times a week.
A typical weekly training template involves running on Monday, Wednesday, and Saturday—covering 3/4/5 miles on those respective days.
Then cross-training—lift weights, do yoga, bicycle, swim, whatever—on Tuesday, Thursday, and/or Friday.
Sunday should always be a rest day.
If you’re looking for a thorough schedule, then give my C210K plan a whirl. Or try this 30-day beginner running challenge.
Stay Accountable
Plenty of people set goals, but far fewer are willing to do all it takes to turn their vision into a reality.
The fact is, simply setting goals, then writing them down is just one piece of the puzzle.
That’s why having some form of accountability is crucial.
When you’re accountable to someone other than yourself, it may help achieve more progress thanks to the power of peer pressure.
Knowing that those holding you accountable will be asking you for updates on your progress will help you stay motivated to keep running.
And science agrees.
Research has found that people who share their goals with others are twice as likely to achieve them as those who keep the goals to themselves.
How To Build Accountability
It’s a two-step process.
Firstly, set the right goal (we already talked about that), then be willing to let others help you achieve it.
Involve everyone around you. Good candidates include your partner, a family member, a friend, or even a pro such as a personal trainer or a coach.
Next comes the hard part.
Once you share your goals, keep track of your short-term goals and set a deadline, then schedule regular appointments to report back to your circle on your progress. Don’t forget to also monitor your recovery and the rest.
Set The Right Goals
Another critical key to sticking to running is setting the right training goals—as long as they’re within reach.
Otherwise, you’ll be setting yourself up for failure.
So, how to set the right running goals?
It’s quite simple: Set SMART goals. This method is incredibly helpful for building habits. It stands for Specific, Measurable, Attainable, Realistic, and Time-bound.
For instance, “I want to start running” is not a SMART goal.
“I want to be able to run for 30 minutes, non-stop, at a conversational pace by July” is more specific, quantifiable, and incorporates a deadline.
Once you set your goals, put them up in a prominent place to serve as a reminder.

Set Up Triggers
Most people rely on positive thinking and motivation for creating lasting habits.
However, this may not be enough.
Instead, I’d recommend that you also set up triggers.
Let me unpack this.
Triggers are a less-known secret to forming lasting habits—or breaking an old one.
Triggers are, basically, reminders—a place, time of the day, cue, etc.—that set off an automatic reaction to perform a task or activity.
In psychology circles, triggers are typically associated with bad habits.
For example, alcoholics have a number of triggers—stress, anger, social isolation, etc.—and whenever they experience one or a mix of these, they get the urge to drink—regardless of future ramifications.
Fortunately, triggers work very well for positive habits, too.
When the bond between the habit and trigger becomes strong, the habit will become automatic. The stronger the bond, the more embedded the habit.
Running triggers could be waking up in the morning, drinking coffee, finishing work, or anything you want.
For my trigger, I choose to drink coffee in the morning. When I do so, I know it’s time for my workout because I have habitually trained myself to exercise after my morning coffee.
Visual triggers are also ideal.
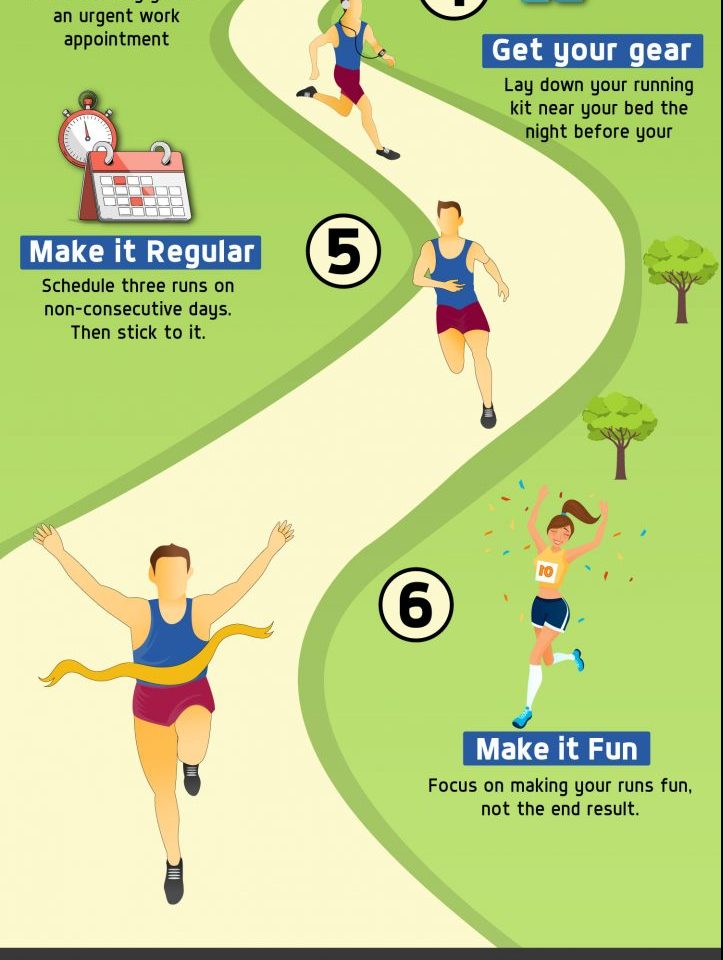
One trick I used to help me better stick with my running routine is to lay out my workout clothes next to my bed the night before a run.
This encourages me to work out and head out for a run even when I’d rather stay tucked in the comfort of the sheets.
Get Social
Social support can impact your commitment to stick to exercise, according to research published in the Journal of Behavioral Medicine.
Pairing up helps keep both of you motivated and accountable for maintaining the exercise routine.
It makes you less likely to abandon your exercise plan program.
Choose the right partner, though. Just because someone is your best friend, it may not make them a suitable partner.
Instead, look for someone who shares your fitness level and goals.
Another option is to join a fitness group at local gyms, like Yoga, martial arts, spinning, or CrossFit.
Or, at the very least, tell at least one other person about your new exercise resolution, then ask them to keep you accountable.
Reward Yourself
In psychology 101, if a stimulus, such as running, triggers a positive response, chances you’ll want to reproduce the feelings by doing it again—running in this case.
The more you reward good behavior, the more you encourage it.
Give yourself immediate rewards whenever you achieve a running goal or complete a set of planned runs.
How? Be systematic about it.
Create a running plan and have a reward attached to attaining a certain goal, be it running three times a week, completing eight 400-meter reps, or running a 5K under 30 minutes. You choose. But be careful with your reward system. Keep it as healthy as possible and not food-based.
Getting a new pair of jeans, going out with friends, having a hot bath, Netflixing your favorite show, etc.
Keep Track
To stick to your running plan, track your progress using a training log or journal. This not only helps you better understand your strengths and weaknesses but also provides an objective look at your training routine.
What’s more?
It also keeps you accountable for your action as you develop your new exercise habit. Again, accountability matters.
After each workout, note the following:
- Time and distance
- How you were feeling
- Comments about how you felt
- Approximate mileage
- Weather conditions
- Pre-run meal
- Calorie burn
- Sets performed
- And anything else relevant to your running routine.
- Weight loss—or gained
- Numbers on the scale
- Waist circumference measurements
- Food intake
- Eating habits and patterns
- Hydration levels
- Before and after photos
Make The Time
Lack of planning tops the reasons people fail to stick to exercise for the long haul. And as the saying goes, failing to plan is planning to fail.
As a matter of fact, you’re more likely to stick to your exercise routine if you have strategies to help you overcome obstacles.
That’s why I’d recommend that you prioritize exercise.
At the start of each month, sit down, grab a pen and a calendar, pick out the days you want to work out, then schedule them in advance.
Aim for 14 to 16 runs for an average month.
Then, once you’re done scheduling, keep your run dates with yourself ironclad, and don’t let other engagements interfere.
Said otherwise, make your exercise a priority, then rearrange your life around it.
You should also have plan B in case of unforeseen forces (think unscheduled meetings and bad weather) you to cancel your session.
Make it as far as possible from your working hours but still within your productive window. Otherwise, you’ll always use your job or being tired as an excuse not to exercise. And that’s just bad.
Beat Boredom
Last but not least, one thing you need to beat to stick to your running plan is, plain and simple, boredom.
Other than injury and burnouts, boredom tops the reasons people give up on running. The key to beat this takes a lot of creativity.
You can make running fun in a lot of different ways.
Here are some ideas:
- Instead of running solo, pair up with a friend or co-worker. Misery, after all, loves company.
- Create a playlist of your favorite songs that you only listen to when you work out. Put it on shuffle mode, so you’ll discover more songs.
- Listen to a fiction audiobook and get lost in the story.
- Find a good podcast. My favorite is the Joe Rogan Show.
- Run somewhere pristine and beautiful. Enjoy the sights and sounds as you go.
- Make your running time your sacred time. Practice running meditation.
- Create a reward system in which you treat yourself to a treat whenever you reach a specific running milestone.
- Vary your routes and workouts
- Stay away from industrial or polluted areas.
The options are almost endless.
Regardless of what fun means to you, as long as it’s working, you’re good to go. This will help you stick with it.
Conclusion
There you have it! If you’re serious about sticking to your running routine, today’s guidelines should help get you started on the right foot. The rest is just details.
Please feel free to leave your comments and questions in the section below.
In the meantime, thank you for dropping by.
Keep training strong.
David D.