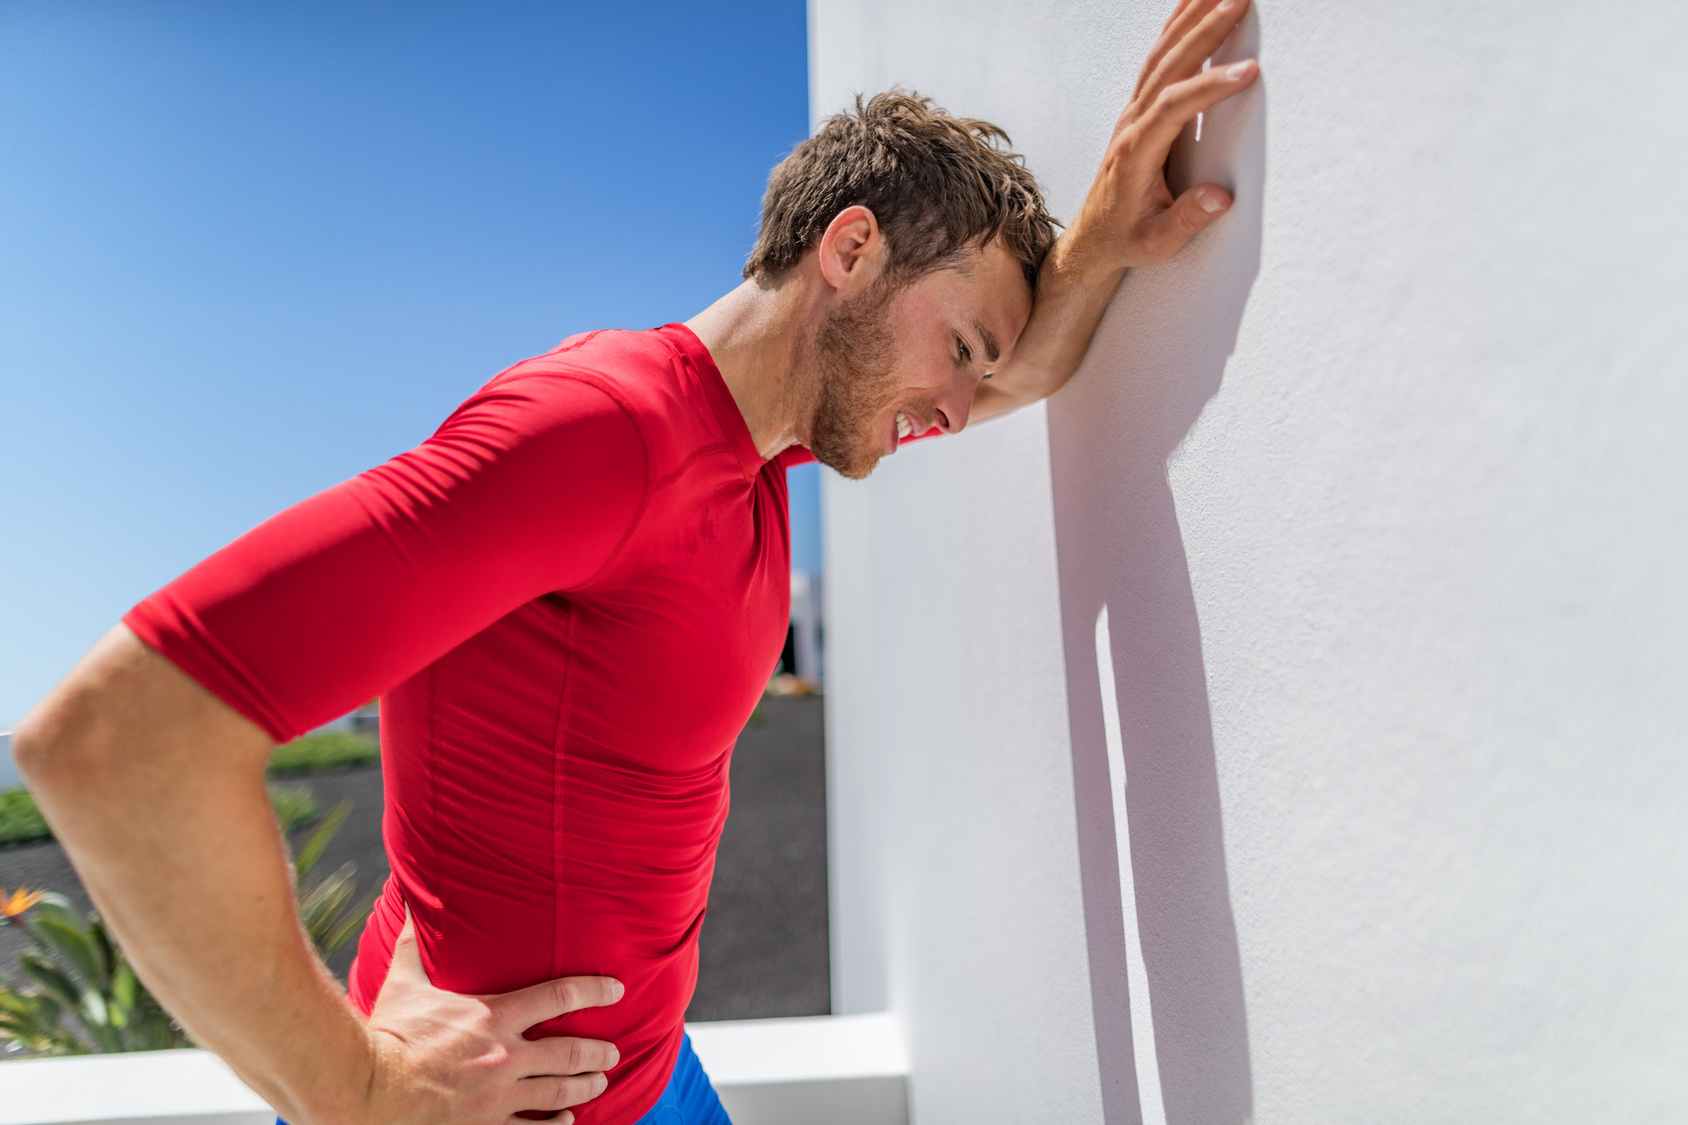
Are you familiar with that annoying, often downright painful sensation in your feet, right beneath your toes, while running?
Well, if you’ve experienced it, you’re not alone. I’m talking about metatarsalgia, the not-so-welcome companion for many runners.
But wait, what’s causing this unwelcome guest to crash your running party? And, more importantly, how can you kick it to the curb or, even better, prevent it from showing up in the first place?
You see, in about 9 out of 10 cases, metatarsalgia is the culprit behind that pesky ball-of-foot pain – and it’s not exclusive to runners; it can bother just about anyone.
Now, here’s the kicker: when you’re dealing with metatarsalgia, running isn’t exactly your foot’s best friend.
The high-impact nature of running places a considerable amount of stress on those already grumpy feet, making your symptoms worse and slowing down the healing process.
But worry not because today, we’re here to dive headfirst into the world of metatarsalgia.
We’ll uncover its secrets, explore its main symptoms, and arm you with the knowledge to both treat and prevent it.
Sounds like a plan, right?
So, lace up those shoes, let’s dig in, and get you back to enjoying pain-free runs!
Anatomy 101 – Foot & Forefoot
Your feet are nothing short of a marvel of design. They were crafted by nature for an impressive range of activities – from walking and jumping to balancing, dancing, climbing, and, of course, running.
But here’s the kicker – your feet, while amazing, also bear the incredible load of your entire body. And when you kick into running gear, that weight amplifies even more.
Now, let’s dive deeper into the nitty-gritty of foot anatomy. A single foot houses a whopping 26 bones, which is nearly a quarter of all the bones in your entire body.
And that’s just the beginning! You’ll find 33 joints, 19 muscles, a whopping 107 ligaments, and enough tendons to make your head spin.
But the real star of the show? The forefoot. This area is like the VIP section of your feet, home to the metatarsal bones, the metatarsophalangeal joints (say that five times fast!), and all ten toes.
It’s where the action happens, and it’s densely packed with tiny yet mighty muscles, tendons, ligaments, bursa (those cushiony sacs that keep things smooth), fascia (the body’s natural tension tamer), blood vessels, and nerve fibers.
The Function of The Forefoot
Imagine your foot as a well-choreographed team, with each member having a unique job. The forefoot squad’s primary tasks are weight-bearing and propulsion.
Let me explain.
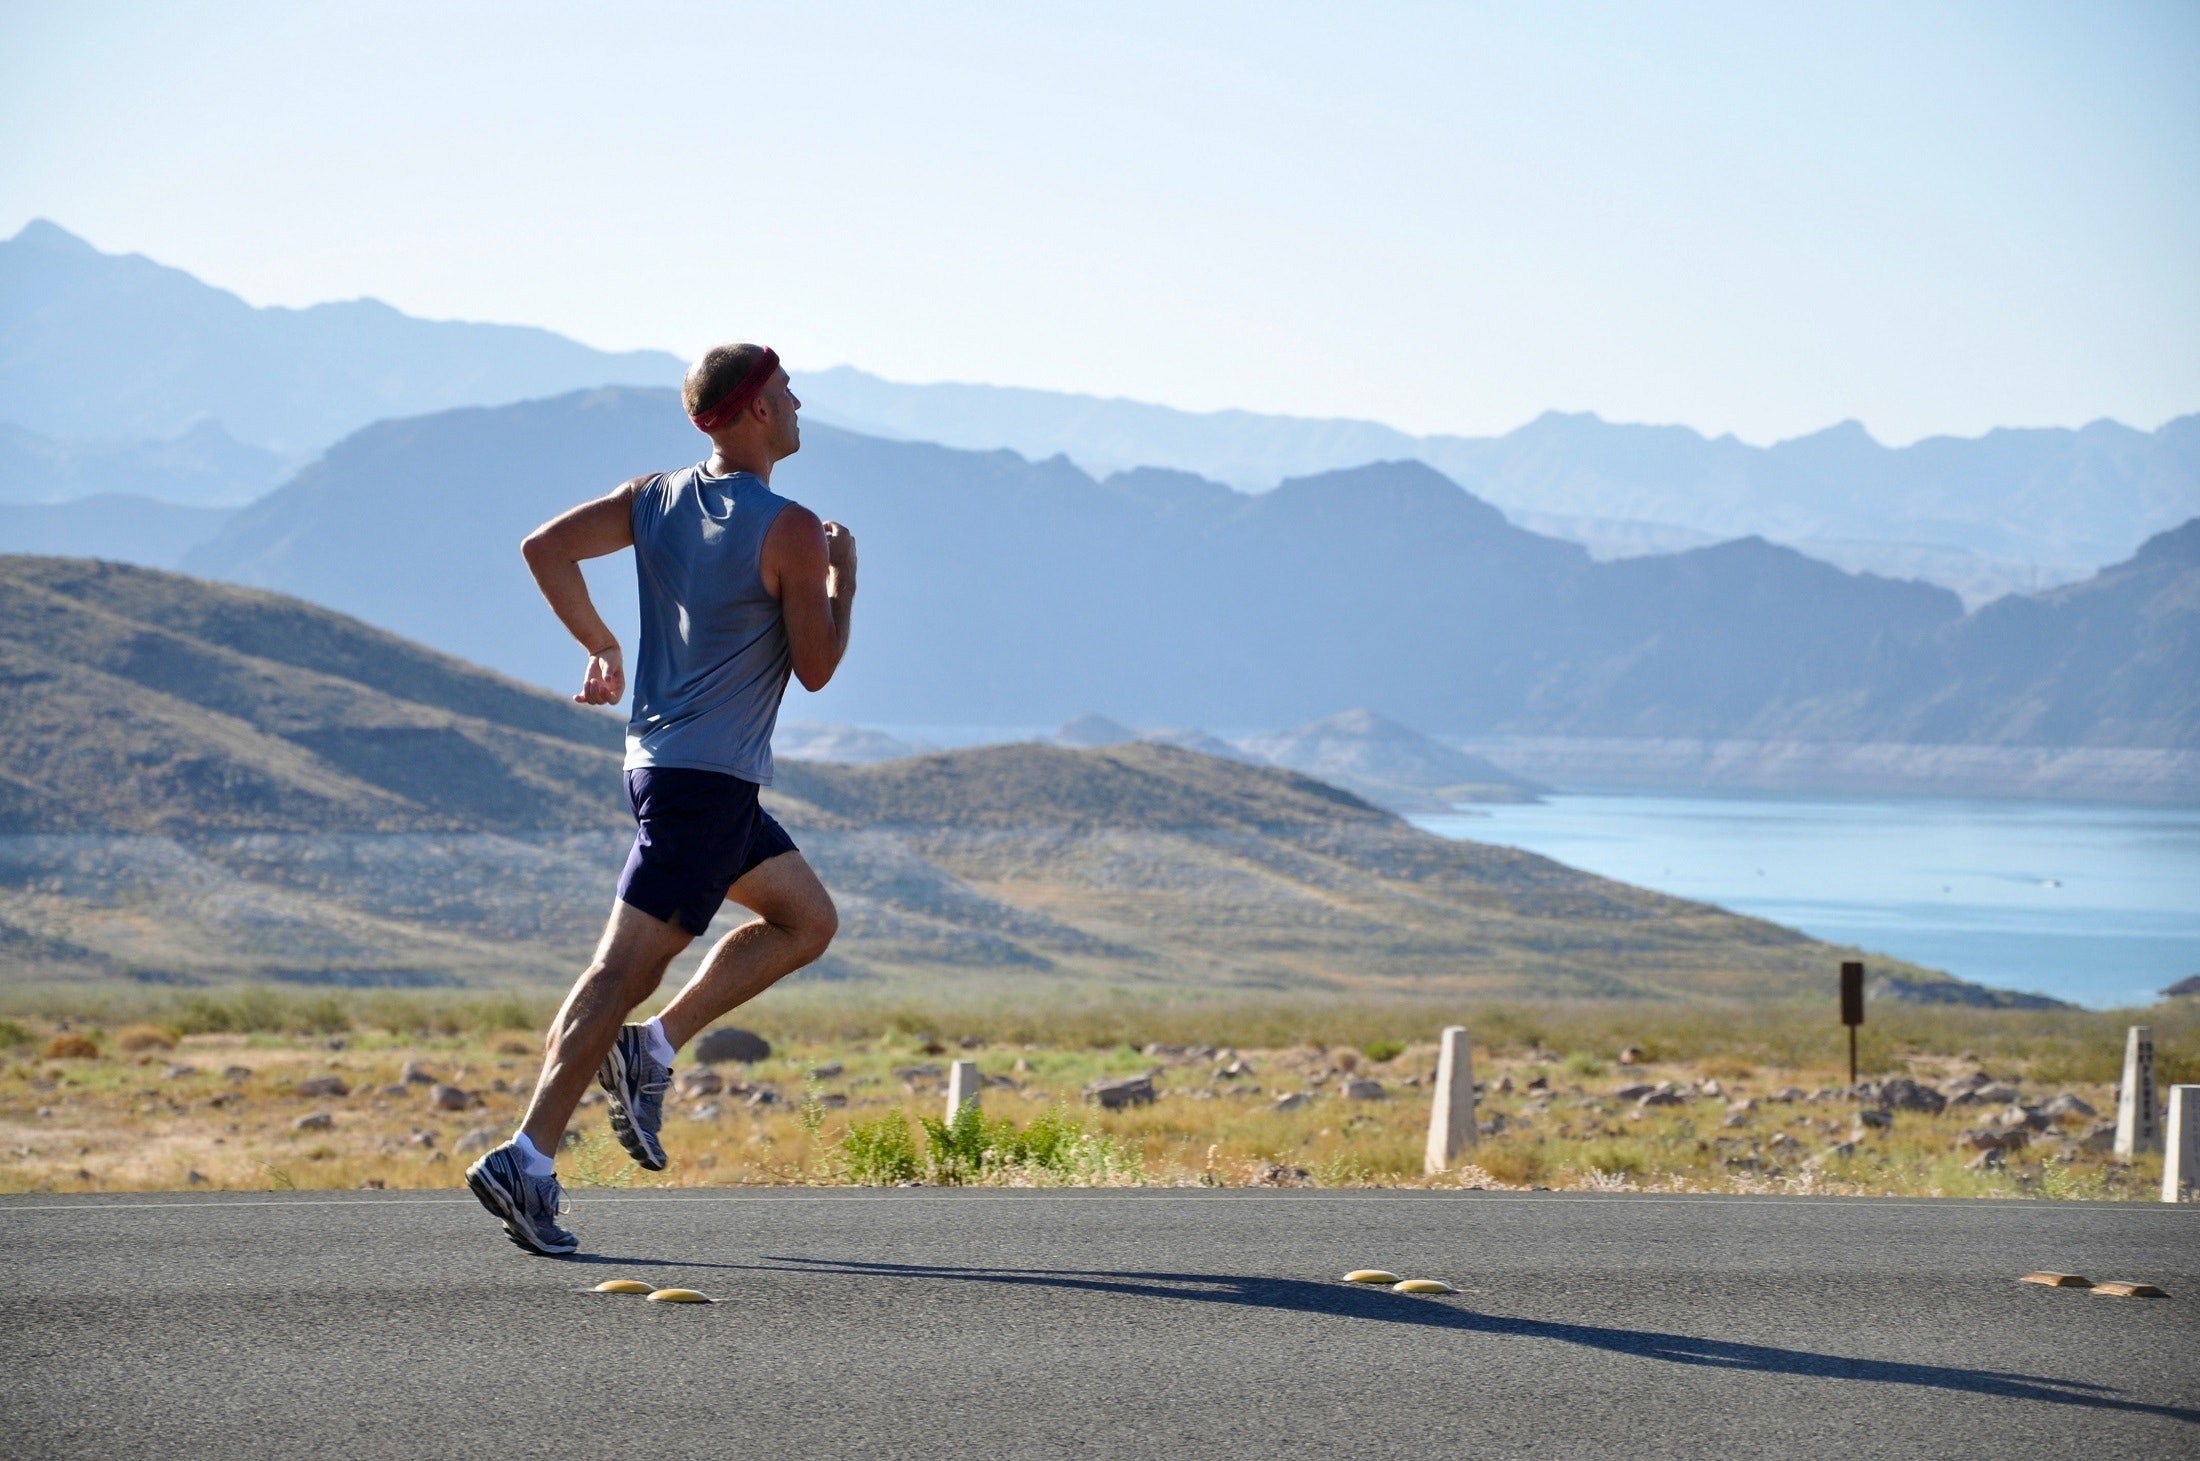
When you’re in the midst of your running stride, your forefoot is the first responder to the call of duty. It takes on the enormous responsibility of supporting your entire body’s weight during the toe-off phase, which is basically when you’re propelling yourself forward.
Talk about a heavy task!
Now, here’s where it gets interesting. Depending on factors like your running speed, biomechanics, the terrain you’re conquering, and your own body weight, your forefoot might be handling as much as three to five times your body weight with every single step. That’s a lot of load for those metatarsal bones to bear.
That’s why it should come as no surprise that runners often experience forefoot pain. The sheer workload and repetitive stress placed on this part of the foot can lead to discomfort, and in some cases, it can even put a pause on your running goals.
Additional resource – Running with osteoarthritis
What Is Metatarsalgia?
Metatarsalgia is essentially a fancy term for an overuse injury that sets up camp under the heads of your metatarsal bones, which are the long bones that make up the front part of your foot. Think of it as the ball of your foot staging a protest.
The structures surrounding these metatarsal bones start getting all riled up, irritated and inflamed. It’s like a mini-revolution happening in your foot neighborhood.
Now, where’s the hot spot for this rebellion? Typically, it’s right under the ball of your foot, especially close to the base of your second toe. Why the second toe, you ask? Well, that’s where the action tends to kick off.
But here’s the kicker (pun intended): metatarsalgia isn’t the main culprit; it’s more like a messenger delivering some not-so-great news. It’s a symptom, not the root cause itself. The real question is, what’s behind this foot uprising?
Metatarsalgia is no respecter of professions. It doesn’t discriminate between runners, track and field athletes, or folks who love high-impact sports like football and basketball. If you’re putting your feet through the wringer, metatarsalgia might just pay you a visit.
Additional guide – Running With Seasonal Allergies
The Main Causes OF Metatarsalgia in Runners
The key culprits behind metatarsalgia is the excessive impact endured during physical activities, particularly running. This relentless pounding can irritate and even break down the structures that make up the forefoot.
That’s not the whole story.
Let’s unravel a few variables that could make things worse.
- Calf Tightness: Tight calf muscles can pull on the tendons and muscles in your feet, increasing the strain on the metatarsal area.
- Inadequate Shoe Cushioning: Running shoes that lack proper cushioning in the forefoot can leave your feet vulnerable to metatarsal stress.
- Overuse and Rapid Training Increases: Pushing your limits too quickly can prevent your muscles and tendons from adapting, potentially leading to metatarsalgia.
- Foot Biomechanics: If your feet roll excessively inward (overpronation) or outward (underpronation) during running, it can exacerbate the
- Foot Anatomy: Having excessively high arches or flat feet can alter the distribution of weight on your feet, potentially increasing the risk of metatarsalgia.
- Prolonged Standing or Sitting: Occupations or activities that involve extended periods of standing or sitting can also contribute to metatarsal stress.
- Foot Deformities: Conditions like hammertoe deformities and bunions can alter the alignment of your toes, impacting the metatarsal area.
Additional resource – Guide to big toe pain from running
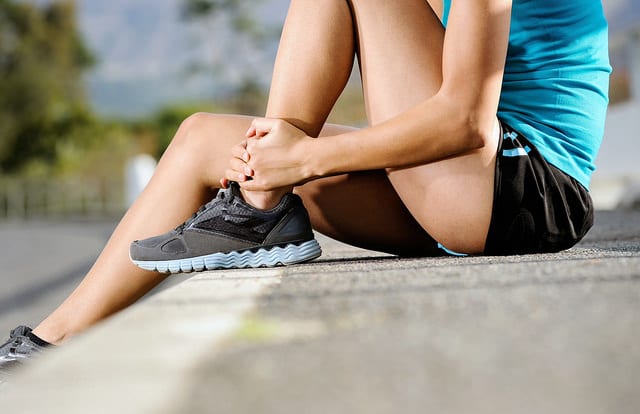
Symptoms of Metatarsalgia While Running
Let’s take a closer look at the symptoms when metatarsalgia gate-crashes your run.
Metatarsalgia often starts as a low murmur of discomfort, like a distant thunderstorm on the horizon. It sneaks up on you gradually, making itself known over time.
As it settles in, metatarsalgia’s signature move is a symphony of pain. You might feel like there’s a tiny dagger stabbing, a smoldering burn, or a persistent ache right under your toes. Sometimes, it’s a sharp, shooting pain that takes you by surprise.
Imagine walking around with a pebble perpetually lodged in your shoe. That’s the sensation metatarsalgia can deliver. It’s as if something is constantly irritating the area under the heads of your metatarsal bones, those bony joints beneath the ball of your foot.
What’s more?
Metatarsalgia often picks on the second toe, though it can sometimes target the third or fourth toe as well. It’s like it has a preference for causing chaos in specific areas.
Moreover, if metatarsalgia isn’t satisfied with just pain, it might invite its friends, numbness, and tingling, to join the party. These sensations can creep into your toes, making things even more uncomfortable.
Additional resource – Chiropractor for runners
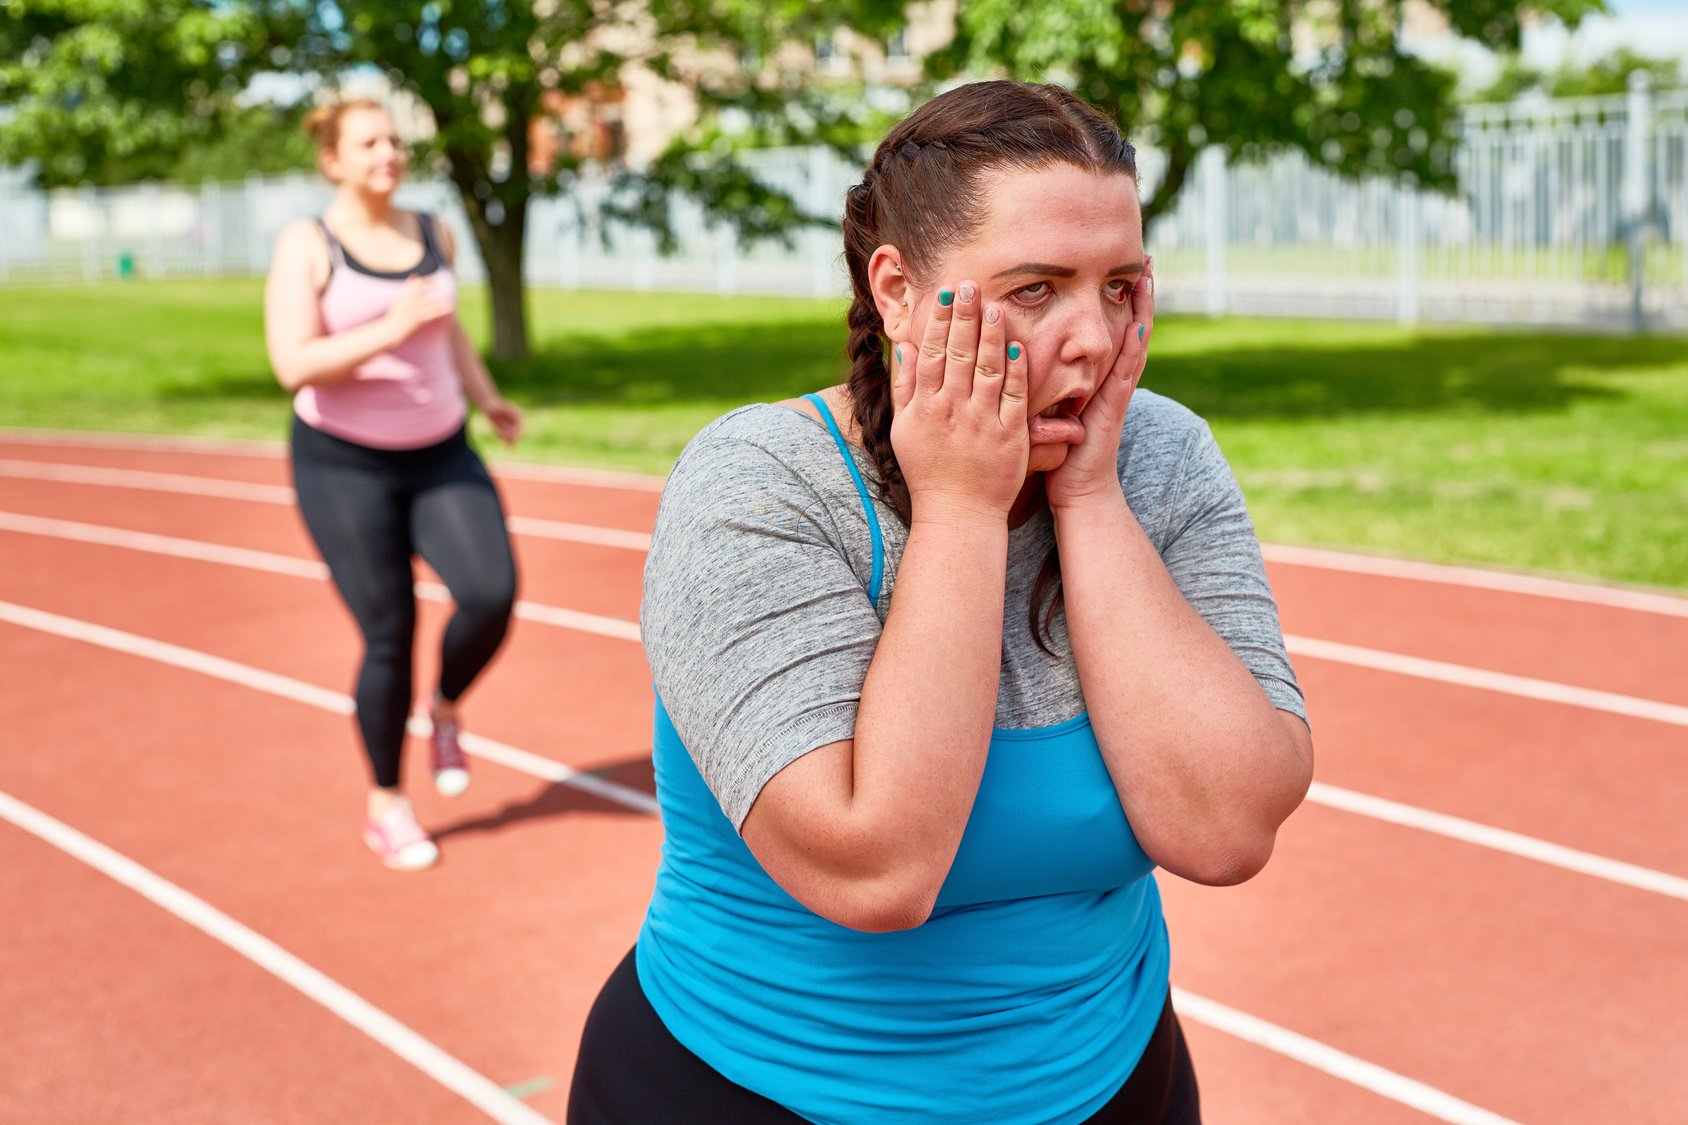
Does Running Make Metatarsalgia Worse?
When it comes to metatarsalgia, your beloved sport is not your feet’s best friend. In fact, running can be the catalyst for turning a minor foot discomfort into a full-blown metatarsalgia party.
Why’s That?
Picture this: every time your foot strikes the ground while running, your forefoot plays the role of shock absorber. It takes on the Herculean task of soaking up the impact and propelling you forward.
Now, that’s a noble job, but it’s also a lot of work!
And guess what? When you’re already dealing with metatarsalgia, this high-impact action can be like pouring gasoline on a fire. It exacerbates your symptoms, making your foot pain scream louder with every stride.
So, Does Running Make Metatarsalgia Worse?
In a word, yes. Running intensifies the stress on the structures within your forefoot, aggravating the inflammation and irritation that metatarsalgia brings along.
How To Treat Metatarsalgia In Runners
The best way to speed up recovery is to take action quickly and uncover the actual cause(s) that led to the irritation and pain.
Next, start treating it at the onset of pain.
Here’s what to do
The Rice Method
Your aim is to restore a normal range of motion while soothing pain, reducing swelling, and ensuring proper function.
Begin with the R.I.C.E method, in which you:
Rest the injured limb
Take time off any activities that cause pain. As the pain fades, you can gradually taper up while paying attention to your symptoms.
Ice the affected area
Typically, the sooner, the better—for 15 to 20 minutes, three times a day. Avoid placing the ice in direct contact with your skin. Instead, use a barrier between the ice and your skin.
Compress
Use a simple ACE wrap around the affected limb to help with the swelling and pain. Begin at the toes and work up the foot. Avoid wrapping too tightly.
Elevate the injured foot
Use a pillow to place the affected limb above the level of your chest to help limit swelling and speed up recovery.
What’s more?
For more relief, try stretching your calf muscles. As I previously stated, having tight calf muscles may place more pressure on the forefoot. I’d also recommend a foam roller for a deeper release.
Use A Pad
Metatarsal pads are small, triangular-shaped cushions that can work wonders for metatarsalgia, especially for pain relief. And the best part? They’re temporary, so you can give your feet the TLC they deserve without committing to a long-term solution.
These clever little pads are strategically placed behind the site of your injury – that’s where your metatarsal bones reside. By providing extra support and cushioning, metatarsal pads reduce the pressure on your metatarsal heads, those vulnerable areas that bear the brunt of your body weight.
When you’re dealing with metatarsalgia, it’s all about finding relief where it counts. These pads are your allies in the battle against foot pain, and they’re ready to go to work wherever you need them most.
Additional resource – Sore quads after running
Consult Your Doctor
When those metatarsalgia symptoms become too much to bear, it’s time to consult the experts. Here’s the lowdown on when to seek professional help.
Get the Diagnosis Right
Metatarsalgia isn’t a one-size-fits-all condition. It can have various underlying causes, and nailing down the specific issue is crucial for effective treatment. Your doctor may suggest diagnostic tools like ultrasounds, X-rays, or bone scans to uncover the root cause of your pain.
Injections: A Powerful Ally
When metatarsalgia pain is causing you agony, your doctor might offer a helping hand in the form of injections. These injections can help reduce inflammation, bringing you much-needed relief. While they won’t solve the underlying problem, they’re like a soothing balm for your symptoms.
Surgery: The Last Resort
In severe cases of metatarsalgia, surgery may be the ultimate solution. It can correct structural issues in your feet or remove damaged tissue that’s causing your pain. Rest assured, it’s not a decision taken lightly, and your doctor will discuss all options with you.
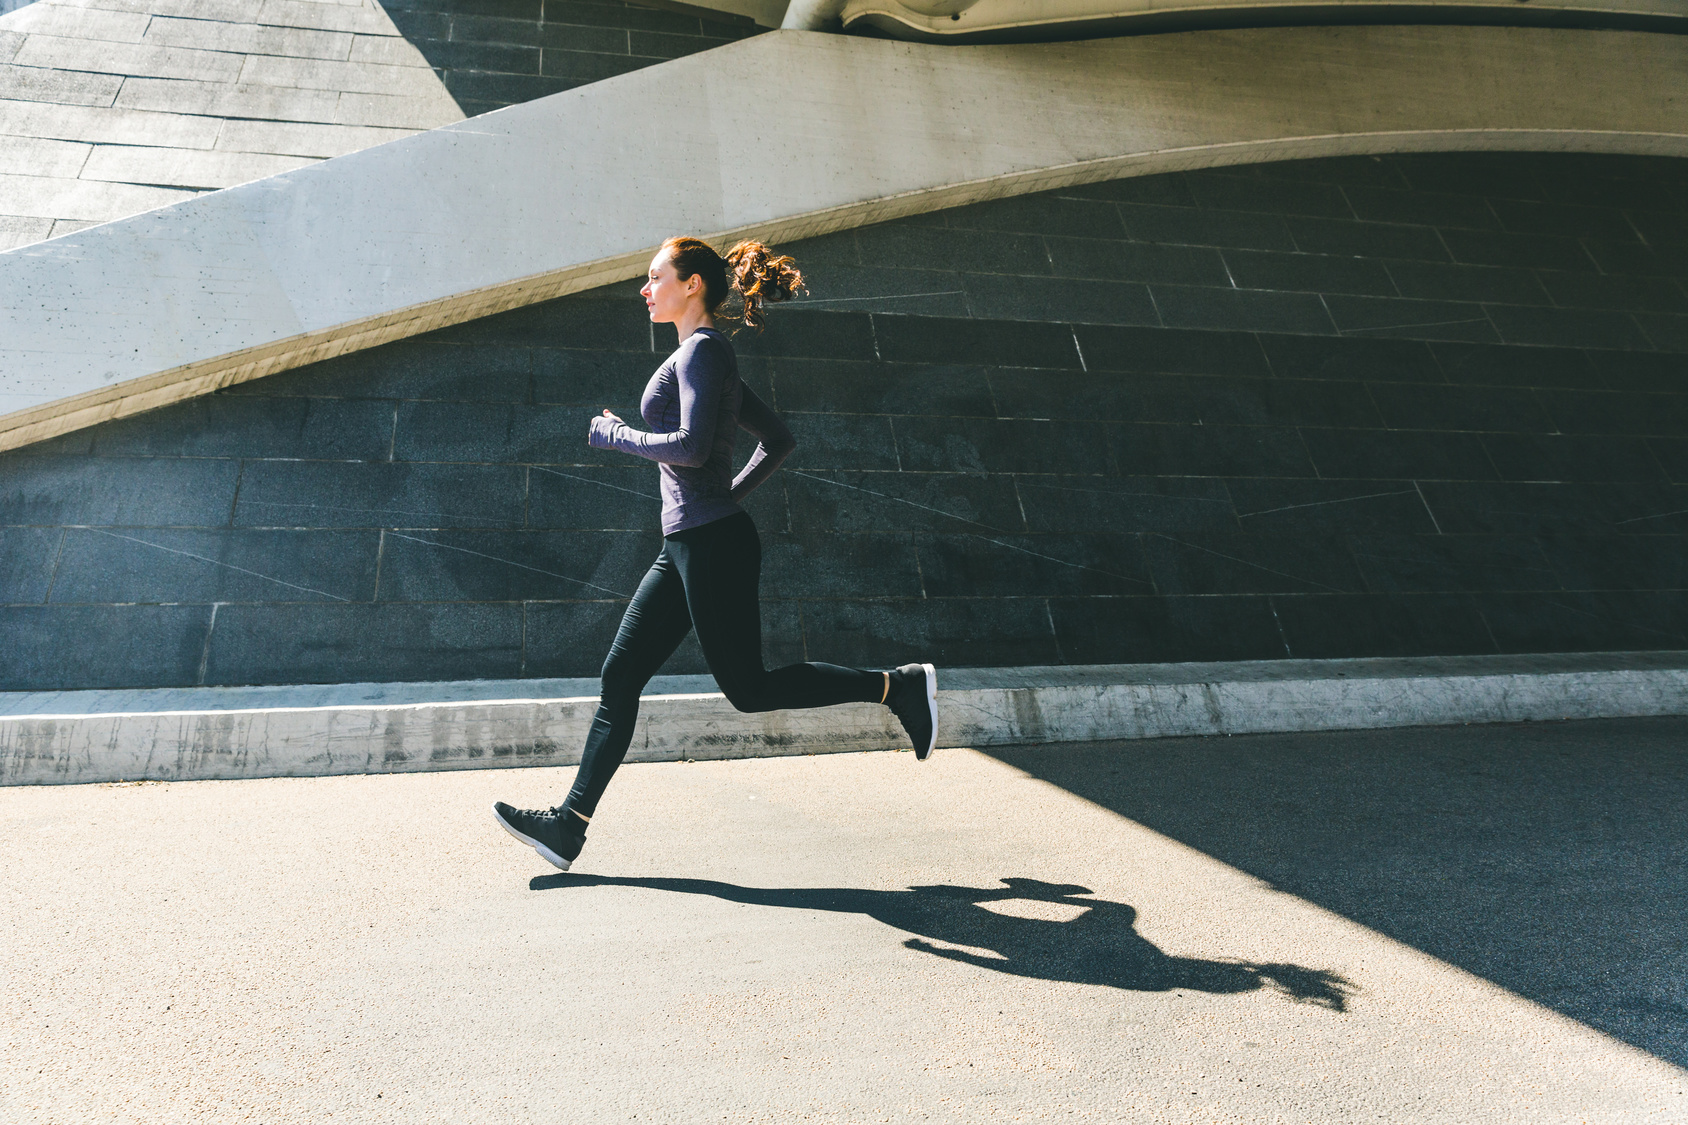
Return To Running With Metatarsalgia
Congratulations! You’ve battled metatarsalgia and emerged victorious. Now, it’s time to lace up those running shoes and hit the trail once again.
But wait – before you sprint off, here’s the lowdown on making a triumphant return to running after metatarsalgia.
Listen to Your Body
First and foremost, heed the golden rule of recovery: listen to your body. Your foot has been through a lot, and it deserves your TLC. Only venture back onto the running track once you’re completely healed and can run on the affected foot without a hint of pain.
Slow and Steady Wins the Race
When returning to running after metatarsalgia, opt for a gradual comeback. Don’t try to pick up where you left off before the injury.
Instead, start with shorter, easier runs and progressively increase your mileage and intensity. It’s like easing into a hot bath – dipping your toe in first and gradually submerging yourself.
Pay Close Attention
As you resume your running routine, keep a close eye on your foot. Monitor it for any signs of discomfort, pain, or unusual sensations. Your foot will give you cues on how it’s feeling. If something doesn’t seem right, don’t hesitate to take a step back and give it more time to heal.
How To Prevent Metatarsalgia In Runners
The best way to prevent metatarsalgia —as well as any other overuse injury—is to address the risk factors that are to blame for the condition (some of which I’ve already shared above).
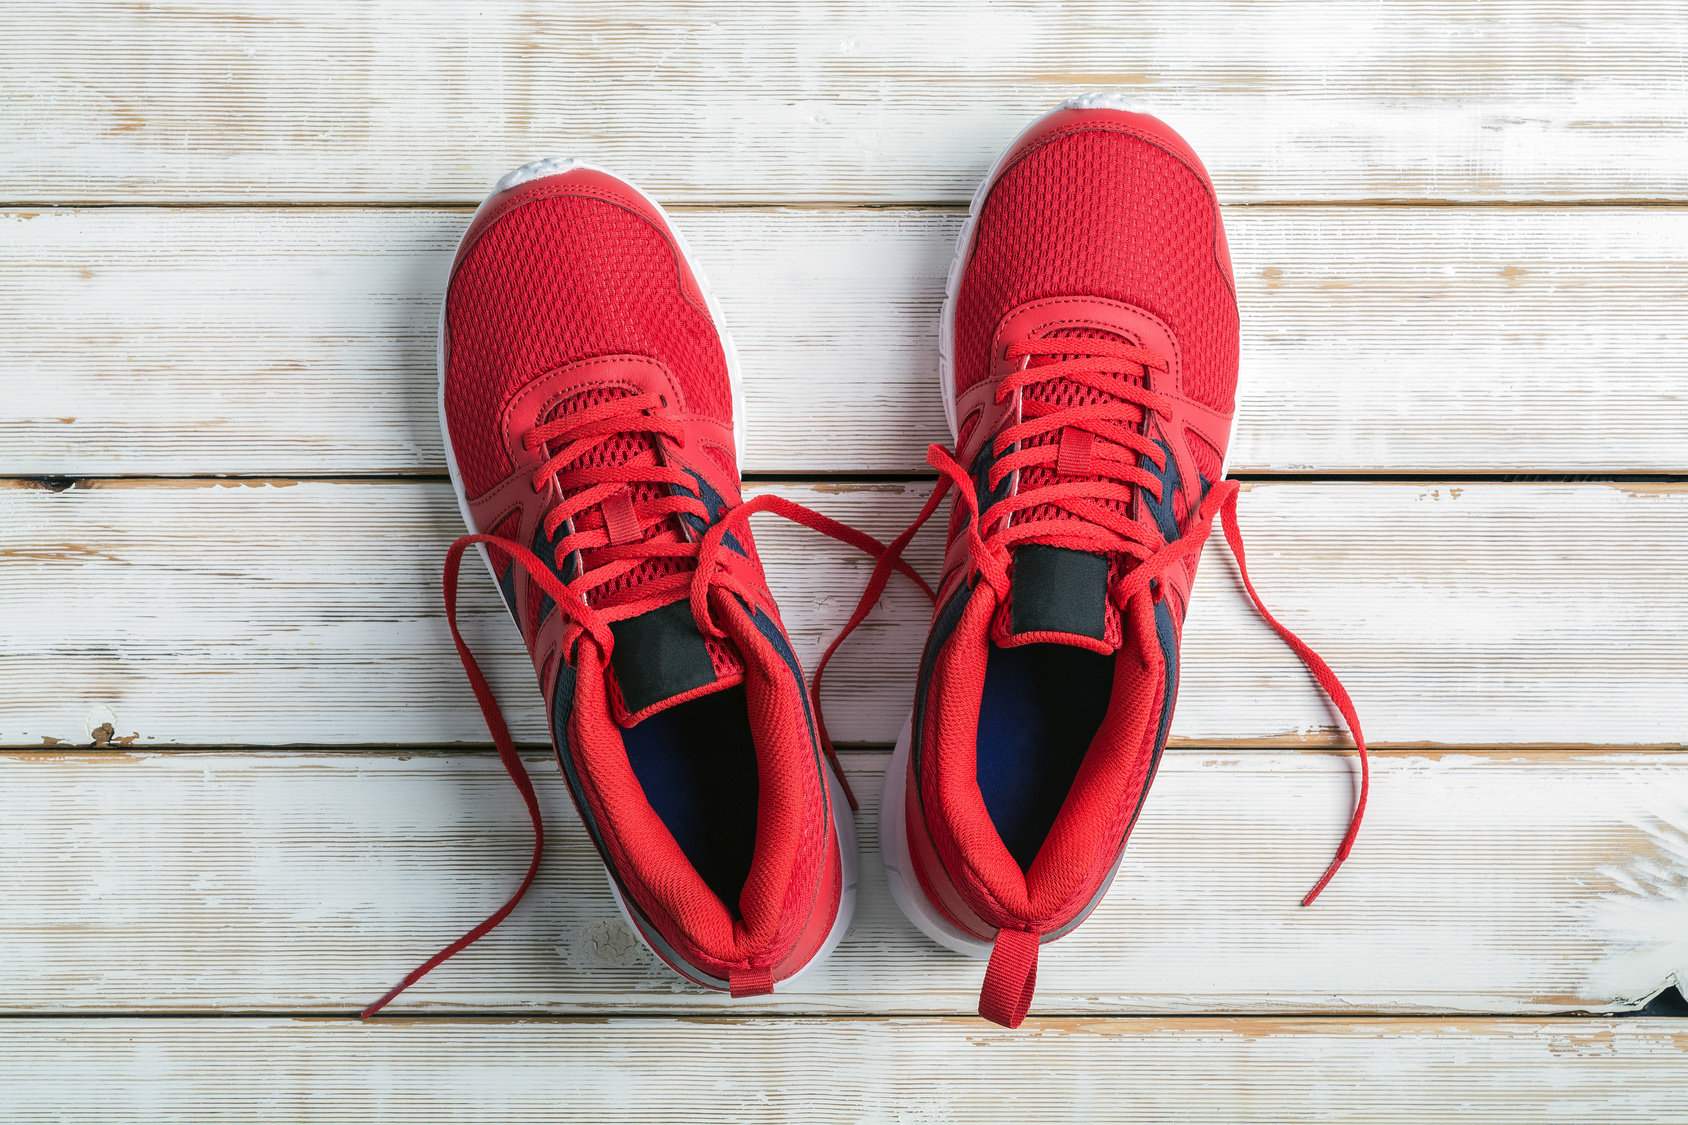
Use Proper Shoes
When it comes to preventing metatarsalgia and other overuse injuries, your choice of footwear can make all the difference.
Let’s dive into the world of shoes and discover how you can step into comfort and avoid foot woes.
Toe Box Bliss
Your toes splayed out like a hand of playing cards, free to move and breathe within your shoes. That’s the kind of comfort you should aim for. When selecting running shoes, prioritize those with a spacious toe box. Your toes deserve room to wiggle and spread out comfortably.
Arch Allies
If you have flat feet, they might need a little extra cushiony love. Look for running shoes with ample midfoot cushioning to cradle your arches and absorb shock. It’s like treating your feet to a cozy pillow.
On the flip side, if you’re blessed with high arches, seek out shoes with shock-absorbing support tailored to your arch type. This support acts like a trusty sidekick, ensuring your feet are well-equipped for the journey ahead.
Casual Consideration
While your running shoes are essential, don’t overlook your casual footwear. Those stylish high heels or sleek, narrow-toed shoes may look fabulous, but they can wreak havoc on your feet.
Choose casual shoes with a design that accommodates your foot’s natural shape. It’s like giving your feet a break when they’re not pounding the pavement.
Try Tape or Orthotics
We get it; sometimes, your trusty running shoes just don’t provide the support your feet need. But fear not; there’s a solution that can come to your rescue: taping and orthotics.
Let’s unravel this secret weapon against metatarsalgia discomfort.
Tape It Up
Think of athletic tape as your foot’s personal cheerleader. It can offer targeted support where you need it most. If you’re experiencing metatarsalgia symptoms and need quick relief, taping can be a game-changer.
By skillfully applying tape, you can help alleviate pressure and discomfort in specific areas of your foot. Plus, taping is a flexible solution that allows you to fine-tune the level of support you require.
Orthotics
Orthotics are like the customized suits of the shoe world, designed to fit your feet perfectly. They come in various forms, including metatarsal pads and insoles, and can be a valuable addition to your footwear arsenal.
Metatarsal pads are small but mighty, offering targeted relief to the ball of your foot, where metatarsalgia pain often strikes. Slip them into your shoes, and you’ll feel like you’re walking on clouds.
Insoles, on the other hand, provide overall support and stability. They can help distribute pressure evenly across your foot, reducing the strain on sensitive areas.
The Perfect Pairing
Sometimes, orthotics and metatarsal pads come together like a dynamic duo. You can choose the combination that best suits your needs. It’s like having a personalized support team for your feet, ensuring they stay comfortable and pain-free.
Strengthen Your Feet
Let’s talk about boosting the strength of your feet – it’s not only a great way to ward off metatarsalgia but also to keep your feet in tip-top shape!
When you work on strengthening these muscles of your lower legs, you’re essentially giving your feet a superpower boost when it comes to carrying your body weight.
Plus, you’ll be handing them the tools to support your arch, reducing any strain that might come their way when you’re out for a run.
But here’s the kicker: If your foot and ankle muscles are feeling weak or out of whack, they can actually lay the groundwork for trouble in your feet, like putting extra stress on your plantar fascia – and nobody wants that.
But wait, there’s more! Strengthening the underside of your foot can also be your secret weapon against excessive flattening, which is a game-changer when it comes to protecting those precious metatarsals. So, let’s get those feet pumped up and ready for action.
Additional guide – Bunions in runners
Stretch Regularly
Your muscles are like the strings of a puppet show, and your midfoot is the stage. When those muscles are tight, they’re pulling the strings too hard, causing unnecessary stress on your midfoot. Ouch, right? But that’s not all – tight muscles can also be the puppet masters behind those not-so-friendly bunions.
Not a pretty sight, I assure you.
But fear not!
There’s a simple habit you can adopt to keep those muscles in check. It’s all about stretching regularly.
Whether you’re gearing up for a run or winding down after one, make sure to give those muscles a good stretch, especially if you’ve had a history of leg or ankle issues.
Now, let’s get to the juicy part – the key areas you should be targeting for a speedy recovery. We’re talking toes, ankles, Achilles tendons, and those trusty calf muscles.
Here’s the lineup of superstar exercises to keep those troublemakers at bay:
- Calf-stretch
- Achilles tendon – Stretch
- Toe towel-scrunches
- Ankle Extension
- Ankle Flex
Additional resource – Causes of heel pain in runners
Running With Metatarsalgia – The Conclusion
There you have it! If you’re planning on running with metatarsalgia, then today’s post has you covered. The rest is just details.
Please feel free to leave your comments and questions in the section below.
Thank you for stopping by.