Feeling nervous before your first run? Don’t worry, it’s normal!
I remember putting on my shoes for the first time and feeling really nervous.
I worried I wouldn’t last 10 minutes without stopping.
But it’s okay—everyone feels nervous before their first few runs. For some the feeling may even linger.
The key isn’t to ignore your nerves, but to manage them.
You just need to control them so they don’t hold you back.
Let me show you how to manage those nerves and feel more confident.
Nerves Are Normal
Nervous? That’s good! It means you care.
If you’re not a little nervous, you’re not challenging yourself enough. Nerves show that you care and are trying something new. Whether it’s your first run or your first race, nerves are there to help you, not hold you back.
Embrace those nerves—they can work in your favor!
Shift Your Focus
Nerves get stronger when you start thinking too much: “What if I can’t finish?” or “What if I’m the slowest?”
Forget about those worries. Instead, focus on each step, not the whole run.
Don’t worry about the end—just take it one step at a time. Break it into smaller parts, and you’ll finish before you know it.
Use Positive Self-Talk
The “I can’t do this” voice will pop up, I promise. That thought will come, but it’s completely wrong. When you hear that voice, fight back with: “I’m here. I’m doing this. I can do it.” Have a bunch of mantras you can rely on in times of need.
I used to be scared to run in front of others, thinking they were watching me. Then I realized: people are too focused on their own run to notice mine. And honestly? You might even inspire someone else along the way.
Breathe
You’re running, your heart is racing, and you’re out of breath.
That’s normal.
But here’s a trick: slow your breathing down. Take slow breaths—in through your nose, hold, then out through your mouth. Do this for a minute, and you’ll feel much calmer.
Remember: you’re not just running, you’re breathing your way through it. Keep your breathing steady and strong!
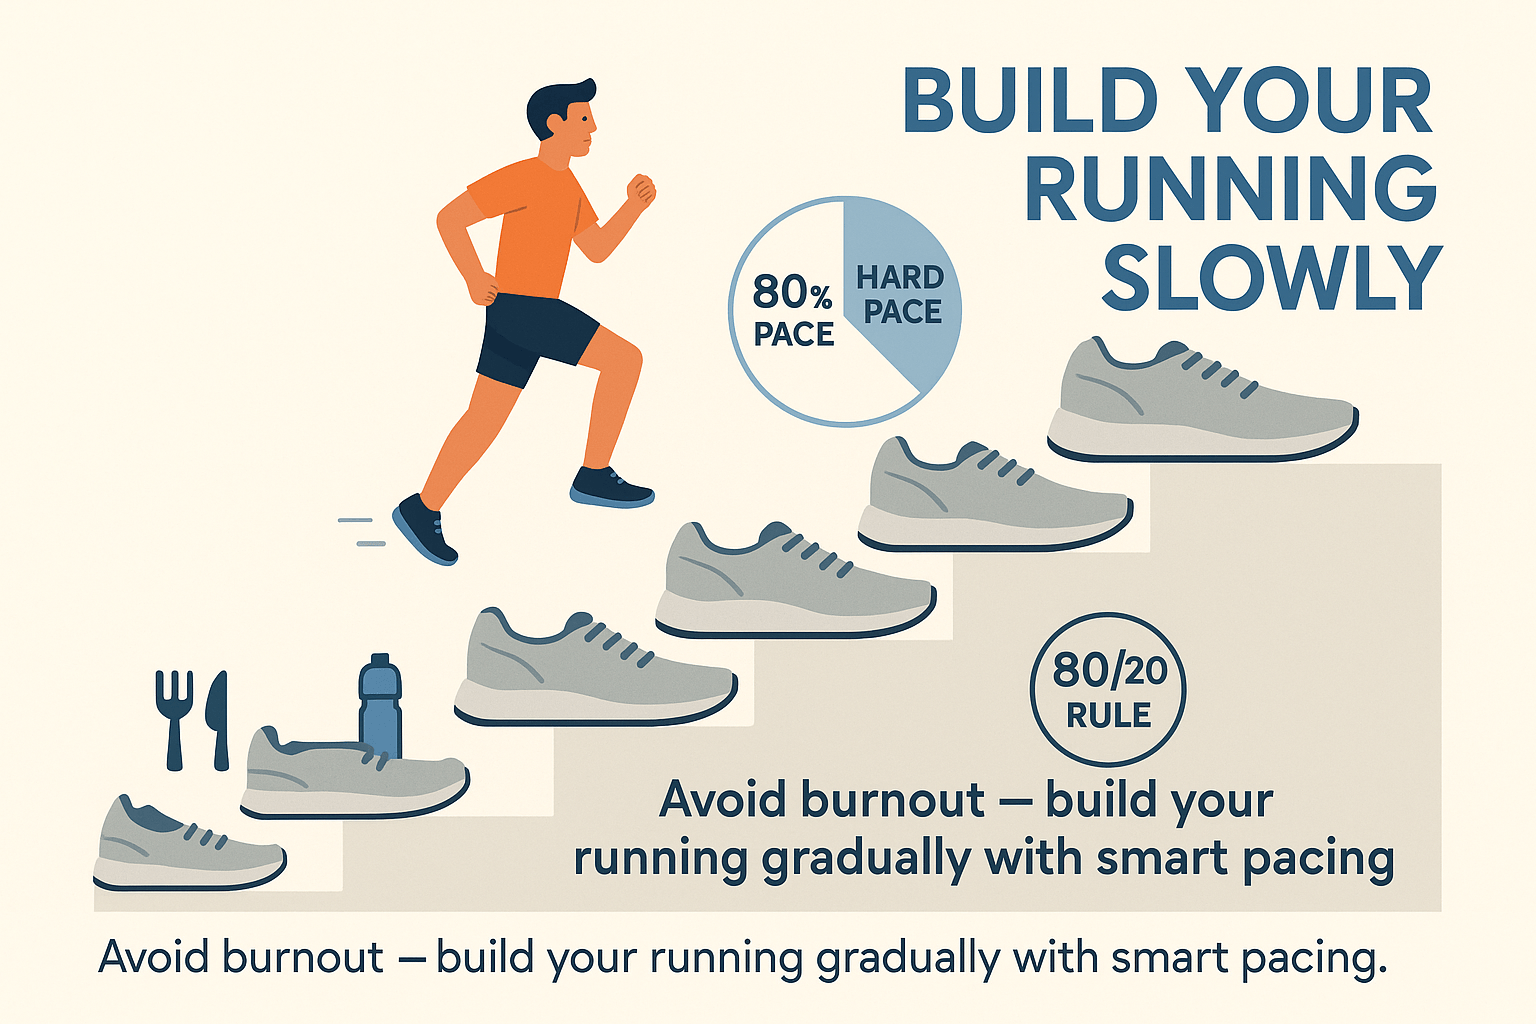
Start Slow—You’ve Got Time
I get it, you want to crush it right from the start.
But trust me, that fast pace can wait.
You’re not in a race right now. Your goal is to get comfortable with running. Start slow and pick a pace where you can talk without getting too out of breath.
And hey, if you need to slow down to a brisk walk, go for it. There’s no shame in walking, especially when you’re starting out.
Visualize Yourself Finishing Strong
Alright, this might sound a bit strange, but trust me.
Take a minute and picture yourself running.
Visualize the path ahead, the sound of your shoes hitting the pavement, and how your body feels as you keep moving.
Then, see yourself finishing strong—crossing that imaginary finish line with a huge grin on your face. It works. Seriously. Mental prep is just as important as physical prep.
Don’t Overthink The Start
Listen, the hardest part is always the start.
You can talk yourself into a panic, but nothing’s going to happen until you actually put one foot in front of the other.
Stop overthinking it. Just put on your shoes, step outside, and start running.
That’s it. Simple. Don’t overthink it. Once you start, your nerves will go away.
Get Into A Routine
Nervousness will still pop up now and then, but trust me, the more you run, the easier it gets. Having a routine makes it so much easier to push through those nerves. The more you run, the easier it will be to handle those nerves before each run.
Here’s how to make running a habit.
Celebrate Every Run
So, you didn’t run a marathon on your first day?
No one expects you to. But guess what? You ran.
Whether it’s five minutes or five miles, you showed up—and that’s worth celebrating.
The first time I ran 30 minutes without stopping I Felt like I was on top of the world! So, celebrate every win, no matter how small.
FAQ:
How do I overcome pre-run anxiety?
Pre-run anxiety is normal—even experienced runners feel it. The best way to handle it is by focusing on the steps, not the finish line. Take deep breaths, tell yourself something positive like “I’m strong, I’ve got this,” and remember, it’s just a run, not a race.
What if I can’t run the full distance on my first try?
Don’t sweat it! Everyone starts somewhere. If you can’t run the full distance, that’s okay. You showed up—that’s the win! Take breaks, walk if you need to, and focus on consistency, not perfection.
How can I calm my nerves before a run?
Breathing exercises are a game-changer. Breathe in deeply through your nose, hold for a second, and then slowly exhale through your mouth. This helps calm you down. Also, keep in mind: those nerves? They’re your body’s way of saying, “I’m ready!” Embrace it and use it as fuel to get you going.
How should I pace myself on my first run?
Start slow—like, really slow. You’ll thank yourself later. Focus on a pace where you can hold a conversation without gasping for air. It’s not about speed right now; it’s about building that endurance. Check out this post.
How do I avoid injury as a beginner runner?
It’s simple—warm up before, cool down after. Stretch before your run (think leg swings and lunges), and stretch afterward (hold those stretches). Also, listen to your body. If something hurts, don’t push through it. Start with shorter runs and build up gradually. This isn’t a race; it’s about pacing yourself for the long term.