Ever felt the need for an extra boost in your speed or the urge to push your endurance a tad bit further? Then you’re in the right place.
Running, whether for pleasure, competition, or fitness, requires more than just hitting the pavement or trail. To enhance your running performance, it’s crucial to incorporate specific drills that target your running form, efficiency, and aspects like sprinting and endurance.
In fact, weaving these drills into your regimen could be your golden ticket.
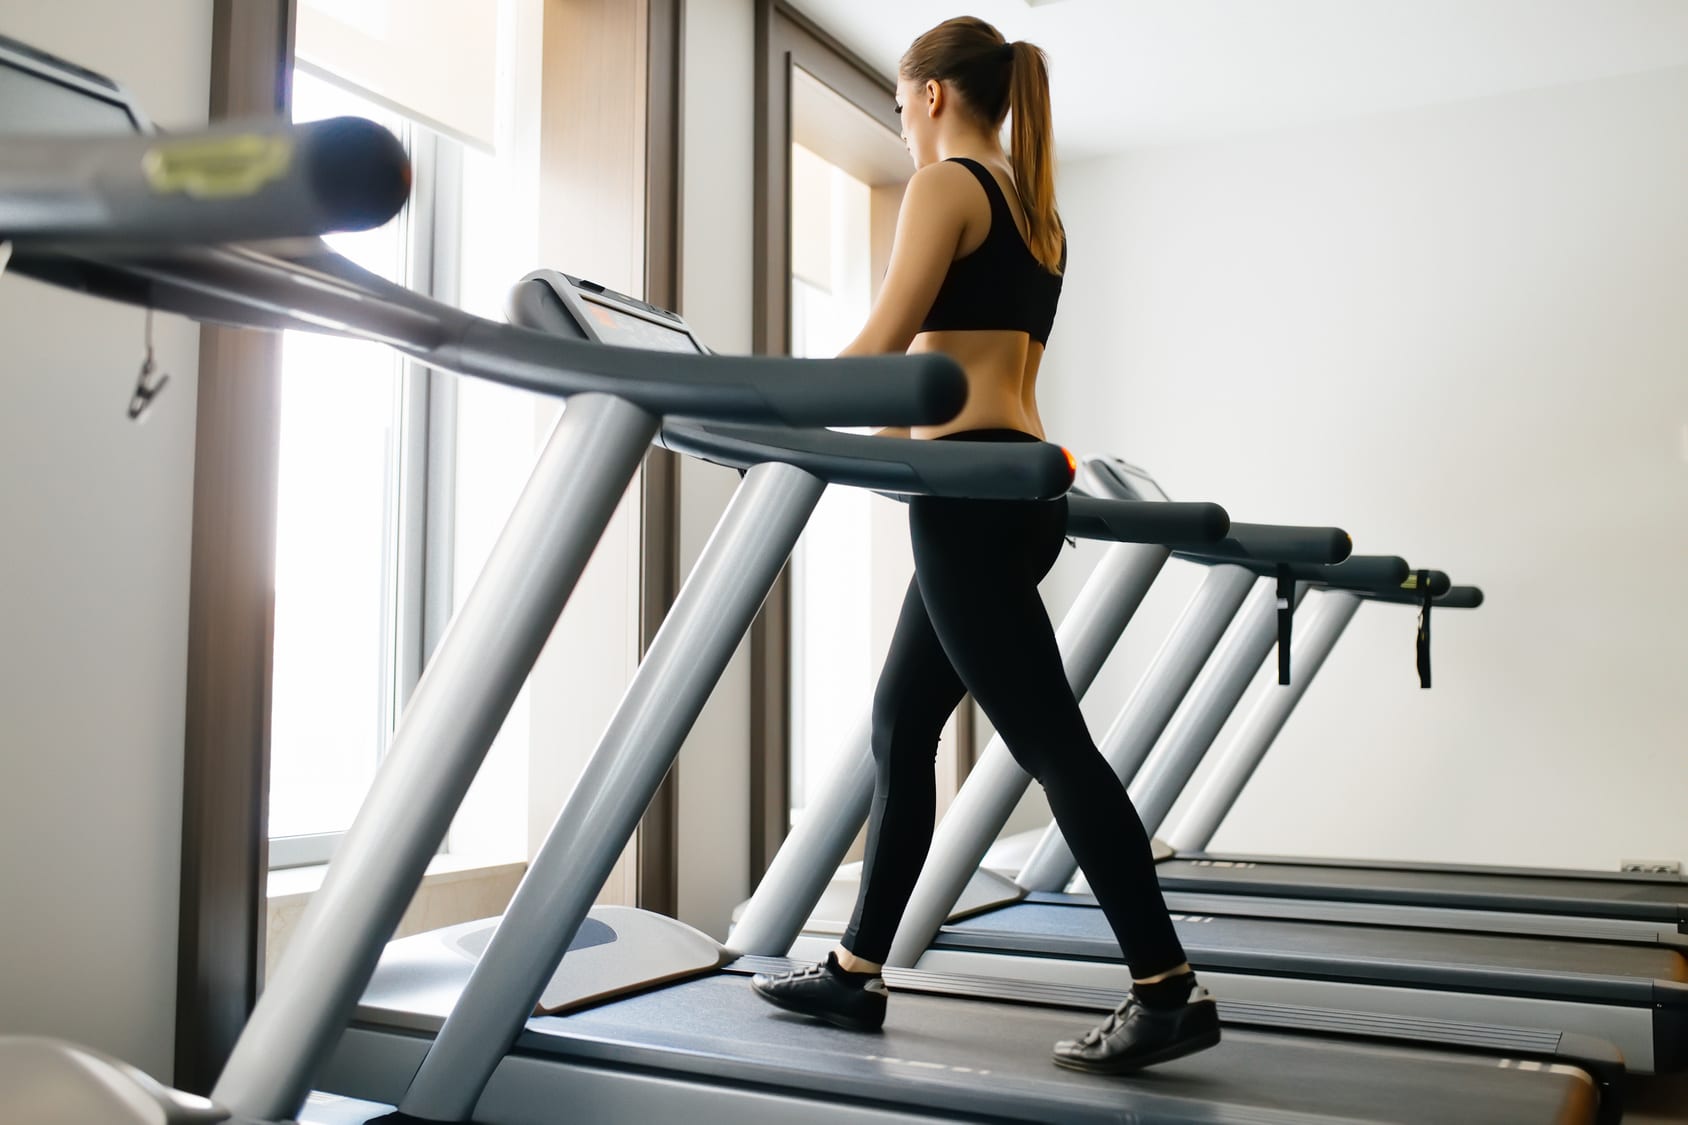
Think of it like spicing up your favorite dish; a pinch here and there can make a world of difference. Ideally, slot these drills into an interval training program about twice a week.
And remember, your body loves a good rest, so sprinkle in a couple of recovery days between sessions. It’s all about what feels right for you and where you want your running journey to go.
Ready to dive in?
High Knees
Let’s kick things off with a classic that packs a punch: High Knees. This isn’t just about hopping around; it’s a powerhouse move for ramping up your core and leg muscle strength. This drill encourages you to lift your knees higher, promoting a more efficient running form. By driving the knees up, you’re essentially mimicking the ideal running form, leading to improved stride and pace.
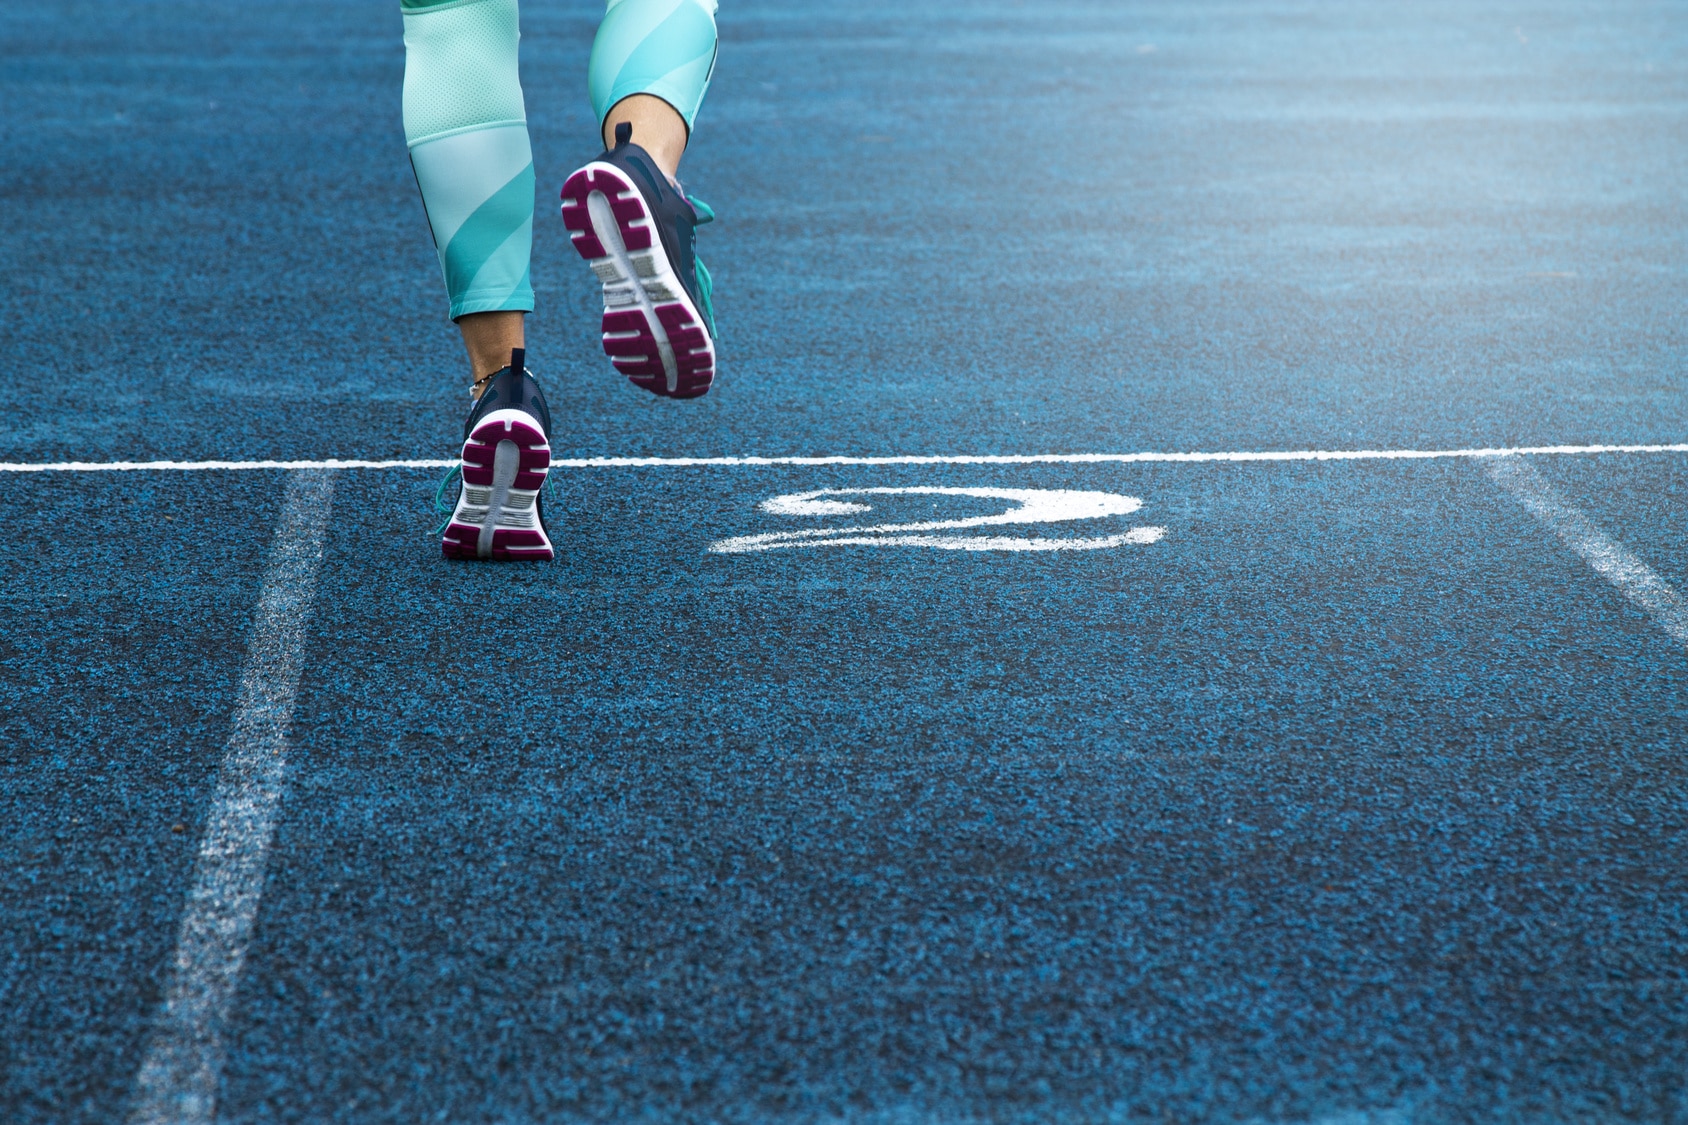
Here’s what makes good running pace.
The Technique
Plant your feet shoulder-width apart, and keep those elbows bent at a comfy 90 degrees. Ready? Now, run in place, but here’s the twist – bring those knees up as high as your hips. It’s like you’re trying to knee a ceiling that’s just a tad too low.
Grapevines
The lateral movements in grapevines improve your agility and coordination. For trail runners or those navigating uneven terrains, these skills are essential for quick, safe direction changes.
Grapevines are also your ticket to unlocking greater leg and gluteal mobility. By increasing leg and gluteal mobility, grapevines help in loosening tight muscles, a common issue for runners. Regular practice can aid in preventing injuries related to muscle tightness or imbalance.
The Technique
Start off facing forward, poised and ready. Then, it’s time for some sideways action. Move to your right by gracefully crossing one leg over the other, first in front, then behind, like you’re gliding through an invisible maze. Keep this up for a set distance, then switch it up like a true pro and lead with your left leg in the opposite direction.
Here’s a fun fact: Lateral movements like grapevines aren’t just cool party tricks; they’re crucial for runners. They help strengthen those often-neglected side muscles, reducing the risk of injury and improving overall stability.
Butt Kicks
Let’s dive into a drill that’s a real kick in the butt – in the best way possible! I’m talking about Butt Kicks. This drill directly targets the hamstrings, an essential muscle group for runners. By engaging the hamstrings effectively, butt kicks help in developing a more powerful leg drive, which is crucial for both speed and endurance.
What’s more?
By focusing on bringing the heel straight back to the butt, runners can work on their leg turnover cadence, a key component in efficient running form. This drill also encourages a mid-foot strike, which many experts suggest for optimal running efficiency.
The Technique
Begin by standing tall and proud, like you’ve just won your personal running Olympics. Your thighs? Keep them neutral; there should be no wild movements here. Now, start running in place, but here’s the kicker (pun intended) – with each stride, bring your heel straight back to meet your butt. It’s like your heels and butt are playing a game of tag!
While you’re at it, remember this drill is a full-body affair. It’s not just about the legs; your core should be in on the action, too. Imagine there’s a string pulling you up from the top of your head, keeping you tall and upright. And keep those eyes forward, champion – you’re going places!
Lateral Single-Leg Hop
Running is essentially a series of single-leg hops. This drill strengthens the muscles and tendons in each leg, which is vital for runners. By improving single-leg balance and strength, you’re directly enhancing your running stability and reducing the risk of overuse injuries.
The sideways explosive movements also build power in the legs, aiding in better propulsion during running. This can be particularly beneficial for uphill running and sprinting.
The Technique
Begin by standing beside an agility ladder, poised and ready for action. Your right leg is about to become your new best friend because you’re going to stand on it and leave the other one out of this dance.
Now, it’s time to hop! But not just any hop – we’re going lateral, folks. That means you’re going to jump sideways, over the line, landing gracefully in each box of the ladder. And yes, you’re still on that right leg. It’s like playing hopscotch with a twist or like you’re a superhero navigating a laser grid!
Once you’ve conquered the ladder on your right leg, it’s time to show your left leg some love. Switch it up and hop your way back down the ladder. It’s all about balance and fairness, right?
Here’s the thing: This isn’t just about hopping for the sake of hopping. Lateral Single-Leg Hops are like the unsung heroes of running drills. They build stability, power, and resilience in each leg, which means a stronger, more balanced you on those runs.
Bounding
Bounding increases the power in your foot, calf, and hamstring muscles. For distance runners, this translates to better endurance and the ability to maintain speed over longer distances.
This drill improves your running economy by building up single-leg stance stability. A stable single-leg stance means less energy wastage and more efficient running, which is crucial for long-distance runners.
The Technique
Begin with a relaxed jog, just like you’re warming up for a fun day out. Keep it light and breezy.
Now, start playing with your stride length. With each step, stretch out a little further, like you’re trying to step over puddles that keep getting wider. This gradual increase isn’t just about going far; it’s about prepping your muscles for what’s coming next.
Here’s where the magic happens. Push off the ground with one leg and spring into the air. The goal? A powerful leap coupled with a quick cadence. It’s like you’re reaching for the stars with each bound!
And don’t play favorites with your legs. Alternate them as you bound.