Choosing the right gifts for runners is tricky, especially if you don’t know much about the running world.
Worry no more.
To help you choose the perfect one, I’ve compiled an array of the best running gifts on the market right now to astonish even your most nerdy and technical runner in your life.
These gifts for runners are all designed to help optimize performance and ensure comfort, from high class running gear, fitness gadgets, and other running gear must-haves.
The gifts also suit almost everyone, from the complete beginner to the serial marathoner. Plus, these vary in price, ranging from no more than a couple of bucks to thousands of dollars.
The 43 Best Gifts For Runners
Whether you’re looking for a birthday gift, Christmas present, or a surprise for a special occasion, there’s something for every type of runner on this list.
Sounds great?
Let’s dig in.
Running Boxer Shorts (for men)
Runners need underwear and need loads of them.
As long as you know the size, pick something that’s comfortable, well-supported, and chafe-free. Anything in a renowned brand section can do the trick, like these from New Balance.
Made from 90% and 10% spandex, these running boxer shorts are lightweight and breathable, providing the ultimate comfort.
They’re also designed with wicking properties and a mesh gusset that moves sweat away from the skin, helping keep your runner cool and dry.
2. Personalized Finisher’s Poster
Is your friend a devote racer? Then get them a poster as a special keepsake that can be personalized to feature a 5K, 10K, half a marathon, a marathon, or even a fun run. This is actually one of the best gifts for runners.
3. Running Jackets
A sport-specific jacket is a must-have for any runner, especially those who brave the outdoor during the cold months.
REFLECT360 Outdoor jacket is designed with a full-fleece lined interior and hood to help keep any runner warm throughout the winter. It’s also water-resistant, wind-resistant but still made of breathable materials.
What’s more?
If you’re looking for a jacket with 360-degree visibility, then this is what you need as it relies on retro-reflective fabrics to improve visibility during the dark hours of the day.
https://www.amazon.com/Proviz-REFLECT360-Fleece-Lined-Reflective-Waterproof/dp/B07H8PS51J/ref=sr_1_7?dchild=1&keywords=Proviz+Classic+Waterproof&qid=1609304202&sr=8-7
4. Running Headlamps
Running at night can be a logistical challenge due to poor visibility—drivers and other road users can’t see the runner, and the runner can’t see where they’re going.
But when equipped with the right gear, hitting the pavement in the dark can be a blast.
Headlamps, like this one from Amazon, make a great practical gift for the runner in your life.
This headlight also boasts an average of 2.5 hours of burn time, and the lithium-ion battery can be recharged using USB.
What’s more?
Thanks to the IPX4 rating, this headlamp is protected from rain and sleet from any angle.
https://www.amazon.com/Black-Diamond-Sprint225-Headlamp-Ultra/dp/B081B8CXH6/ref=sr_1_1?dchild=1&keywords=Black+Diamond+Sprint+225&qid=1609321253&sr=8-1
5. Blister Prevention Patches
Running blisters may seem like a small nuisance but might ruin a run.
Proper patches like this one prevent blisters from forming in the first place. Prevention is, after all, better than cure.
These patches consist of low-friction patches with a durable, strong adhesive that, instead of applying it to the skin, it’s applied to running shoes. You can simply stick it where the shoe is rubbing the foot.
6. Road ID Bracelet
Most runners leave their wallets at home, which makes it hard to get the needed help if things, God forbid, took a turn for the worst.
A road ID, like this one from Amazon, looks cool and comes in different shapes and colors. And, of course, it can be customized with the runner’s personal information, such as crucial medical information for first responders in case of an accident.
What’s more?
The band is also sweat-resistance, which allows the emergency card to stay dry and safe.
It’s also easy to adjust and use. It can be worn on the ankle, arm, wherever. And most importantly, it stays up while running.
https://www.amazon.com/WHO-AM-identification-Visibility-Travelers/dp/B01JK44UTS/ref=sr_1_13?dchild=1&keywords=runners+id+bracelet&qid=1609321943&sr=8-13
7. Running Themed Shirts
Not all running gifts ought to be tech gear. Runners also are normal people and have normal needs.
And when they’re not running, they’d love to wear shirts that tell everyone else how much they love the sport.
You can find plenty of awesome shirts on both Amazon and Etsy with quotes and sayings like “If I collapse, please pause my watch” and “I Run to Feel Free”, etc. Take your pick.
https://www.amazon.com/Running-Motivation-shirts-Sarcasm-Novelty/dp/B00AH2JAZ2/ref=sr_1_3?dchild=1&keywords=Running+Themed+Shirts&qid=1609322140&sr=8-3
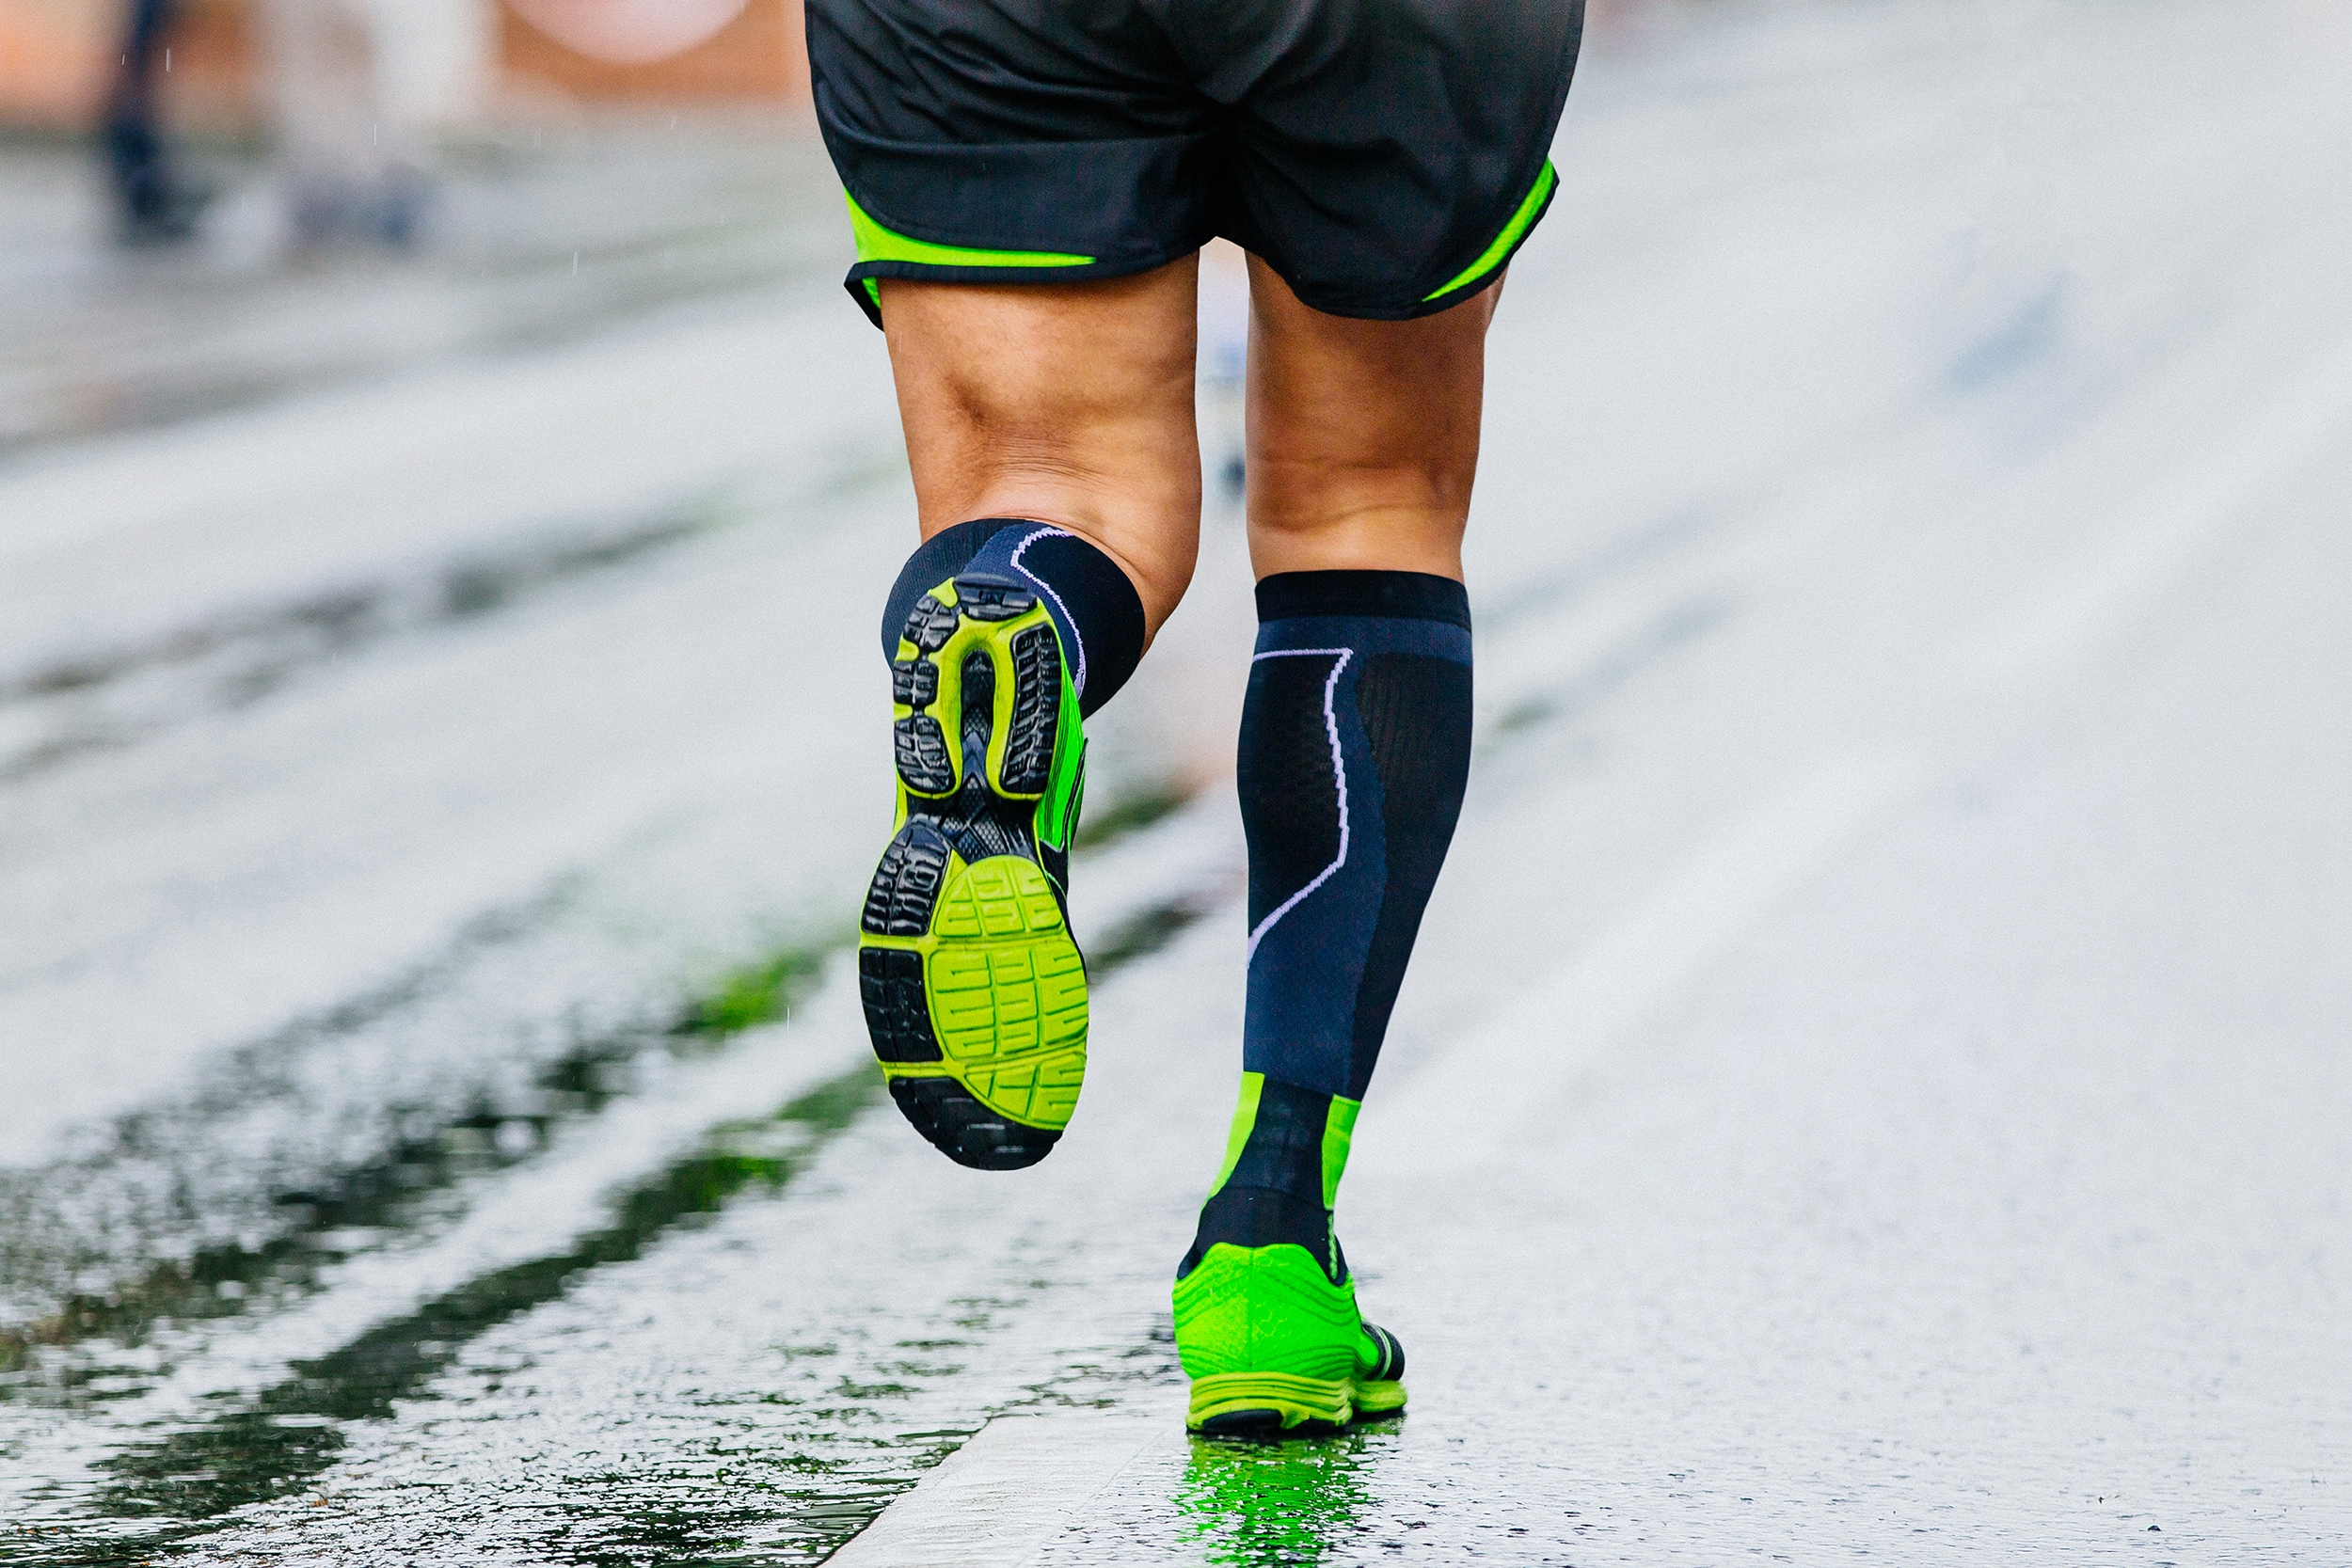
8. Compression Socks
Anecdotal evidence suggests that wearing compression gear can help speed up recovery and improve performance—two things on top of every runner’s mind.
A good compression sock not only has to provide proper compression but should also be made of high-performance and anti-bacterial fabrics, which help regulate body temperature and prevent odor.
Here’s the full guide compression socks for running.

I’d recommend Zensah Tech+ Compression socks, especially if your runner has a history of shin splints or calf cramps. These socks should provide some relief while also helping to enhance performance and comfort before and after running.
The socks also feature a seamless toe, which helps prevent chafing and blisters.
Zensah Tech+ Compression socks are definitely the best socks that money can buy.
https://www.amazon.com/Zensah-Standard-Compression-Medium-Womens/dp/B00FFZJ2N6/ref=sr_1_1?dchild=1&keywords=Zensah+Tech%2B+Compression+Socks.&qid=1609322920&sr=8-1
9. Running Socks
Another gift that will always be welcomed by any keen runner is a proper set of running socks.
Choose a pair that’s well-cushioned but not bulky. They also must be made of high-performance materials that help wick sweat quickly, key for preventing chafing and blisters.
One of the best brands in the market is the PhD Pro Endurance socks. They are made of a combination of nylon, merino wool, and elastane with light cushioning underfoot. They’re also designed with softer padding around the Achilles and ankles.
In short, everything needed for the ideal running sock.
10. A Hat With A Brim
A proper running hat helps keep the elements—the sun, rain, and wind—out of the runner’s face and eyes. They’re also designed to wick sweat and keep it from impairing the runners vision.
Don’t know what to get? Try the Nike AeroBill Tailwind cap. This is a hat you can trust. It’s designed with laser perforations to optimize breathability on the front and side panels, while its antiperspirant properties can help any runner stay dry and comfortable.
https://www.amazon.com/Nike-AeroBill-Tailwind-Lightweight-CU7268-010/dp/B08L1TN661/ref=sr_1_2?dchild=1&keywords=Nike+AeroBill+Tailwind+Cap&qid=1609323356&sr=8-2
11. Cold Weather Runner-Friendly Beanie
Keeping the head warm and dry while logging the miles in the winter can make the difference between a good run and a miserable experience.
Offering a beanie to your runner friend will help prepare them to hit the outdoors throughout the cold months.
I recommend the Salomon Active Beanie. This is a light, packable beanie made with warm microfleece with reflective detail on the back. Ideal for those winter runs when it’s cold, and visibility is lacking.
12. The Runners Blueprint eBook
Is it okay if I promote my eBook a little bit. If you care about the runner in your life and want them to access some of the best training guidelines and plans, then get them a copy of my eBook.
What’s more?
The eBook also comes with a 90-day guarantee, so if they don’t like it, you can simply ask for a refund. No questions asked.
13. A Stretching Strap
Runners are notoriously known for having tight hamstrings and calves, which makes stretching tricky.
Again your gift can help.
This strap from FlexFixx makes stretching effective and safer. It also helps to create traction to deepen the stretch.
What’s more?
The straps are built with loops using a softer quality fabric that’s comfortable against bare skin. They also have a bit of elasticity that add to their comfort for a more comfortable stretching experience.
https://www.amazon.com/FlexFixx-FlexStrap-Stretching-Strap-Band/dp/B07CJQFR77
14. Yaktrax Run Tracts Cleats
Hardcore runners will brave the outdoors, virtually under any weather conditions. The one that’s the trickiest, however, is ice and snow.
To avoid slipping, get your runner friend some Yaktrax.
These work really well when running on a road covered in inches of ice and snow. The tracks attach perfectly to any running shoes, allowing for consistent training in all types of adverse weather conditions.
https://www.amazon.com/Yaktrax-Traction-Cleats-Running-Small/dp/B007S3QY16/ref=sr_1_2?dchild=1&keywords=Yaktrax+runners&qid=1609324900&sr=8-2
15. Hands-Free Dog Leash
The runner in your life has a dog? This running gift will be perfect.
These hands-free dog leashes from iYoShop go around the runner’s waist, so they don’t have to hold onto the lease with their hands. They can be also be adjusted to the runners’ gait, with a reach of 40 to 60 inches while being lightweight.
The leashes also feature two shock-absorbers to help offer a bit of “give” in the leash, which can cut on the amount of tugging both the runner and the dog will experience while logging in the miles.
https://www.amazon.com/iYoShop-Retractable-Padded-Handles-Durable/dp/B07R56CBWX/ref=sr_1_6?dchild=1&keywords=Hands-Free+Dog+Leash&qid=1609325084&sr=8-6
16. Runners Yoga
Tight hips and hamstrings are common issues in runners. This not only hampers performance but can set any runner for pain and injury.
Yoga is the answer.
By performing a few poses for no more than 30 minutes, three times a week, any runner can make drastic strides when it comes to improving their flexibility and mobility.
17. A Hydration Backpack
As a runner’s weekly mileage increases, so do their hydration needs.
That’s one reason long distance runners turn to hydration packs to keep water at hand.
This hydration belt from Nathan TrailMix Running can carry up to two liters of water. It also snugly straps to the body to lessen any unwanted bouncing and chafing.
18. Magnesium Bath Flakes
Any runner who is serious about their training is also serious about their recovery practices.
Adding magnesium flakes, like this one from Amazon, to a hot post-run path, works really well for soothing achy muscles and likely speeding up recovery.
https://www.amazon.com/Coach-Soak-Recovery-Magnesium-Essential/dp/B07W4M3797/ref=sr_1_6?dchild=1&keywords=magnesium+bath+flakes+runner&qid=1609325477&sr=8-6
19. Body Glide
Running not only takes a toll on the muscles and joints, the skin too can get quite irritated. In fact, chafing is one of the most common complaints among runners, especially in the summer.
That’s why Body Glide is a must-have safety item for every runner. It can help runners prevent rash, raw skin, chafing, and irritation caused by rubbing—especially the underarms and inner thighs, without damaging the gear.
https://www.amazon.com/Body-Glide-Original-Anti-Chafe-1-5oz/dp/B00288L2N6/ref=sr_1_2?dchild=1&keywords=Body+Glide+for+runners&qid=1609325548&sr=8-2
20. Wireless Earphones
If your runner is a fan of music, some wireless earphones will make their miles even more fun.
Make sure to pick quality earphones—ones that have great sound quality, stay in place for miles, can withstand some sweat, and come with good battery life.
That’s why I recommend the Jabra Elite Active 75t, which is one of the best true wireless headphones with the bonus feature of being not only sweat-resistant but water-resistant too.
These are also designed with a special grip coating to ensure they stay put while logging the miles.
21. A GPS Watch
This is a running present sure to make any serious runner happy and impressed.
Garmin Forerunner 645 Music monitors everything a runner needs to track, heart rate, speed, distance, mileage, calories, etc. It’s also is easy to use and provides several customized running plans designed by Garmin.
What’s more?
You can also download hundreds of songs to this watch and connect with Bluetooth headphones for phone-free listening.
What’s not to like!
22. Running Gloves
Another winter-related gift all runners would love is running gloves.
Choose a pair that’s light and made with sweat-wicking fabrics with reflective strips for night-times run as well as touch-screen technology.
My best recommendation is the Under Armor Liner 2.0 Gloves. Of course, these may cost a bit more than the usual gloves, but they’re worth every dime—and can also last for years.
https://www.amazon.com/Under-Armour-Liner-Graphite-Medium/dp/B077XRT6K6/ref=sr_1_1_sspa?dchild=1&keywords=Under+Armour+Convertible+Run+Gloves&qid=1609326230&sr=8-1-spons&psc=1&spLa=ZW5jcnlwdGVkUXVhbGlmaWVyPUE0UTBROFZKQjA1QkkmZW5jcnlwdGVkSWQ9QTA0NzE5ODYxSTZSVzJYTUtJWjQwJmVuY3J5cHRlZEFkSWQ9QTAyOTQwODE3MjhJN1NKOUEwQ1Amd2lkZ2V0TmFtZT1zcF9hdGYmYWN0aW9uPWNsaWNrUmVkaXJlY3QmZG9Ob3RMb2dDbGljaz10cnVl
23. Personalized Marathon Mug
For the Marathon fanatic, this gift will mean a lot. The mug can be personalized with any name, number, and race. You can also choose the colors or any other special feature.
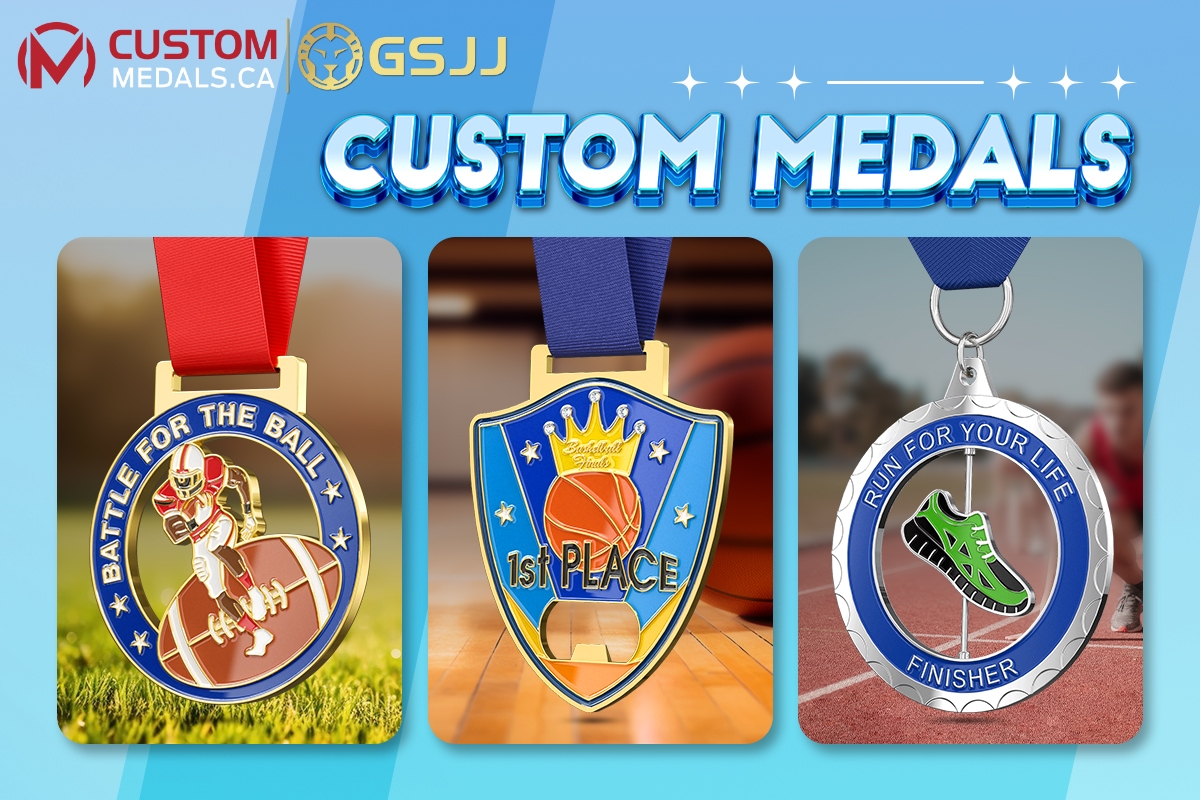
24. Medal Hanger
A medal hanger is a fantastic way for the runner to display their hard-earned racing prizes.
After all, that stuff ought to be celebrated.
These medal hangers from Amazon can help any runners show off the hard-earned race bling. Holding roughly 24 medals, the wall-mounted display can serve as a constant reminder of the work and sweat that went into training—something worth commemorating.
https://www.amazon.com/Gone-Run-Runners-Hanger-Runner/dp/B00EDSB518/ref=sr_1_5?dchild=1&keywords=Medal+Hanger+runner&qid=1609326355&sr=8-5
25. What I Talk About When I Talk About Running
Is your runner into reading? Then this book will do the trick.
This jaw-dropping memoir is written by the famous author Haruki Murakami, depicting his training for the New York City Marathon.
Throughout the book, he gives thorough descriptions of the physical, emotional, and mental agonies he had to go through for his training.
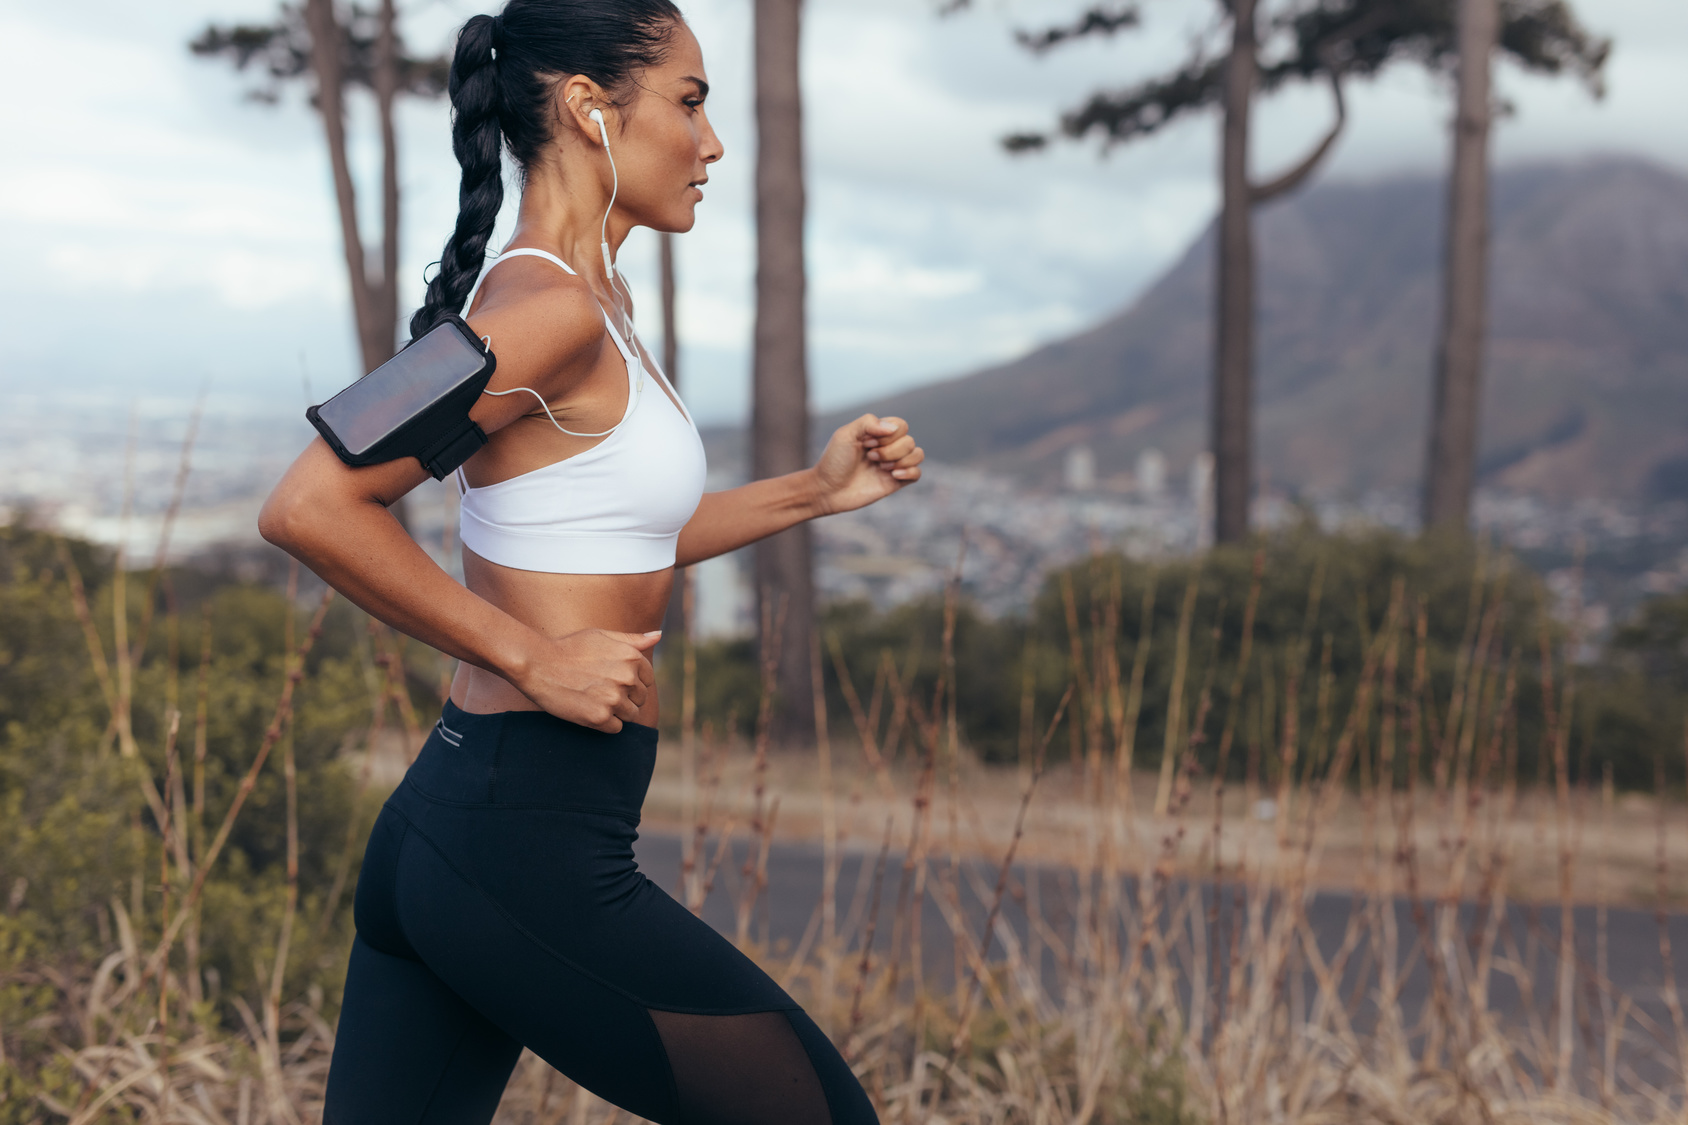
26. Arm Band Phone Holder
This armband from Amazon is light, comfortable, adjustable, and will feel so much better than having to hold a phone.
But what I like about them is the unique design—the phone actually holsters to a universal mount attached to the armband instead of being tucked into a clear compartment.
https://www.amazon.com/Lifeproof-LifeActiv-Armband-QuickMount-Packaging/dp/B00V86BQ1C/ref=sr_1_1?dchild=1&keywords=lifeproof+lifeactiv+armband+with+quickmount&qid=1609326659&sr=8-1
27. Reusable Hot & Cold Packs
Cold and hot therapy can help a lot before and after a run. The treatment approach varies depending on whether the runner is dealing with an acute or chronic injury (for more on that, check this post).
This all-in-one heat and ice pack from Amazon is ideal for soothing running pains and comes with a protective sleeve and elastic strap.
28. A Print Of Favorite Race
Help your running friend memorialize a race they just finished with a personalized map depicting the course they followed.
You can add the runner’s name, city, date, bib, and finish times, then take the map and frame it on the wall.
Check out Run Ink, which reimagines famous racecourses around the globe as colorful graphics.
29. Flipbelt Fanny Pack
Long-distance runners not only have to run a lot but also need to take with them lots of essentials, such as water, snacks, etc.
That’s why a perfect gift for the long distance runner in your life is Flipbelt—one of the best fanny packs in the market.
Flipbelt has multiple access points, stays secure against the waist, and has a non-bounce design. The large belt is also available in a number of different colors to suit any type of runner.
Plus, it’s made of machine-washable high-performance Spandex-Lycra blend fabrics with an internal pocket system.
30. Wind-Proof Running Jacket
Another element runners have to brave is the wind.
Help them beat with this GORE WEAR jacket from amazon that will fit comfortably over any base layer as your runner’s heads into windy conditions.
This running jacket is a fantastic choice for winter running. The jacket also feels comfortable and soft against the skin.
It will keep any kind of runner warm while logging the miles in the cold temperatures. With its water-resistant and wind stopper technology, this jacket ensures optimal performance and comfort.
31. High-Performance Headband
Runners sweat, and they sweat a lot—anything that can help them manage the sweat is welcomed.
This headband from TreadBands works well for absorbing sweat but without getting all soggy and wet like the standard headband.
Treadbands tiebacks come in two widths: the 1.5-inch wide low profile and the 2.5-inch-wide All -Terrain. They’re also easily adjustable, which can fit any type of runner. The fabric is also quick-drying and wicks away sweat.
What’s more?
These bands are designed with a reflective logo, which increases visibility. These also come in a wide range of patterns, including animal print, solid colors, and so much more.
32. Jogging Stroller
We all know that’s not easy to get out and run if you have a little one at home. That’s why a jogging stroller is a perfect present for any keen runner with a child.
I’d recommend the Compact Rambler. This one works great for urban runners or anybody with limited space. Thanks to the fold-flat design and the 12-inch wheels, this stroller can fit easily into any trunk.
What’s more?
The stroller is lightweight, functional, and comfortable for both the runner and the kiddo. It’s also designed with a fantastic suspension system that offers an ultra-smooth ride.
It’s the best stroller money can buy that still let you log in the miles.
33. Peloton High-End Treadmill
This is the most expensive gift on this list, and it’s for that super special, devoted runner in your life.
Peloton will help any runner take their indoor running to the next level. Everything about this treadmill is amazing.
From the sleek design, the studio classes, and the many other options, a gift like this will surely make any runner happy.
34. Heart Rate Monitor
Another perfect gift for the more serious runner.
The Polar H10 is one of the best heart monitors on the market for any runner who is serious about heart-rate training.
The electrocardiogram strap provides quick responses to changes in training intensity, which are reported back to a connected device in real-time.
The monitor is also waterproof, making a great fight not just for runners but triathletes too.
It also works with many sports watches, such as Garmin, Polar, Sunnto, Apple, etc., and can easily pair up with running apps such as Nike+ and Strava.
35. Trigger Point Foam Roller
Another helpful tool for releasing running niggles and pain is a foam roller. This tool can offer targeted, deep-muscle massage that only helps release stress but can also speed up recovery.
In my experience, one of the best brands in the market today is the TriggerPoint GRID Foam Roller. They’re super durable thanks to their multi-density exterior foam that cover a hollow, rigid core.
This foam is roller is a middle ground firmness—not too soft, not too hard. It also comes in two lengths—13- and 26-inch.
https://www.amazon.com/TriggerPoint-Roller-Instructional-Original-13-inch/dp/B0040EGNIU/ref=sr_1_2_sspa?dchild=1&keywords=TriggerPoint+GRID+Foam+Roller&qid=1609379926&sr=8-2-spons&psc=1&spLa=ZW5jcnlwdGVkUXVhbGlmaWVyPUEyQ0UxQllORThYV1hJJmVuY3J5cHRlZElkPUEwNzM0MzkzMzlNTFhHU05SNjVaQSZlbmNyeXB0ZWRBZElkPUEwOTE5NTI0MVQ1SlhCNllGNUtWUyZ3aWRnZXROYW1lPXNwX2F0ZiZhY3Rpb249Y2xpY2tSZWRpcmVjdCZkb05vdExvZ0NsaWNrPXRydWU=
36. Running Sunglasses
Whether running under the dazzling sun or the rainy winter, a pair of running-friendly sunglasses is a must-have.
These sunglasses from Julbo are crafted for runners. They’re lightweight and stay in place even while logging the miles. They also offer full-coverage, are designed with anti-fog lenses, and come at a relatively low price.
https://www.amazon.com/Julbo-Aero-Sunglasses-Spectron-Translucent/dp/B0777Q56PQ/ref=sr_1_1_sspa?dchild=1&keywords=Julbo+Fury+sunglasses&qid=1609379690&sr=8-1-spons&psc=1&smid=AH3THLRPGAVZ4&spLa=ZW5jcnlwdGVkUXVhbGlmaWVyPUFXMzFVMExJWEFIRksmZW5jcnlwdGVkSWQ9QTEwMjM1NTUxWTBQU0UzSENEOVZCJmVuY3J5cHRlZEFkSWQ9QTA3NjEyNzYxS1ZISUhMTDRYUTBQJndpZGdldE5hbWU9c3BfYXRmJmFjdGlvbj1jbGlja1JlZGlyZWN0JmRvTm90TG9nQ2xpY2s9dHJ1ZQ==
37. Sabre Pepper Spray Gel
Worried about your runner’s safety?
Then this is a very practical gift that not only helps your runner stay (and feel) safe while training but also throughout the day.
Sabre Pepper Spray formula practically eliminates wind blow-back, making it perfect for use while being on the move. It also makes it safer than standard pepper spray.
This gift also comes with an adjustable Velcro armband, which makes it easy to carry hands-free for immediate access on the go.
What’s more?
The shell life is an amazing four years, which is double the industry’s average
38. Reflective Strips
Want your runner to stay seen while training outdoor?
Then these little reflective strips from Amazon can do the trick. These can be attached to any clothing or backpack for better visibility on the road.
They’re also fully adjustable strips that are easy to put on and get off. They’re also breathable, lightweight, and reliable.
https://www.amazon.com/dp/B01N7NGJWT?tag=dotdashvwellf-20&linkCode=ogi&th=1&psc=1&ascsubtag=4160102%7Cn08bb50200b094ed8a6926e58d3477feb01
39. Strava Subscription
For about $59.99, you can purchase a one-year subscription to Strava, and it’s the ideal gift for the serious runner out there.
Sure, the free version has a lot to offer, but the premium version opens the door for a treasure trove of personal stats, such as power data speed on heart rate, past effort on common routes, etc.
It’s also easy to offer as a gift thanks to Premium Gift. This helps easily give a Strava Premium Membership to a friend or family member during any time of the year.
You also get a free month to use for yourself when you purchase a gift subscription.
To gift Strava Premium, please visit the website.
40. Marathon Cufflinks
Any runner who finished a marathon loves to commemorate their achievement with some type of memorabilia.
These fantastic cuff links to help them commemorate the achievement.
These are made of stainless steel and have a brushed finish.
41. KT Tape Pro
For runners dealing with shin splints or other running-related pain, taping can help a lot.
I recommend KT Tape Pro Synthetic. This is a fantastic tool for those seeking extra support on a joint and injured part that needs help. It’s also latex-free, drug-free, lightweight, hypoallergenic, comfortable, and easy to use.
Elastic sports tape is used by pro runners from all walks of life and offers a lot of support and pain-relief to muscles, joints, ligaments, and tendons.
https://www.amazon.com/KT-Tape-Kinesiology-Therapeutic-Resistance/dp/B006EPM74W/ref=sr_1_5?dchild=1&keywords=KT+Tape+Pro&qid=1609327096&sr=8-5
42. Shoe Deodorizers
One of the least-liked aspects of running is the smelly shoes.
StinkBOSS to the rescue. This simple solution will help your runner deodorize their shoes regardless of the source. According to the manufacture, StinkBOSS can kill up to 99% of harmful bacteria without the side effects of solvents and chemicals.
43. A Weighted Vest
For hardcore runners, strapping on a weighted vest is a fantastic way to take training to the next level. An adjustable weighted vest allows the runner to add or remove weight as they see—and feel—during a workout.
One of the best brands is RUNmax Pro. This vest designed with pockets located front and back for a better and equal weight distribution, which helps provide maximum comfort during all runs without straining the shoulders or back.
RUNmax Pro can also be used when doing bodyweight exercises such as crunches, push-ups, and pull-ups for extra resistance.
And at such a cheap price, it’s hard to resist.
The 43 Best Gifts For Runners – The Conclusion
Finding the right gifts for runners is made easy thanks to the above ideas. You just have to pick the one that seems most helpful—the right choice depends, after all, on the runner and your own budget. The rest is just details.
These running fits will keep any runner happy and in peak shape. I’ve also made sure to include a range of different price points and items that will work with everyone’s tastes and budgets.
Please feel free to add your runner’s present ideas and suggestions in the section below.
In the meantime, thank you for dropping by.
Keep training strong.