Walking’s one of the easiest ways to stay fit, and a 5-mile walk is a great goal – whether you’re an old pro or just lacing up for the first time.
For me, walking isn’t just exercise.
It’s my time to hit reset, clear my head, and enjoy the simple rhythm of it all.
Whether I’m strolling through Bali’s busy streets or hiking a quiet trail, it’s a must-do part of my day.
BUT…
How Long Does it Actually Take to Walk 5 Miles?
Well, that depends on a few things, like your pace, fitness level, and the terrain.
But generally, you can expect anywhere between 75 minutes and 2 hours.
That’s a pretty wide range, but don’t sweat it – we’re all built differently, and walking’s about enjoying the journey, not stressing about the time.
Let’s break it down.
My Approach to Walking 5 Miles
When I head out for a 5-mile walk, it’s never about hitting a specific pace or target time.
Honestly, I’ve learned to take in the experience.
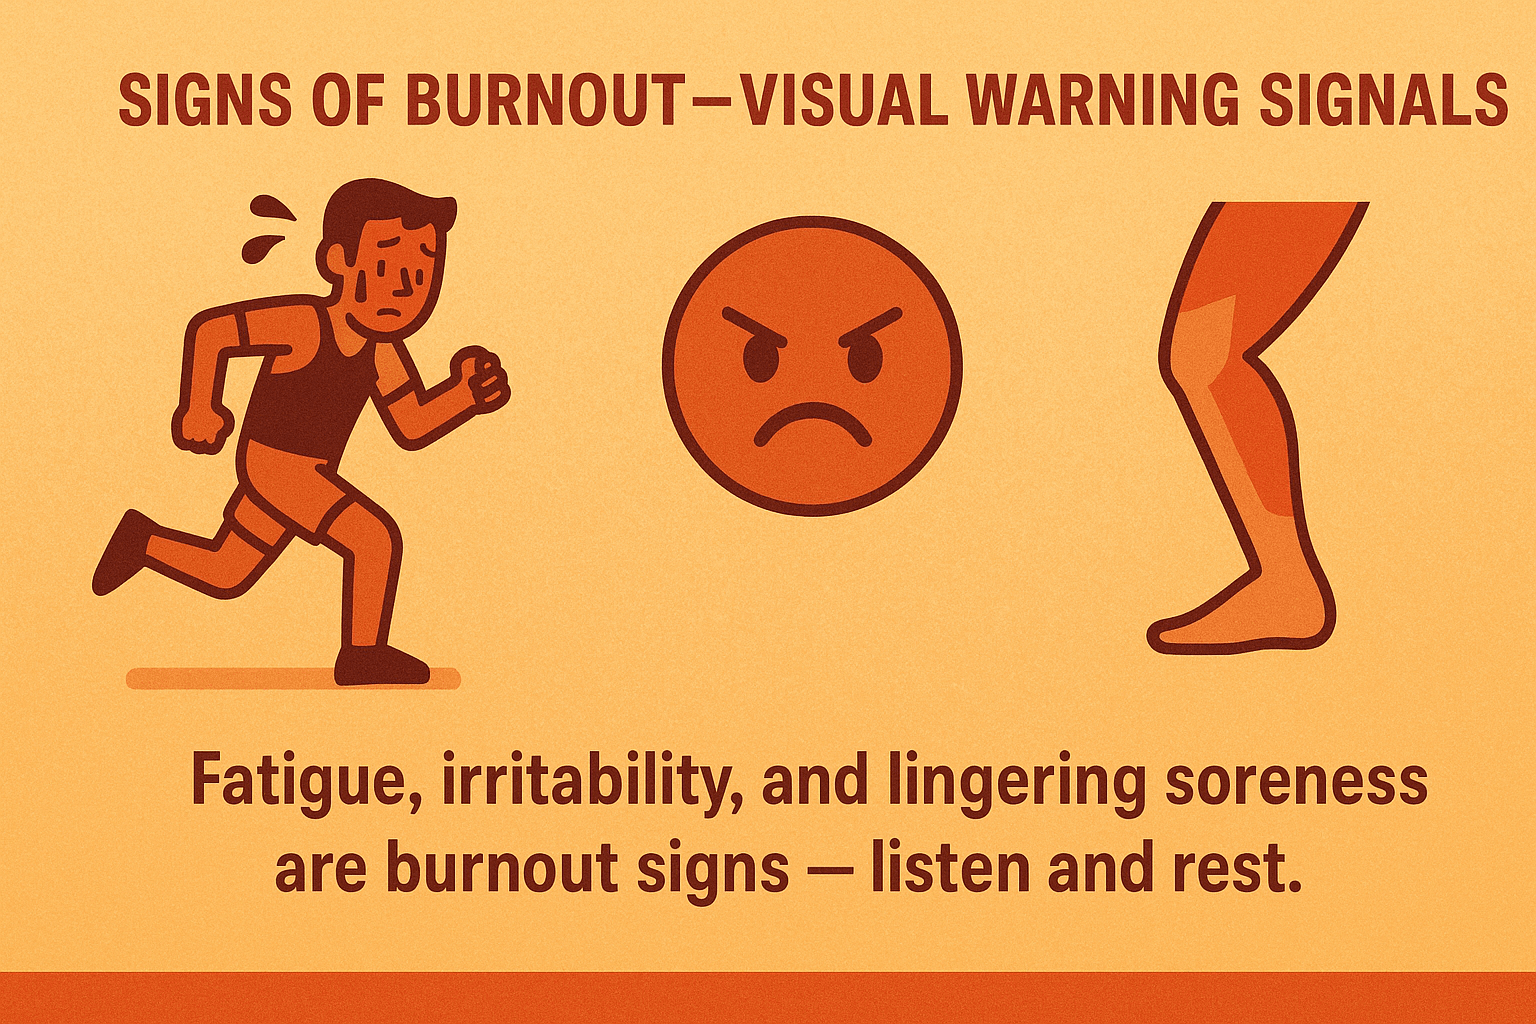
Some days, I just take it slow – especially when my legs are sore or I need to recover.
Other days, I pick up the pace, especially when I’m on a trail and feel that extra challenge.
The beauty of walking? It’s not about speed. It’s all about moving, taking in the sights, and soaking up the vibe, whether I’m cruising through Bali’s streets or hitting a nature trail.
On flat roads, I slow it down and let my mind wander. But when I’m on a trail, I push it a bit faster to feel the challenge, always listening to my body. If it feels too hard, I back off and enjoy the moment. It’s all about balance.
5 miles is too much? Try 3 Miles instead.
Walking Speed Matters: How Fast Are You Moving?
On average, most adults walk around 3 miles per hour. So, at that pace, you’re looking at about 1 hour 40 minutes for 5 miles. But don’t expect that to be true for everyone.
- Brisk Walkers: If you’re moving at 4 mph (think a faster-paced walk), you’ll knock out 5 miles in about 1 hour and 15 minutes.
- Easy Walkers: If you’re strolling along at 2.5 mph, 5 miles could take you around 2 hours.
Age and Gender Impact
Walking speed also depends on age and gender. As we get older, our pace tends to slow down, and men usually walk faster than women.
For example, research shows that men in their 20s average about 3.4 mph, while women in their 20s average around 3.0 mph.
By the time we hit our 70s, those speeds drop to about 2.8 mph for men and 2.5 mph for women.
But hey, that doesn’t mean older adults can’t walk faster – it’s all about individual fitness and how much effort you’re putting in. So if you’re over 65, expect your time for 5 miles to be closer to 2 hours, but that’s totally fine. Everyone’s journey is different.
Curious about average 5K times? Check my post.
Terrain and Fitness Level Matter
Other factors that affect your walking time include terrain, incline, and your fitness level. Walking uphill or over rough terrain? It might slow you down, but it turns the walk into a legit workout.
If you’re on flat, smooth ground, you’re good to go at a faster pace. Your fitness level matters too – if you’re in good shape, you’ll cruise at a faster pace with ease.
Calories Burned Walking 5 Miles
Walking is a killer way to burn calories. For me, every 5-mile walk isn’t just about getting in some movement – it’s about torching calories and staying on top of my fitness.
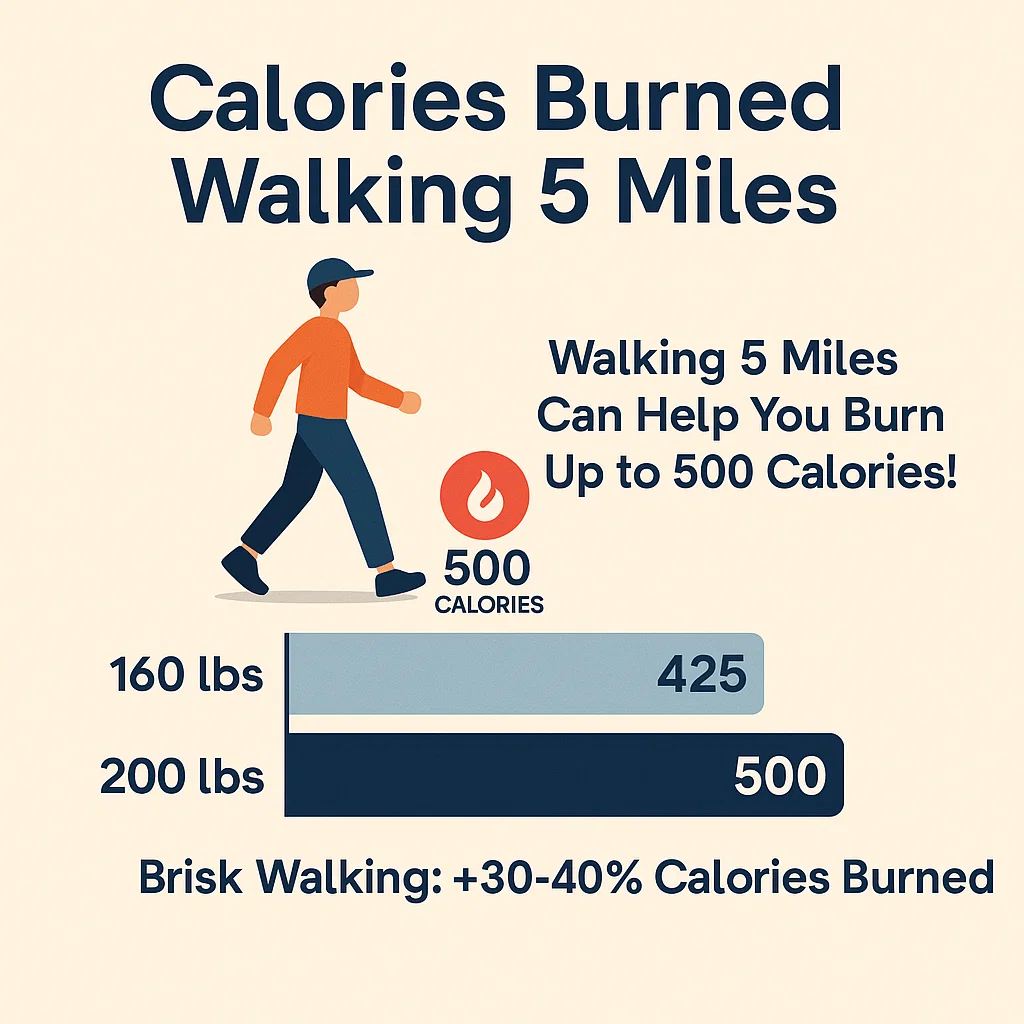
How many calories you burn depends on your weight, how fast you’re walking, and your fitness level.
Here’s the deal:
- At a moderate pace, someone who weighs 160 lbs can burn about 425 calories during a 5-mile walk.
- At a brisk pace, that number jumps to about 455 calories.
- For heavier folks, it’s even more – a 200-pound person might burn closer to 500 calories, and at a brisk pace, that could go up to 568.
When I walk on a trail or in nature, I like to add a few hills to boost the calorie burn. Going uphill can burn up to 50% more calories, so if you want to make your walk a little tougher, just add a hill or two.

Pro Tip
When I’m walking in nature, I try to add an incline or some hills. It turns a casual walk into a workout without feeling like I’m pushing too hard. Plus, it’s more fun! The challenge makes it feel less like exercise and more like an adventure.
Health Benefits of Walking 5 Miles:
Walking – it’s one of the simplest and most powerful ways to boost your health, and I can personally vouch for how much it helps, not just physically but mentally, too. Let’s break down the key benefits, and why I swear by it:
Stronger Heart and Lungs. Walking regularly does wonders for your heart and lungs. It’s not just about burning calories. For me, it’s about keeping my heart and lungs strong. Walking helps drop your blood pressure, improve cholesterol, and lower your chances of heart disease. I’ve felt the difference in my own body – my heart feels stronger, and I can handle more.
Mood Boost. A quick 20-30 minute walk can get those endorphins flowing, and trust me, it’ll lift your mood instantly. Walking isn’t just a way to get in shape – it’s a way to feel better mentally. I’ve especially noticed this when I walk in nature, like around Bali’s rice terraces. That connection to nature helps me clear my mind and puts me at ease.
Stress Reduction. Walking is a great way to ease stress and get better sleep. After a tough day, I’ll lace up and go for a walk, and it makes all the difference. It’s a great way to wrap up the day, leaving the tension behind and stepping into relaxation.
The Actual Research:
Now, this isn’t just my word for it – there’s real research behind it. Check this out:
- A study from Harvard shows that brisk walking, around 3 mph for about 3 hours a week (roughly 9-10 miles), cuts your risk of heart disease by 30-40%. That’s powerful stuff. I’ve seen the results firsthand – and they’re not just for the pros, they’re for anyone who gets out there and moves.
- Walking also helps regulate blood pressure and cholesterol, which keeps your heart in check. It’s clear this simple activity is a game-changer for your heart health, according to this research.
- On the mental health side, even a short walk can lead to an instant mood boost. Your brain gets more blood flow, and those endorphins kick in. A big study of 100,000 people found that the more steps you take, the less likely you are to feel down. Even small movements can have a huge impact.
- Even a little movement goes a long way for your mental health. Trust me, every step counts. As Dr. Karmel Choi, a Harvard psychologist, said, “Even small amounts of movement can add up to support better mental health.” So, don’t worry if you can’t get out there for hours at a time – short walks add up.
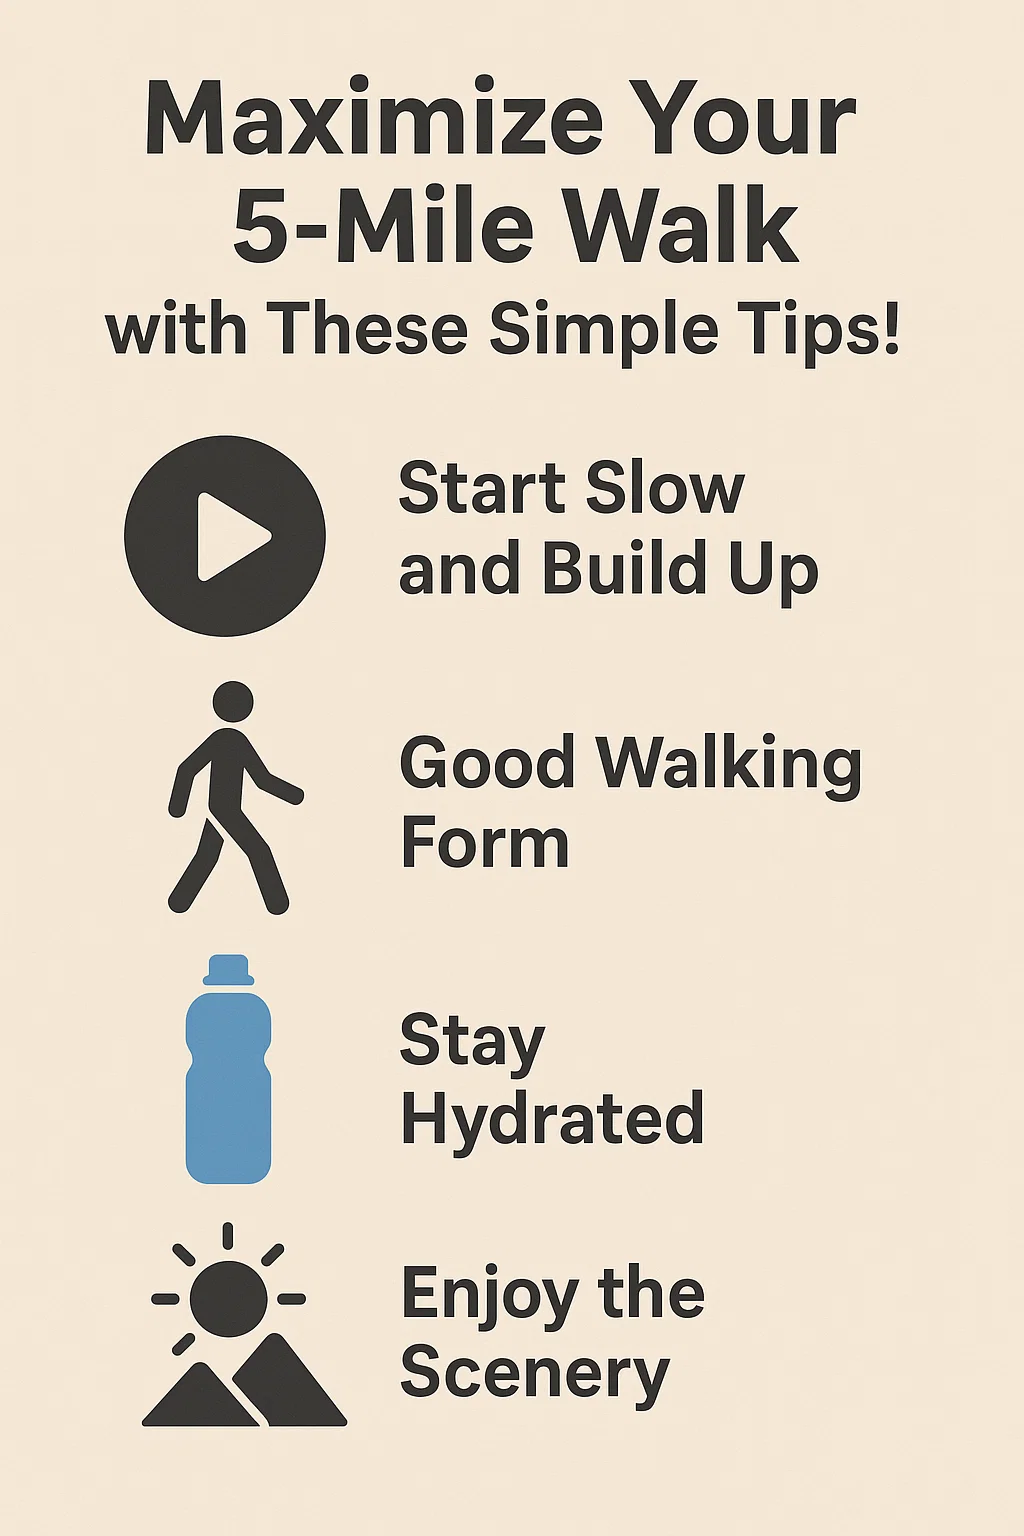
Tips for Walking 5 Miles (Form, Stamina & Motivation):
Walking 5 miles? It’s not a race, so don’t stress it. Here are some tips I’ve learned to make your walk more enjoyable and effective:
Start Slow and Build Up:
I didn’t jump straight into 5 miles. If you’re starting out, take it easy. Start with shorter walks and work your way up. There’s no rush. It’s all about consistency, not speed.
Use Good Walking Form:
Stand tall, shoulders loose, and let your arms swing naturally. Simple stuff, but it makes all the difference. If you walk with good form, you’ll feel better and avoid those annoying aches.
Stay Hydrated:
Trust me, dehydration will leave you feeling wiped out. I’ve learned that the hard way. If you’re walking for more than an hour, carry water to stay hydrated. It’ll keep you feeling good and energized.
Enjoy the Scenery:
Whether it’s a sunset or the sound of the waves, I enjoy the walk a lot more when I stop worrying about time or how far I’ve gone. Let go of any pressure to finish fast or hit a certain distance. Sometimes, it’s more about the journey.
Listen to Your Body:
Walking’s about listening to your body – knowing when to go for it and when to chill. Some days, I’m feeling strong and push myself. Other days, I’m a bit slower, and that’s okay.
Set Goals
Completing a five-mile walk is not only a physical challenge, but also a test of willpower. To motivate yourself better, some small souvenirs can help you, such as custom keychains.
You can incorporate your goals, achievements, and some motivational slogans into the design of the keychains. Every time you achieve a goal, you can get such a keychain as a reward, which will not only make you feel more accomplished but also motivate you to continue to move forward on the road to health in the future.
Click on Enamel Keychains to add motivation to your health goals!

The Bottom Line:
Walking 5 miles is a solid workout, even if you’re just getting started. Depending on your pace, it’ll take you anywhere from about an hour and a quarter to two hours, but trust me – every minute is worth it. You’ll burn some calories, strengthen your heart, and feel better every time you hit the pavement.
As one expert from the American Heart Association said, “It’s amazing what walking can do for the body, including cardiovascular health and brain health.”
So, lace up those shoes, pick a route you enjoy, and forget about the clock. Whether it takes 75 minutes or 120 minutes, remember, you’re getting in better shape than anyone sitting on the couch.
FAQ: Walking 5 Miles
Q1: How long does it take to walk 5 miles?
Most people take 75 to 100 minutes to walk 5 miles at a moderate pace.
Q2: What factors affect walking speed?
Age, fitness level, terrain, weather, footwear, and even motivation can impact your pace.
Q3: How can I walk faster or longer?
Gradually increase distance, add intervals of brisk walking, and build endurance through consistent training and strength work.
Q4: Is walking 5 miles a day good exercise?
Yes! Walking 5 miles daily improves cardiovascular health, calorie burn, mood, and overall fitness.
Q5: How many calories does walking 5 miles burn?
Walking 5 miles can burn 250 to 500 calories, depending on weight, pace, and terrain.
Q6: Should I stretch after walking 5 miles?
Yes—stretching helps improve flexibility, reduce muscle tightness, and aid recovery.
Q7: Can walking 5 miles a day help with weight loss?
Absolutely! Combined with a healthy diet, walking 5 miles a day can support a sustainable weight-loss plan.
Q8: Is it okay to walk 5 miles every day?
For most people, yes—if you build up gradually and listen to your body, daily 5-mile walks can be safe and effective.
Q9: What should I wear for a 5-mile walk?
Wear comfortable, supportive shoes, moisture-wicking clothes, and consider weather-appropriate gear like hats or rain jackets.
Q10: How can I stay motivated to walk 5 miles every day?
Set goals, track progress, find a walking buddy, listen to music or podcasts, and vary your route to keep things interesting.
Further Reading on Walking and Fitness:
If you want to dive deeper into the benefits of walking and its impact on your health, here are a few studies and articles you can check out. They’ll give you even more insight into how walking can improve your life.
- American Heart Association (AHA): The AHA provides guidelines on physical activity, emphasizing the importance of walking for cardiovascular health. Check out their article on “Walking: A Simple Way to Get Active” for tips on how to incorporate walking into your daily routine.
- Centers for Disease Control and Prevention (CDC): The CDC has extensive resources on physical activity and its impact on health. Their page on “Physical Activity Basics” includes information on the benefits of walking and how much activity is recommended for different age groups.
- Harvard Health Publishing: For research-backed insights into the health benefits of walking, Harvard Health offers a comprehensive article titled “Walking for Health” that discusses how walking can improve cardiovascular fitness, mood, and overall well-being.
- National Institutes of Health (NIH): The NIH provides a wealth of information on exercise and fitness research. Their publication on “The Benefits of Walking” outlines the physical and mental health benefits of regular walking, backed by scientific studies.
- American College of Sports Medicine (ACSM): The ACSM is a leading authority on exercise science and sports medicine. Their position statement on “Exercise for Weight Management” discusses the role of physical activity, including walking, in weight management and overall fitness.