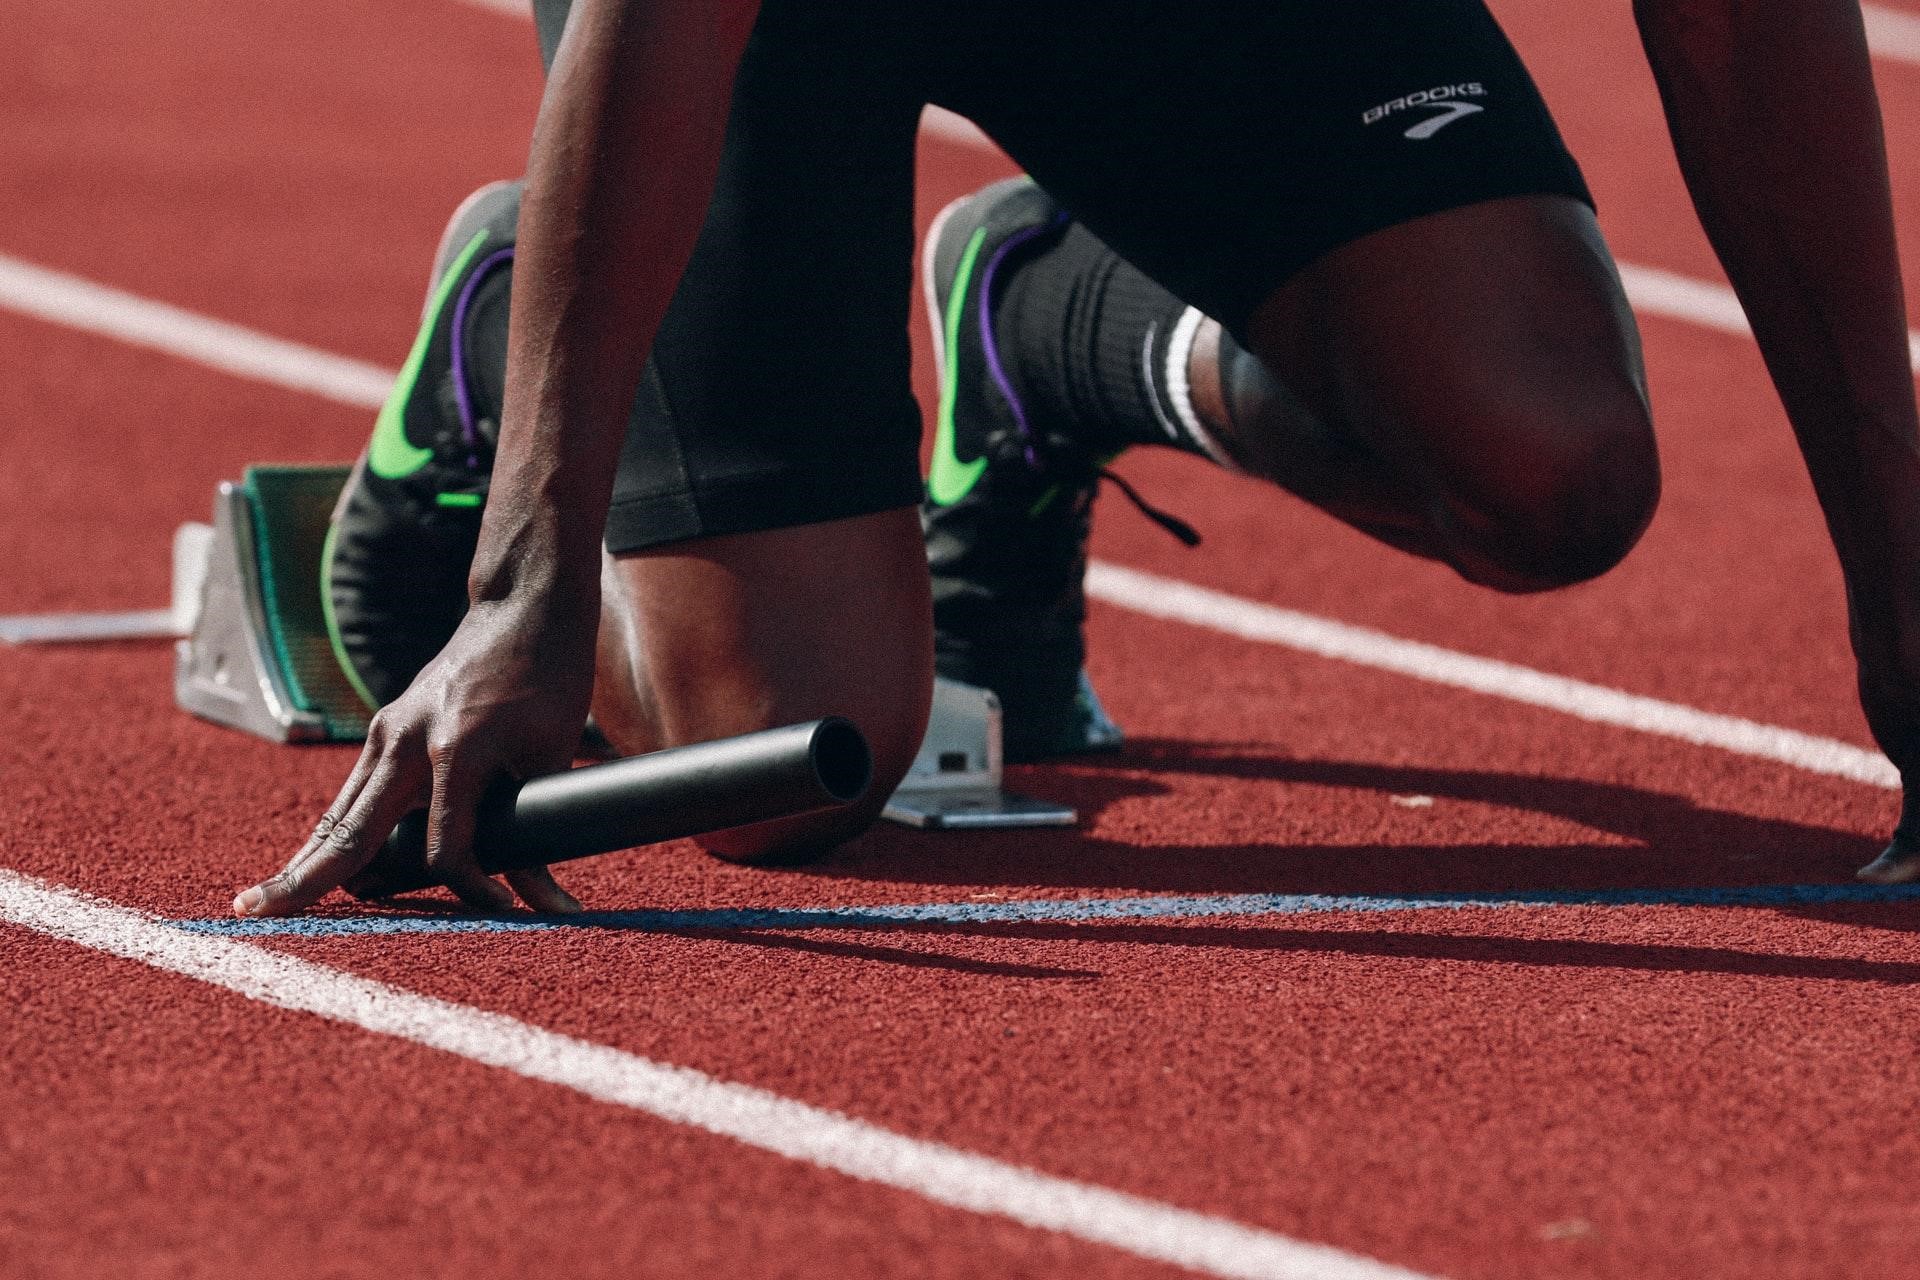
Have you ever experienced that dreaded pain in your Achilles tendon while out on a run? Or maybe it strikes just as you’re catching your breath after a satisfying workout? Well, brace yourself, because you might be dealing with a formidable foe known as Achilles tendinitis.
Now, let me tell you, Achilles tendinitis is no joke. It’s like that unwelcome guest who crashes your running party and refuses to leave. But fear not because I’ve got your back. I’ve put together the ultimate guide to Achilles tendonitis in runners, and trust me, it’s going to be a game-changer for you.
By the time we’re done here, you’ll be armed with knowledge that will help you tackle this relentless injury head-on. I’m going to dive into everything you need to know, from understanding the ins and outs of Achilles tendonitis to learning why us runners seem to be particularly susceptible to it. Oh, and I’ll explore the fascinating anatomy of the Achilles tendon too, just to give you a complete picture.
But that’s not all. I’ll also unveil the secret sauce of treating Achilles tendonitis, providing you with practical tips and strategies to get you back on your feet in no time. And hey, prevention is key, right? So I’ll equip you with the tools you need to protect yourself from future bouts of Achilles tendinitis, ensuring you can keep pounding the pavement without worry.
Sounds like a lot to digest? Well, let’s get started.
Basic Anatomy & Functions
The Achilles tendon is a strong and resilient that takes the spotlight as the heavyweight champion of your body’s tendons. It sits right behind and above your heel, connecting the powerhouse duo of calf muscles—the gastrocnemius and soleus—to the back of your heel bone, also known as the calcaneum.
Think of the Achilles tendon as the power conduit, the trusty bridge that transfers all that force and energy from your calf muscles to your ankle during the magnificent acts of walking and running.
What’s more?
The Achilles tendon is so incredibly robust that it can withstand the mind-boggling pressure of over 1,000 pounds! Yes, you heard that right. It’s as if it possesses Herculean strength, ready to take on whatever challenges come its way.
But here’s the catch: Even with its impressive fortitude, the Achilles tendon isn’t impervious to injury. In fact, it can still succumb to the forces of strain and stress. Just like any formidable hero, Achilles tendonitis can sneak up on you when you least expect it, ready to put a dent in your running aspirations.
Risk Factors For Achilles Tendon
When it comes to Achilles tendinitis, knowledge is power. Understanding the factors that may raise your risk of falling victim to this nagging condition can help you take proactive steps to protect your Achilles tendon fortress..
First on the list is the unavoidable ticking clock of age. As the years go by, the risk of Achilles tendinitis tends to creep up, especially from the age of 30 onwards. The “elasticity” of the tendon takes a hit, making it more vulnerable to micro-tears.
But wait, there’s more. Gender also plays a role in this tendon tale. Sorry, gentlemen, but studies have shown that male runners are more prone to Achilles tendinitis. It’s like the tendons are playing favorites, leaving you with an extra hurdle to overcome.
Next up, let’s talk about biomechanical challenges. If you have flat feet, consider them a double-edged sword. While they might make you an ace at limbo competitions, they also put extra pressure on your Achilles tendon, paving the way for tendinopathy to march in uninvited.
Now, let’s lace up our detective shoes and investigate the case of the culprits known as bad running shoes. Picture this: you’re out on the road, putting in the miles, but your worn-out or ill-fitting sneakers are secretly plotting against you. They’re like the villains of the running world, increasing your risk of Achilles tendinitis. Time to invest in a trusty pair of running shoes, my friend!
Speaking of running surfaces, let’s navigate the treacherous terrains that can leave your Achilles tendon vulnerable. Think of asphalt and concrete as the foes of your footwork, offering little forgiveness and amplifying the strain on your tendon. It’s like running through a minefield, risking injury with each step.
But wait, there’s a twist in the story. Certain medical conditions can also act as accomplices to Achilles tendinitis. If you have high blood pressure, diabetes, or immunological issues, consider them as potential red flags that warrant extra caution. It’s like Achilles tendinitis has a knack for targeting those already facing health challenges.
Last but not least, let’s stretch our focus to the importance of flexibility. Tight calf muscles, akin to a clenched fist, put additional strain on the Achilles tendon.
It’s like pulling on a rubber band that’s already taut, increasing the tension and leaving the tendon susceptible to tendinopathy.
The Early Signs of Achilles Tendinitis
You’ve just finished a run, feeling that post-workout glow, when suddenly a mild ache starts to creep in. It’s like a warning sign from your Achilles tendon, located either above the heel or in the back of your leg. It’s a subtle message, but one that shouldn’t be ignored.
As the hours pass, you may notice stiffness or tenderness, almost like a mischievous cramp playing hide-and-seek around your affected foot. But fear not, as these sensations often subside with mild activity, leaving you with a sense of relief.
But wait, there’s more. Your Achilles tendonitis might have a few additional tricks up its sleeve. You might experience a redness or sweltering sensation in the Achilles area, as if the fire of inflammation is dancing beneath your skin.
What’s more?
Heel pain can strike during your run or ambush you right after, like a relentless opponent determined to throw you off your feet.
Swelling becomes another player in the Achilles tendonitis game, lurking in the back of your heel or even within the tendon itself, causing discomfort and pain.
And let’s not forget the morning rituals. As you rise from your slumber, you may encounter pain and stiffness in your Achilles.
Your ankle may also become a key player in this Achilles tendonitis drama. Poor flexibility and tightness during plantar or dorso flexion, like a stiff gatekeeper, can hinder your ankle’s full range of motion..
Lastly, prepare yourself for the unexpected soundtrack of cracking sounds during ankle movement. It’s like a tiny orchestra of pops and clicks accompanying your every step, reminding you that your Achilles tendon is in a state of unrest.
Additional resource – How to run in deep water
Achilles Tendonitis – The pain scale
At the milder end of the spectrum, you may experience pain while running or shortly after. It’s like a gentle reminder from your Achilles tendon, a whisper rather than a shout. However, the pain is not overly disruptive and tends to subside during rest. You might feel this discomfort along the Achilles tendon as you continue your run, a nagging companion that doesn’t want to steal the spotlight.
Moving up the scale, the pain becomes more assertive. Not only does it accompany your activities, but you also notice swelling in the Achilles region. This swelling can be tender to the touch, as if the area has become sensitized and responsive to even the slightest contact. In some cases, you might even detect the formation of a lump within the tendon, a small intruder that adds to the complexity of the situation.
Now, brace yourself for the higher end of the pain scale. Weight-bearing activities become a battleground for your Achilles tendon. Each step brings a surge of pain in the Achilles region. The swelling along the tendon may intensify, accompanied by sharp points of pain that catch you off guard. It’s as if your Achilles tendon is protesting vehemently, demanding your attention. In extreme cases, the Achilles tendon may even tear completely, causing a level of pain that is nothing short of severe.
Remember, this pain scale is a guide to help you understand the progression of Achilles tendonitis and the potential severity of your symptoms. If you find yourself higher on the scale, it’s crucial to seek professional medical advice to ensure proper diagnosis and treatment.
Complications of Achilles Tendonitis
When Achilles tendonitis is ignored or left untreated, scar tissue starts to make its presence known. Picture it like a stubborn invader, setting up camp in the delicate balance of your tendon. This scar tissue hampers the healthy flow of blood to the tendon, obstructing the crucial process of healing. While some remodeling may still occur, it takes a detour into fibrosis territory.
Now, fibrosis is no friend to your Achilles tendon. It’s like a mischievous character that brings trouble wherever it goes. The fibrotic tissue tends to be weaker and less elastic than the healthy tendon, posing a higher risk of tears. And we’re not talking about a minor hiccup here; we’re talking about a tear that demands serious attention, potentially even surgical intervention. It’s a scenario that no runner wants to face.
Over time, if left unaddressed, the complications can progress further. The Achilles tendon itself may succumb to a degenerative tear, forming a lump that serves as a painful reminder of the neglected tendonitis. This is a sign that things have taken a turn for the worse, and action needs to be taken promptly.
As if that weren’t enough, Achilles tendinosis can rear its head. It’s like a stubborn foe that limits your ability to even engage in a slow jog. It puts a damper on your running aspirations, leaving you longing for the freedom and joy that once accompanied your strides.
Surveys and studies have shown that roughly 66 percent of Achilles tendonitis cases strike the midpoint of the tendon, a few inches above the heel. So, this isn’t just a rare occurrence—it’s a prevalent problem that demands our attention and proactive measures to prevent its progression.
How to Treat Achilles Tendonitis In Runners
So, you’ve found yourself caught in the grips of Achilles tendonitis. But fear not for there is a road to recovery that leads to renewed strength and pain-free running. Let’s explore the steps that will guide us along the way.
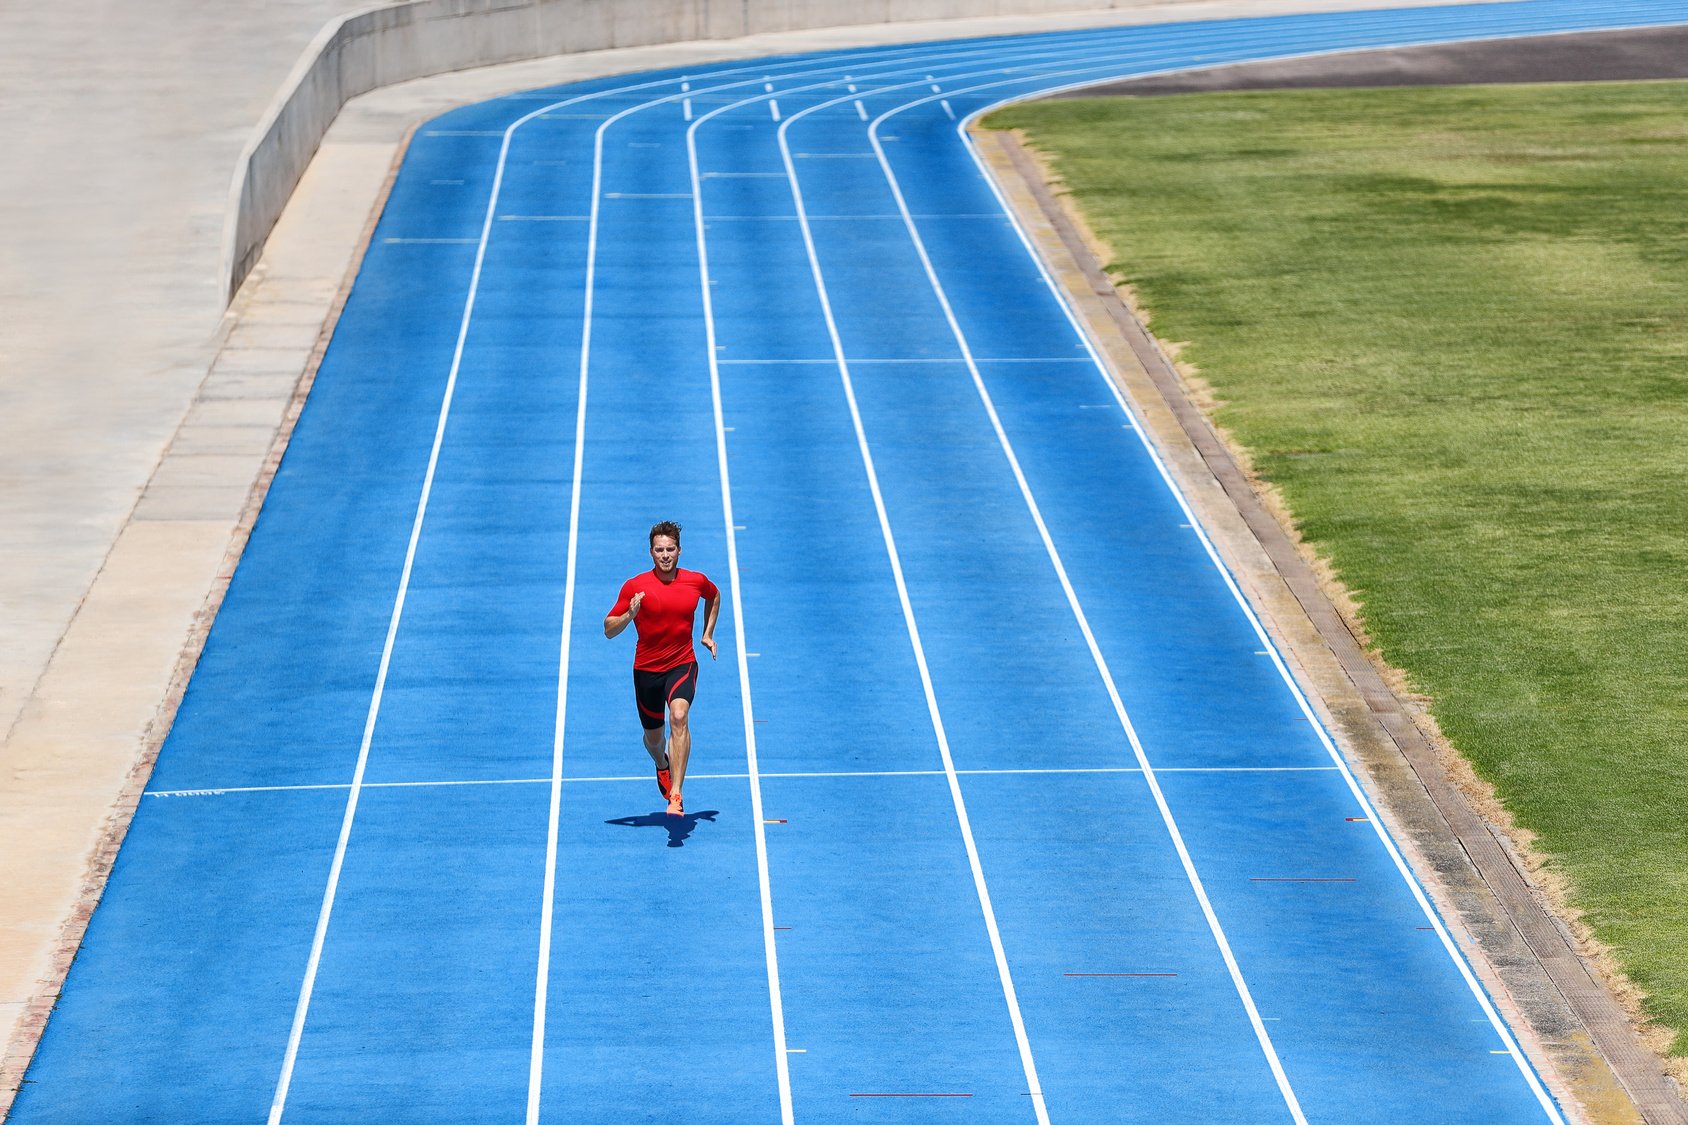
Stop Running
Giving your Achilles tendon a well-deserved break from the repetitive impact is crucial for its recovery. Take a step back, lacing up those running shoes can wait for now. But fear not, for rest doesn’t mean you have to stay idle. Embrace cross-training, engaging in activities that are gentle on your Achilles tendon.
Picture yourself gliding through the water, the pool becoming your sanctuary as you swim with grace. Or imagine the rhythm of your pedaling as you conquer the miles on a bike ride, feeling the wind against your face. You might even find solace in the strength training arena, sculpting your body while giving your tendon the respite it needs. And why not explore the benefits of yoga, where stretching and mindful movements can nourish both body and soul?
During this rest period, it’s essential to listen to your body and respect its limits. Non-weight-bearing exercises are your allies during this time. Allow yourself at least three weeks of dedicated recovery, refraining from pushing through the pain. Remember, healing takes time, and patience is your greatest companion on this road to recovery.
Studies have shown that it may take at least three months or more for the pain to fully dissipate, according to The American Academy of Orthopedic Surgeons.
Ice Therapy
Imagine your Achilles tendon as a fiery battleground, with inflammation and discomfort raging within. Ice therapy swoops in as a hero, armed with its icy touch to calm the flames. Applying ice to the Achilles tendon can provide much-needed relief, reducing swelling and numbing the pain.
But here’s the catch: timing is everything. Remember not to overstay your welcome with the ice pack. Keep it to a maximum of 15 minutes per session, several times a day. Studies have shown that applying ice for less than 10 minutes has minimal effect, while over-icing for more than 30 minutes may damage the skin. So, aim for that sweet spot and let the cooling sensation work its magic.
Take Meds
Intense pain can be a formidable adversary, but fear not, for there are allies that can lend a helping hand. Nonsteroidal anti-inflammatory drugs (NSAIDs) like ibuprofen can be your go-to companions in combating both pain and swelling. However, it’s crucial to approach medication with caution.
Remember that while NSAIDs can provide temporary relief, they merely address the symptoms and don’t tackle the underlying issue. So, be mindful of using them as a short-term solution and seek comprehensive treatment for long-lasting results.
But hey, why stop there? Let’s explore some other techniques that can aid in your Achilles tendonitis recovery.
When To See A Doctor
If pain around your Achilles tendon persists despite rest and proactive measures, it’s time to bring in the experts. Consulting a doctor becomes essential when symptoms fail to improve.
Resist the temptation to reach for painkillers before your appointment, as they can mask the true extent of your condition, potentially leading to misdiagnosis. Instead, opt for an open discussion with your doctor, addressing your concerns and exploring the best course of action.
While surgery may be necessary in some cases to remove scar tissue around the tendon, my research indicates that it is not always the optimal solution, as it can stimulate further scar tissue formation.
Instead, experts recommend focusing on the root causes of the problem, rather than solely treating the symptoms. Improving flexibility and mobility in your calf muscles becomes paramount, and one tool that has shown promise in achieving this is the mighty foam roller.
Achilles Tendonitis in Runners – The Conclusion
Here’s the bad news.
We are not robots, and there’s no spare part for our bodies.
No real cure for an overuse injury.
Achilles tendonitis occurs because of damage to the tendon, and if if you run, you’re bound to cause some damage.
Healing damaged tendons requires recovery time and acute attention.
Understanding the injury and incorporating the tips above into the recovery plan is a good place to start.
If symptoms don’t improve, seek out a physical therapist to help you with your recovery.
Feel free to ask for second opinion if you’re still in doubt about surgical issues.